Introducción
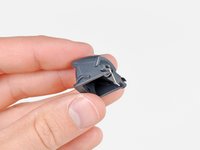
Utiliza esta guía para reemplazar los botones de disparo de plástico. El botón disparador #2 tiene un resorte interno adjunto.
Qué necesitas
-
-
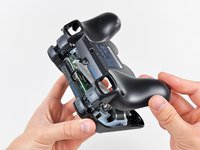
Remueve los cinco tornillos Phillips de 7.2 mm que aseguran la carcasa trasera a el control.
-
-
-
-
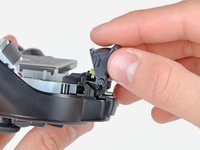
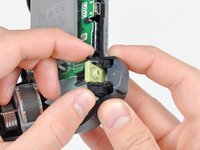
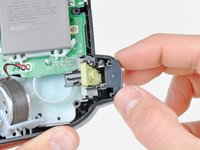
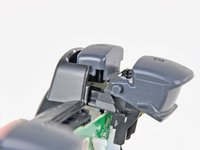
Mientras sujetas el retenedor de plástico negro del gatillo con una mano, tira del gatillo n.º 2 para sacarlo de su eje.
-


Para reensamblar tu dispositivo, sigue estas instrucciones en orden inverso.
Cancelar: No complete esta guía.
74 personas más completaron esta guía.
Un agradecimiento especial a estos traductores:
100%


Estos traductores nos están ayudando a reparar el mundo! ¿Quieres contribuir?
Empezar a traducir ›

9Guía Comentarios
Might want to add that there's a small catch/tab in the middle of the bottom of the controller that needs to be released when taking apart the covers.
This worked great, and also works on normal Sixaxis controllers. I used this to swap the broken spring from the L2 button on my DS3 for a good spring from my Sixaxis. Works like new now.
The #00 screwdriver is working better
Did you replace button 2 rod with plastic replacement part or use original rod piece when fixing button 2
Is there a way I can buy trigger retainers?