Esta traducción la ha hecho un programa y todavía no la ha revisado nadie. ¿Hablas este idioma? Échale un vistazo.
Qué necesitas
-
-
-
Abre la tapa de la batería deslizando la pestaña de la tapa mientras empujas la tapa de la batería hacia afuera de la cámara.
-
Retira las baterías.
 Pregunta a FixBot
-
-
-
Retira los tres tornillos de 0.2 mm indicados usando un destornillador Phillips #00.
-
Tira suavemente del panel lateral para extraerlo.
-
-
-
Quita los dos tornillos indicados de 0.2 mm utilizando un destornillador Phillips #00.
-
-
-
-
Retira el tornillo de 0.2 mm indicado usando un destornillador Phillips #00.
-
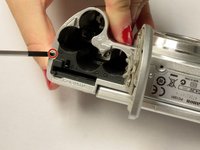
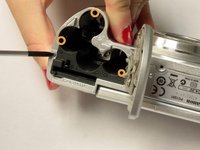
Retira los tres tornillos de 0.2 mm situados en la parte interna del panel superior dentro del compartimento de la batería usando un destornillador Phillips #00.
-
-
-
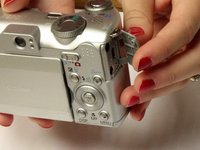
Abre la tapa «DIGITAL A/V OUT» de la cámara.
-
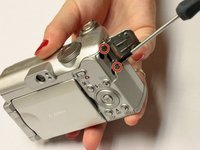
Quita los dos tornillos indicados de 0.2 mm utilizando un destornillador Phillips #00.
-
-
-
Sujeta los laterales del panel superior y tira suavemente para separar el panel superior del cuerpo de la cámara.
-
-
-
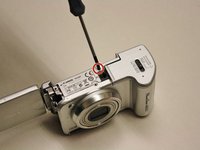
Separa suavemente los paneles frontal y trasero y utiliza un destornillador Phillips #00 para quitar el tornillo que conecta los paneles.
-
Sujetando la parte superior e inferior, tira suavemente del panel frontal para separarlo del cuerpo de la cámara y retirarlo.
-
-
-
-
-
Usa la spudger para retirar suavemente la pestaña de retención y extrae el cable flexible.
-
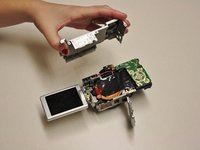
El panel superior debería estar ahora completamente separado de la cámara.
-
-
-
Quita el tornillo de 0.2 mm usando un destornillador Phillips #00.
-
Haz palanca suavemente en el panel trasero para retirarlo.
-
-






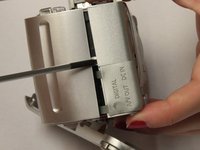
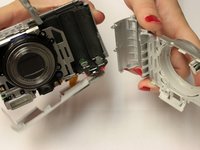


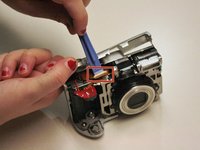
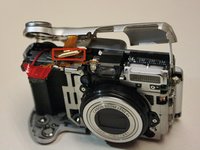


Para volver a montar tu dispositivo, sigue estas instrucciones en orden inverso.
Cancelar: No complete esta guía.
Una persona más ha completado esta guía.

Equipo

Clemson, Team 2-5, Benson Fall 2014 Miembro de Clemson, Team 2-5, Benson Fall 2014
CLEM-BENSON-F14S2G5
Miembros de 4
108 Guías creadas
