Introducción
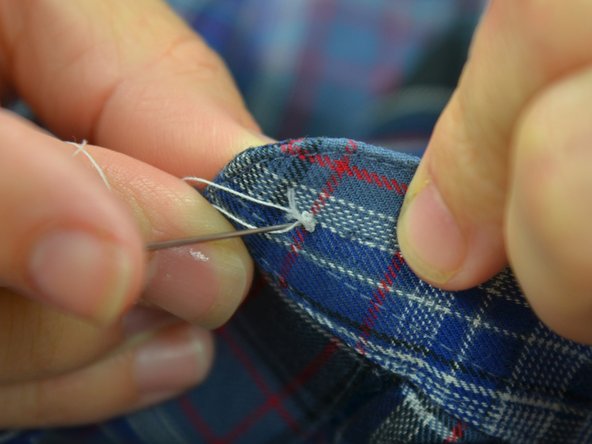
Sustituir un botón es una de las reparaciones más comunes de la ropa. Afortunadamente, también es una de las más fáciles. Esta guía le mostrará cómo volver a colocar un botón estándar de cuatro agujeros con una aguja e hilo. En esta guía utilizamos hilo de contraste para que sea más visible, pero cuando llegue el momento de realizar tu proyecto real, querrás utilizar hilo que coincida con el color de tu tela.
Qué necesitas


Cancelar: No complete esta guía.
56 personas más completaron esta guía.
Un agradecimiento especial a estos traductores:
100%

¡ Mariana Roca nos está ayudando a reparar el mundo! ¿Quieres contribuir?
Empezar a traducir ›


5 comentarios
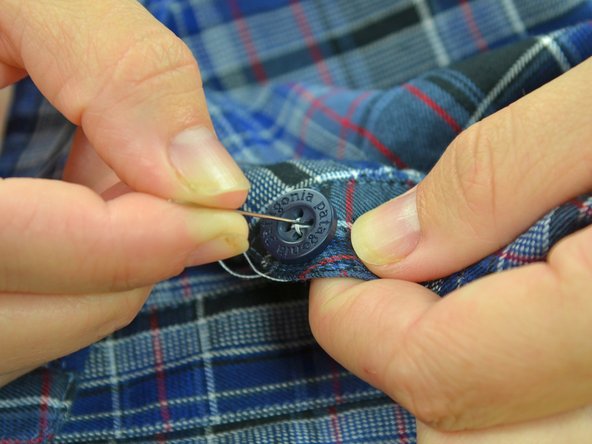
What helps after the last step 14 is to wrap the thread around and around a few times underneath the button itself (binding all the threads together) and making one last pass through the cloth before the final knot. This makes the repair much more durable.
Wrapping the threads underneath the button to create a shank is useful for coat buttons where the fabric is thick and you don’t want the fabric to pucker. As noted, it adds durability to the button attachment. On a shirt collar, as seen here, it would create too much bulk where you need the button to lie quite flat, so this method is quite sufficient.
Thanks Jonathan. Great insight.