Saltar al contenido principal

Reemplazo de la pantalla del iPod Nano 5ª Generación

Inglés
Español
Paso 3
iPod Nano 5th Generation Display Replacement: paso 0, imagen 1 de 2 iPod Nano 5th Generation Display Replacement: paso 0, imagen 2 de 2
  • The display panel of the iPod Nano is held to the frame by an adhesive. In the following steps, work slowly and carefully to avoid damaging your device.

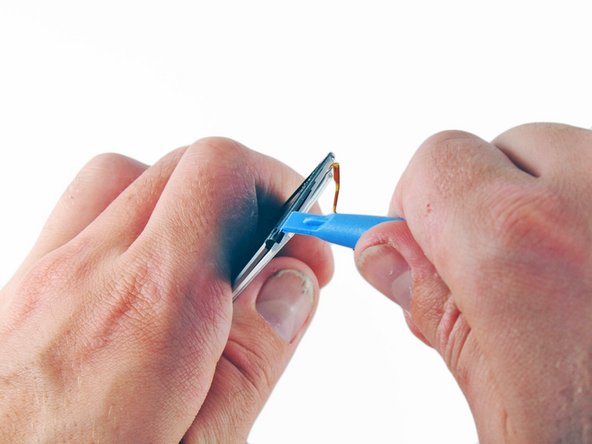
  • Insert an iPod opening tool between the top of the display and the metal frame.

  • Lift the iPod opening tool to carefully pry the top of the display off the metal frame.

El panel de visualización del iPod Nano se sujeta al marco mediante un adhesivo. En los siguientes pasos, trabaja despacio y con cuidado para evitar dañar tu dispositivo.

Inserta una herramienta de apertura de iPod entre la parte superior de la pantalla y el marco de metal.

Levanta la herramienta de apertura del iPod para sacar con cuidado la parte superior de la pantalla del marco de metal.

Tus contribuciones son autorizadas bajo la licencia de código abierto de Creative Commons.