Traduciendo paso 7
Paso 7

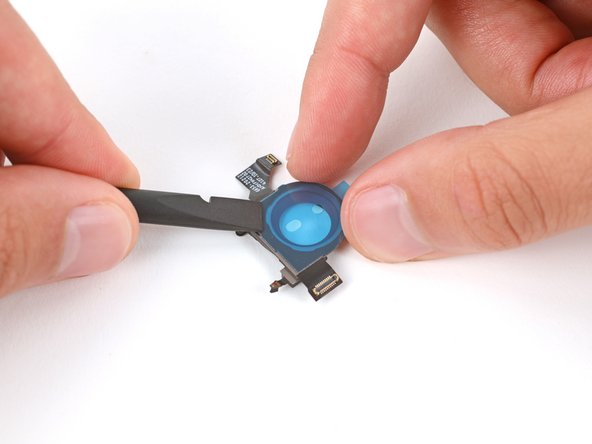


Apply new autofocus sensor adhesive
-
Remove the larger, clear plastic liner from your replacement autofocus sensor adhesive.
-
Carefully apply the adhesive to the bottom of the sensor and press down firmly with a spudger to secure it.
-
Peel up the remaining blue liner.
Tus contribuciones son autorizadas bajo la licencia de código abierto de Creative Commons.