Traduciendo paso 35
Paso 35


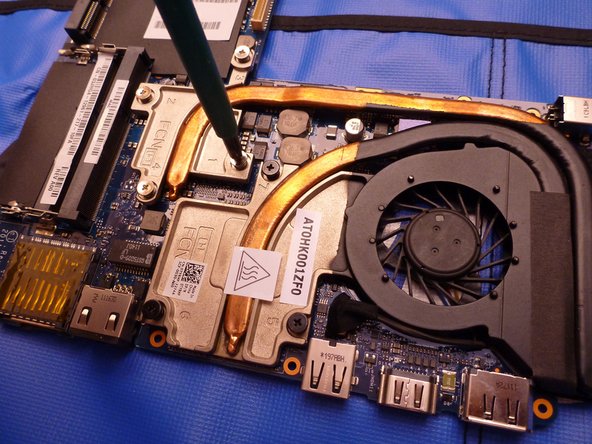


Remove heat sink and apply thermal paste
-
To remove the heatsink and replace thermal paste, remove the screws in the correct order (marked with a number on the heatsink).
-
Rescrew in the correct order (refer to the numbers on the heat sink).
Tus contribuciones son autorizadas bajo la licencia de código abierto de Creative Commons.