Traduciendo paso 20
Paso 20


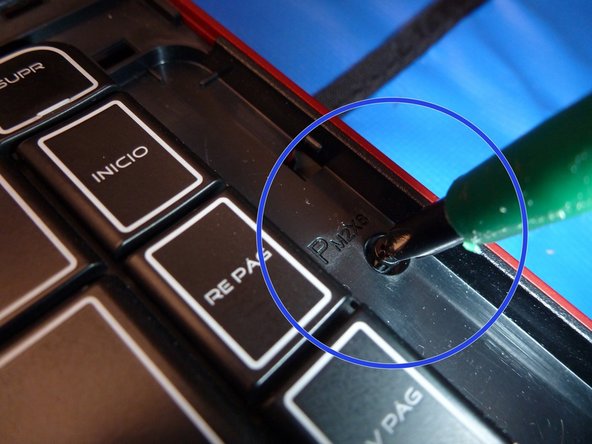


Remove more chassis screws
-
Continue taking out the chassis by unscrewing the 3 shown screws.
-
First one to the left of the RGB bus data cable.
-
Second one at bottom near the touchpad.
-
Third one on the right edge of the laptop.
Tus contribuciones son autorizadas bajo la licencia de código abierto de Creative Commons.