Saltar al contenido principal

Procedimiento de apertura del iPad Pro de 10.5 "

Aviso: Ahora estás editando un requisito previo de la guía que estabas viendo. Cualquier cambio que realices afectará a todas las 21 guías que incluyen este paso.

Inglés
Español
Paso 6
iPad Pro 10.5" Opening Procedure: paso 0, imagen 1 de 3 iPad Pro 10.5" Opening Procedure: paso 0, imagen 2 de 3 iPad Pro 10.5" Opening Procedure: paso 0, imagen 3 de 3
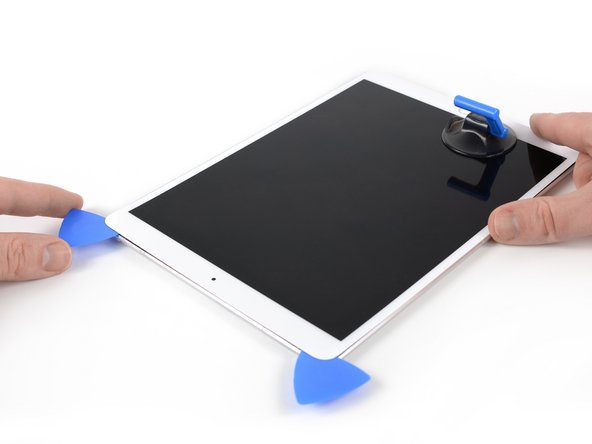
  • Insert a third opening pick at the top left corner of the iPad.

  • Use the opening pick to cut the adhesive under the top edge of the iPad by sliding it to the top right corner.

  • The front-facing camera is located right in the center of the iPad's top edge and can be damaged if the pick is inserted too far. Only insert the tip of the opening pick when cutting near the camera.

Inserta una tercera púa de apertura en la esquina superior izquierda del iPad.

Usa la púa de apertura para cortar el adhesivo debajo del borde superior del iPad deslizándolo hacia la esquina superior derecha.

La cámara frontal está ubicada justo en el centro del borde superior del iPad y puede dañarse si la púa se inserta demasiado. Solo inserta la punta de la púa de apertura cuando corte cerca de la cámara.

Tus contribuciones son autorizadas bajo la licencia de código abierto de Creative Commons.