Saltar al contenido principal

Procedimiento de apertura del iPad Pro de 10.5 "

Aviso: Estás editando una guía de requisitos previos. Cualquier cambio que realices afectará a todas las 21 guías que incluyen este paso.

Inglés
Español
Paso 7
iPad Pro 10.5" Opening Procedure: paso 0, imagen 1 de 3 iPad Pro 10.5" Opening Procedure: paso 0, imagen 2 de 3 iPad Pro 10.5" Opening Procedure: paso 0, imagen 3 de 3
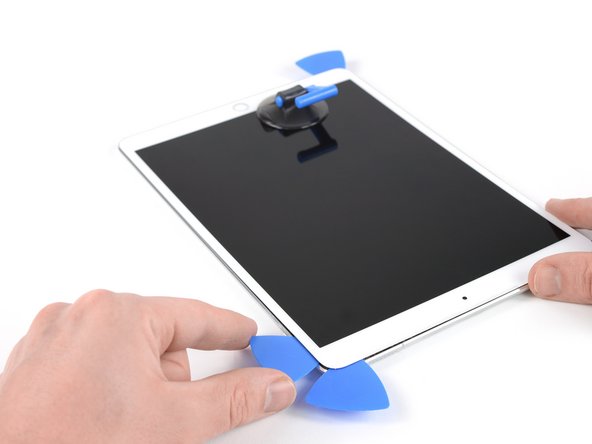
  • Apply heat to the final, right edge of the iPad for about two minutes, or until it's slightly too hot to touch comfortably.

  • Insert a fourth opening pick at the top right corner of the iPad.

  • Slide the opening pick down to the bottom right corner to cut the adhesive.

  • Slide the opening pick around the bottom right corner—pausing to apply more heat if needed—and cut the remaining adhesive on the bottom edge, but stop before you reach the home button.

Aplica calor al borde final derecho del iPad durante unos dos minutos, o hasta que esté un poco demasiado caliente para tocarlo cómodamente.

Inserta una cuarta púa de apertura en la esquina superior derecha del iPad.

Desliza la púa de apertura hacia la esquina inferior derecha para cortar el adhesivo.

Desliza la púa de apertura alrededor de la esquina inferior derecha, haciendo una pausa para aplicar más calor si es necesario, y corta el adhesivo restante en el borde inferior, pero deténte antes de llegar al botón de inicio.

Tus contribuciones son autorizadas bajo la licencia de código abierto de Creative Commons.