Traduciendo paso 4
Paso 4


-
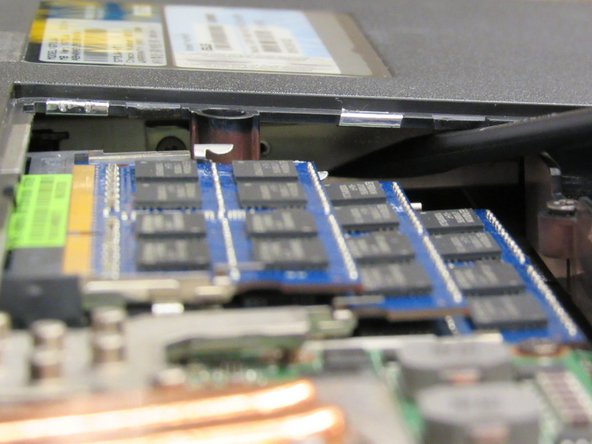
Insert the plastic opening tool in the gap between the motherboard and the back panel, directly to the right of the RAM cards.
-
Gently push the optical drive outwards. This should require very little pressure.
-
Grab the loose optical drive with your fingers and pull it free.
Tus contribuciones son autorizadas bajo la licencia de código abierto de Creative Commons.