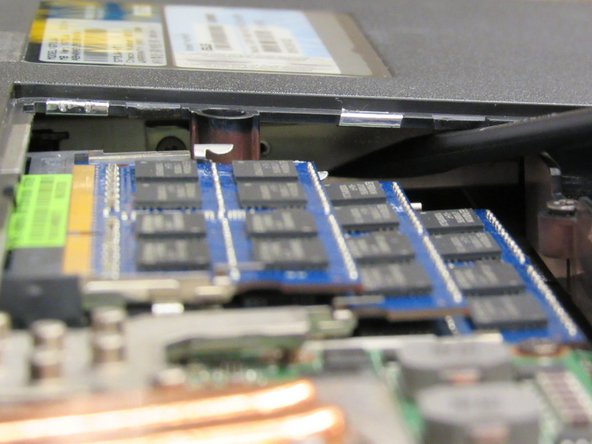
Saltar al contenido principal

Asus G73JW-XT1 Optical Drive Replacement

Qué necesitas

  1. Asus G73JW-XT1  Optical Drive Replacement, Battery: paso 1, imagen 1 de 1
    • Flip the device over so the battery port is easy to access.

  2. Asus G73JW-XT1  Optical Drive Replacement: paso 2, imagen 1 de 2 Asus G73JW-XT1  Optical Drive Replacement: paso 2, imagen 2 de 2
    • Slide the left slider to the left so that it locks in place.

    • Slide the right slider to the right while pushing the battery away from you. The battery should disconnect.

  3. Asus G73JW-XT1  Optical Drive Replacement, Optical Drive: paso 3, imagen 1 de 2 Asus G73JW-XT1  Optical Drive Replacement, Optical Drive: paso 3, imagen 2 de 2
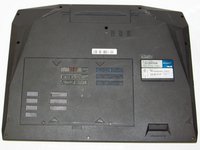
    • Turn the device off and remove any power cords. Dissassembling the device while it is under power may result in electric shock and potential damage to the device.

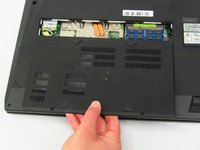
    • Rotate the device so the battery port is facing away.

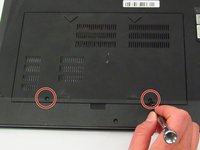
    • Remove two 5.5 mm Phillips #0 screws on the back panel.

  4. Asus G73JW-XT1  Optical Drive Replacement: paso 4, imagen 1 de 3 Asus G73JW-XT1  Optical Drive Replacement: paso 4, imagen 2 de 3 Asus G73JW-XT1  Optical Drive Replacement: paso 4, imagen 3 de 3
    • Insert the opener tool into the small groove at the edge of the panel.

    • Using opener tool, gently pry the back panel upward until it lifts free from the device.

    • Gently lift the panel off with your fingers.

  5. Asus G73JW-XT1  Optical Drive Replacement: paso 5, imagen 1 de 1
    • Remove one 5.5 mm Phillips #0 screw directly to the right of the RAM cards.

  6. Asus G73JW-XT1  Optical Drive Replacement: paso 6, imagen 1 de 2 Asus G73JW-XT1  Optical Drive Replacement: paso 6, imagen 2 de 2
    • Insert the plastic opening tool in the gap between the motherboard and the back panel, directly to the right of the RAM cards.

    • Gently push the optical drive outwards. This should require very little pressure.

    • Grab the loose optical drive with your fingers and pull it free.

Conclusión

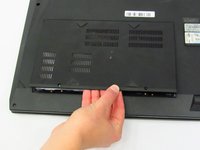
To reassemble your device, follow these instructions in reverse order.

Una persona más ha completado esta guía.

0 comentarios

Agregar Comentario

Ver Estadísticas:

Ultimas 24 horas: 0

Ultimos 7 días: 1

Ultimos 30 días: 3

Todo El Tiempo: 301