Esta traducción podría no reflejar los cambios más recientes añadidos a la guía de referencia. Ayúdanos a actualizar la traducción o revisa la guía original.
Introducción
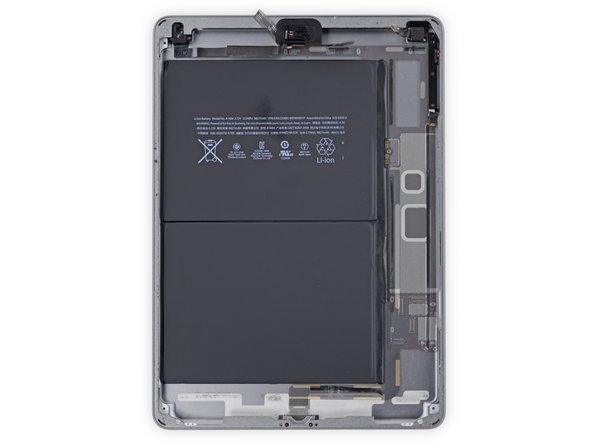
使用本指南更换 iPad Air 中的电池。
为了安全起见,请在开始工作之前耗尽 iPad 的电池电量——如果电池意外损坏,已充电的锂离子电池可能会着火或爆炸。 如果你的电池膨胀,请采取额外的预防措施。
警告:本指南中的电池隔离方法已过时,可能会对逻辑板的电池引脚造成不可逆转的损坏,从而有效地破坏逻辑板。 如果你选择以这种方式隔离电池,请注意所有警告并极其小心地工作。 如果你选择在不隔离电池的情况下完成指南,除非在完全必要的情况下(例如拆除螺丝时),请避免使用金属工具,以防止电池短路和损坏敏感电路元件。
Qué necesitas
-
-
在锅或平底锅里装满足够的水来完全淹没iOpener。
-
把水加热到沸腾。关火。
-
将iOpener放入热水中2-3分钟。确保iOpener完全浸入水中。
-
用钳子从热水中提取加热的iOpener。
-
用毛巾彻底擦干iOpener。
-
你的iOpener已准备好使用!如果你需要重新加热iOpener,请将水加热到沸点,关火,并将iOpener放入水中2-3分钟。
-
-
-
如果您的显示屏玻璃已经碎裂,防止显示屏玻璃在您维修时进一步伤害您,请使用胶带来固定已经碎裂的屏幕。
-
给iPad 的正面整面贴上胶带。
-
尽量根据下面的指南进行操作。但,一旦玻璃破碎,请停下拆解并使用金属撬刀撬出玻璃,避免更多的碎裂。
-
-
-
-
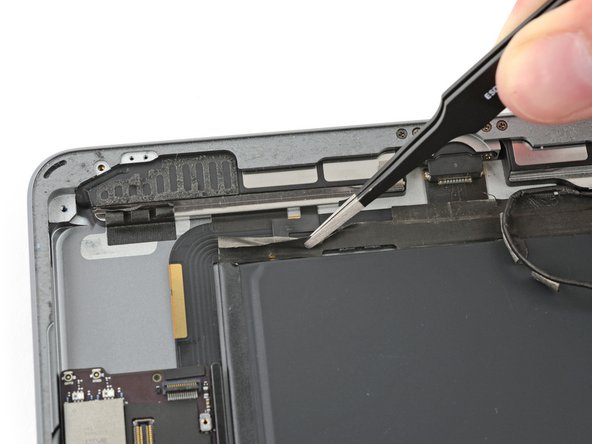
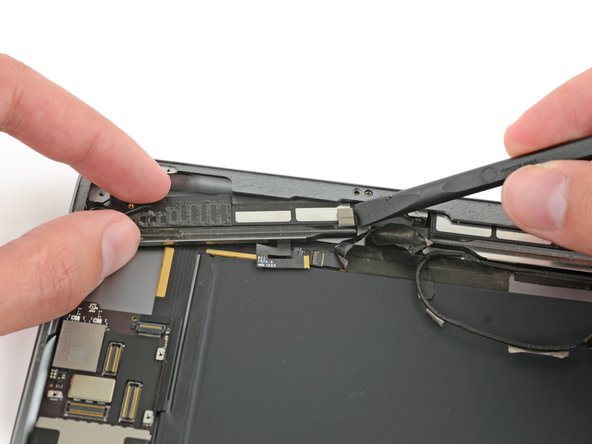
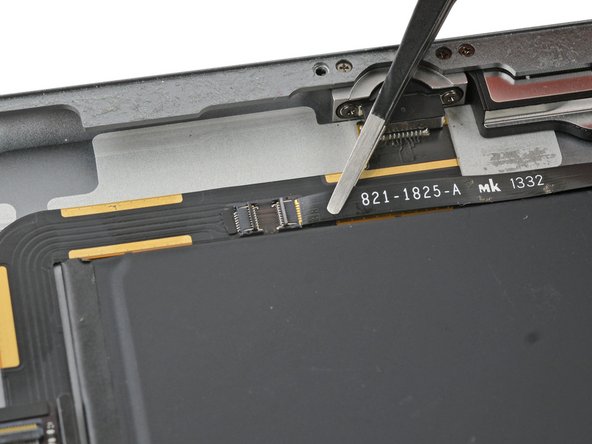
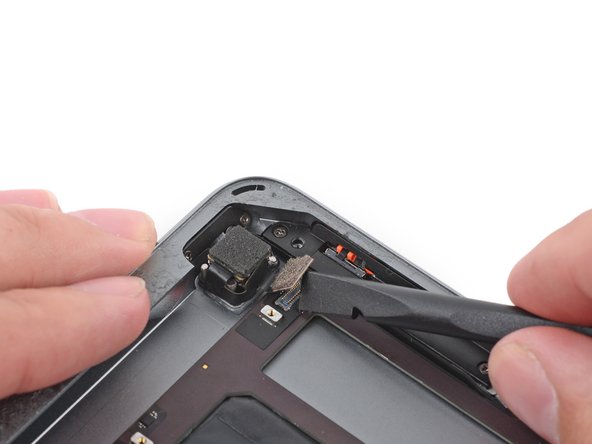
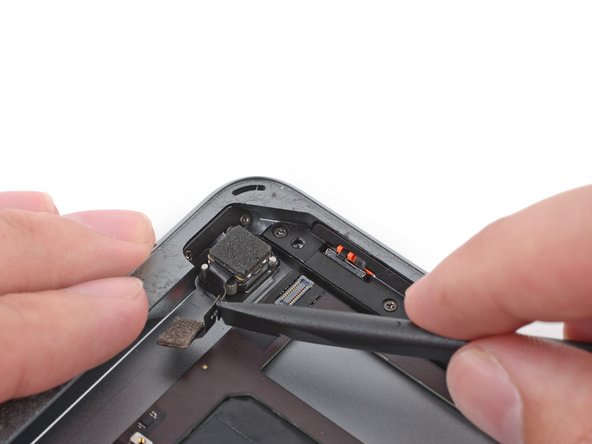
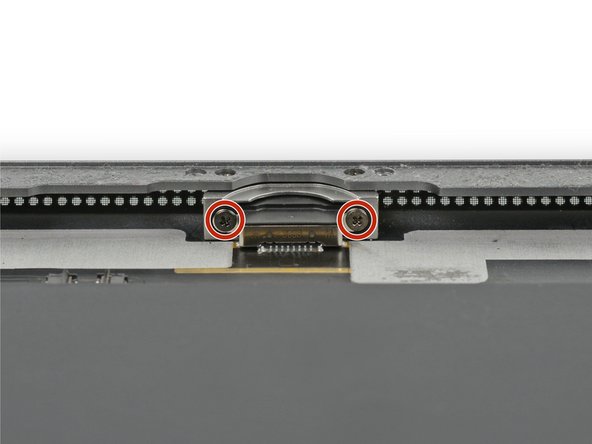
移除前面板组件
-
如果您的新屏幕遇到“幽灵”或“幻影”触摸输入问题,可以通过在面板背面的标注区域粘贴一层非常薄的绝缘胶带,例如Kapton (聚酰亚胺)胶带,来解决这个问题。 iFixit面板具有良好的绝缘性,不需要粘贴任何胶带。
-
-
-
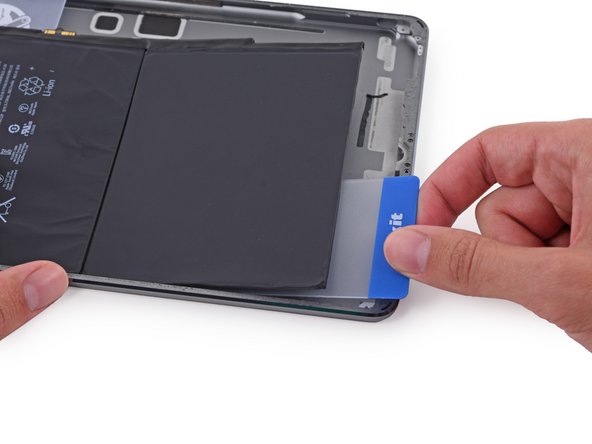
下面的步骤将指引你利用加热来软化保护着电池的胶水。你也可以用另一个更加安全的方法—在电池和后盖之间注射有机溶剂(比如iFixit adhesive remover )来溶解胶水。
-
在微波炉中重新加热iOpener 30秒钟。
-
将加热过的iOpener放在iPad背面的中央。 让它放在那里90秒以软化电池胶。
-
将iOpener移动到右侧(远离后置摄像头),然后让iOpener再放置90秒。
-
最后,将iOpener移动到iPad的右侧边缘等待90秒。
-


要重新组装您的设备,请按照该指南并按照相反的顺序重新组装。
要重新组装您的设备,请按照该指南并按照相反的顺序重新组装。
Cancelar: No complete esta guía.
219 personas más completaron esta guía.
Un agradecimiento especial a estos traductores:
94%


Estos traductores nos están ayudando a reparar el mundo! ¿Quieres contribuir?
Empezar a traducir ›


55 comentarios
I attempted the battery replacement and it all went to plan until I tried to boot up the iPad. Nothing happens until you plug it in, when you plug it in the apple logo comes up then it dies again. Any advice????
May be a faulty battery, try with a known working battery
Scott S -
Mason, did you find a solution? I’m having the exact same problem after replacing the battery…
Dustin -
I just put the screen less iPad on a hotplate at 65 to 70 degrees to warm up the case. Use dental floss under the battery to slice the adhesive away. No sharp tools needed
Best way to position?
Scott S -