Esta traducción la ha hecho un programa y todavía no la ha revisado nadie. ¿Hablas este idioma? Échale un vistazo.
Introducción
Utilice esta guía para actualizar o reemplazar su unidad óptica.
Qué necesitas
-
-
-
Afloje los dos tornillos Phillips cautivos que sujetan la puerta de acceso al iMac.
-
Retire la puerta de acceso del iMac.
 Pregunta a FixBot
-
-
-
-
-
Retire los cuatro tornillos siguientes:
-
Tres Torx T8 de 6 mm.
-
Un Torx T8 de 8 mm.
-
-
-
Dale la vuelta a tu iMac y colócalo con el soporte hacia abajo sobre una superficie plana.
-
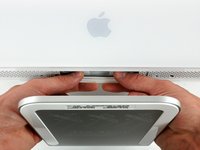
Para levantar el bisel frontal del iMac, simultáneamente:
-
Utilice los pulgares para presionar los brazos de la RAM y mantener presionada la iMac.
-
Utilice los dedos índice para tirar del pequeño puente de material del bisel frontal hacia usted.
-
Tire del bisel frontal hacia arriba con los dedos índice.
-
Una vez que el pequeño puente de material haya salido de los brazos de la RAM, levante el bisel frontal por su borde inferior lo suficiente para dejar libre el borde inferior de la caja trasera.
-
-
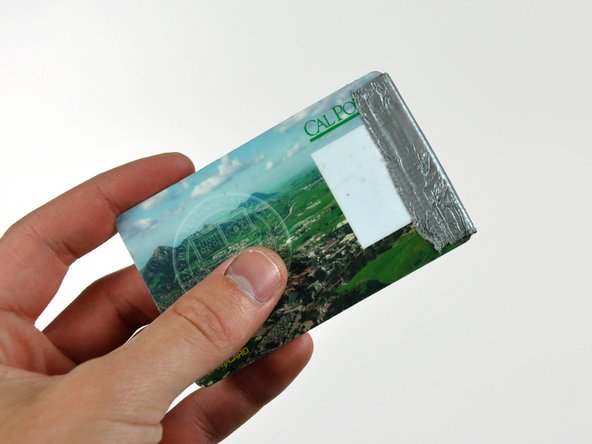
Herramienta utilizada en este paso:Plastic Cards$2.99
-
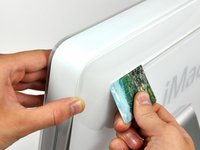
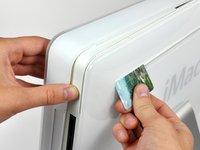
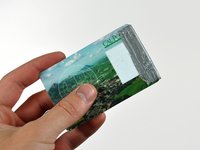
Inserte una tarjeta plástica en la esquina de la ranura de ventilación cerca de la parte superior de la carcasa trasera.
-
Empuje la tarjeta hacia la parte superior del iMac para liberar el pestillo del bisel frontal.
-
Retire el bisel frontal de la caja trasera.
-
Repita este proceso para el otro lado del bisel frontal.
-
Si el bisel se niega a soltarse, intente presionar el borde inferior hacia la caja trasera y repita este proceso de apertura.
-
-
-
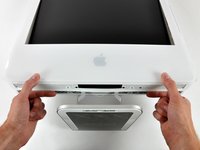
Coloque su iMac con la base hacia abajo sobre una mesa.
-
Levante el bisel frontal desde su borde inferior y gírelo para alejarlo del resto de su iMac, teniendo cuidado con los brazos de RAM que pueden quedar atrapados.
-
Coloque el bisel frontal sobre el resto del iMac.
-
-
-
Si es necesario, retire el trozo de cinta kapton (no hay problema si lo tira) que está enrollado alrededor de los cables del micrófono y de la cámara.
-
-
-
-
-
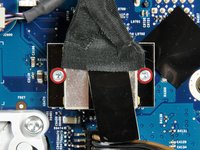
Retire los dos tornillos Torx T6 de 4,8 mm que sujetan el cable de datos de la pantalla a la placa lógica.
-
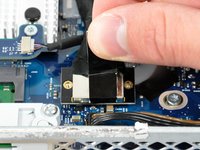
Sujete el conector del cable de datos de la pantalla por su pestaña negra y tire de él hacia arriba para sacarlo de la placa lógica.
-
-
-
-
El cable inversor del iMac de 24 pulgadas se desvía hacia la izquierda.
-
Tire del conector del cable inversor hacia arriba para sacarlo de su zócalo en la placa lógica.
-
-
-
Retire la cinta EMI de aluminio de los dos bordes verticales de la pantalla.
-
-
Herramienta utilizada en este paso:TR10 Torx Security Screwdriver$5.99
-
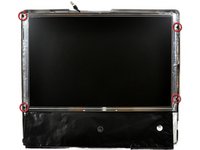
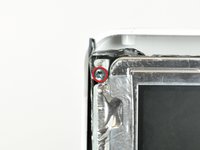
Retire los cuatro tornillos Torx T10 de rosca gruesa de 8 mm y 2 mm de espesor que fijan la pantalla a la carcasa trasera.
-
-
-
Levante la pantalla desde su borde inferior y tire de ella hacia usted para quitar el protector EMI adherido a su borde superior.
-
-
-
-
Retire los dos tornillos Torx T10 de 7 mm que sujetan el clip de la unidad óptica a la placa lógica.
-
-
-
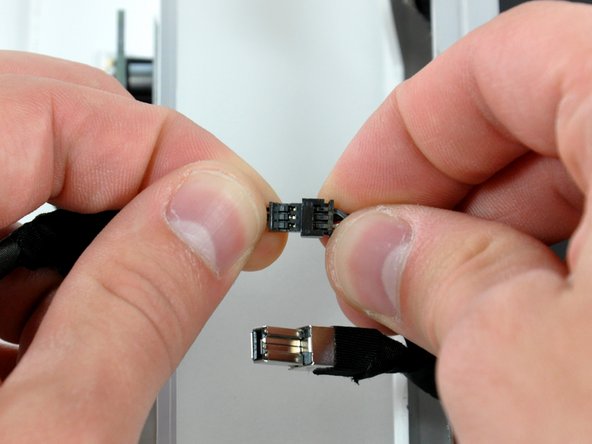
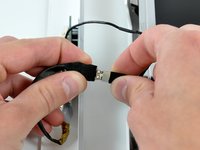
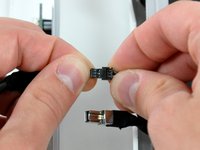
Retire el conector del cable del sensor térmico de la unidad óptica de su zócalo en la placa lógica.
-
-
-
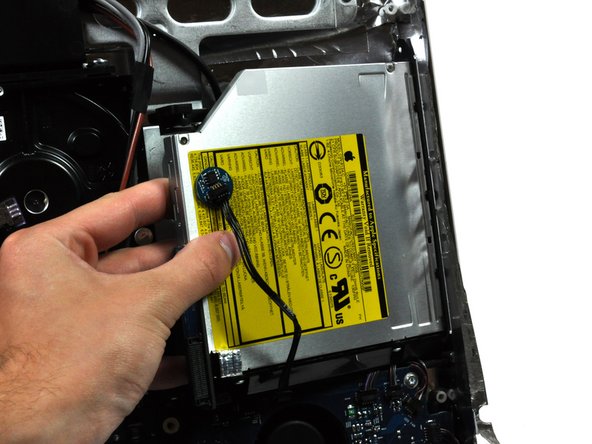
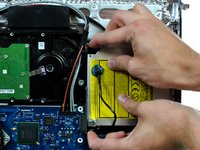
Apriete las dos orejas del soporte de la unidad óptica mientras tira de la unidad hacia usted.
-
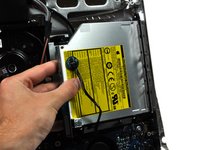
Retire la unidad óptica del costado del panel trasero y retírela del iMac.
-
-
-
-
-
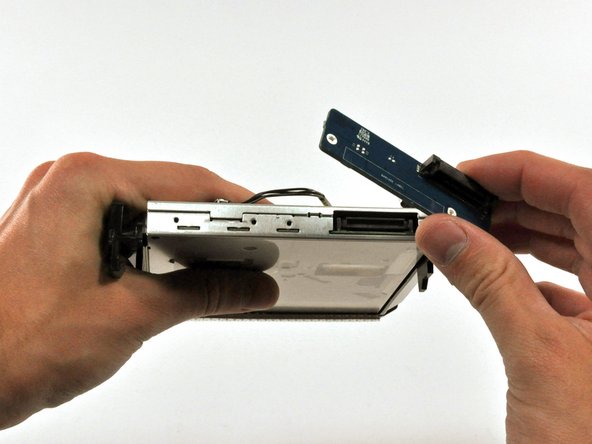
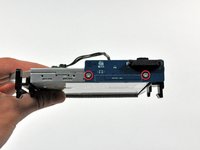
Quita los dos tornillos Torx T6 que fijan la Placa del conector al disco óptico.
-
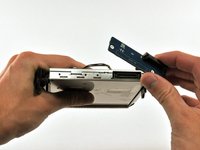
Separa la Placa del conector del disco óptico.
-
-
-
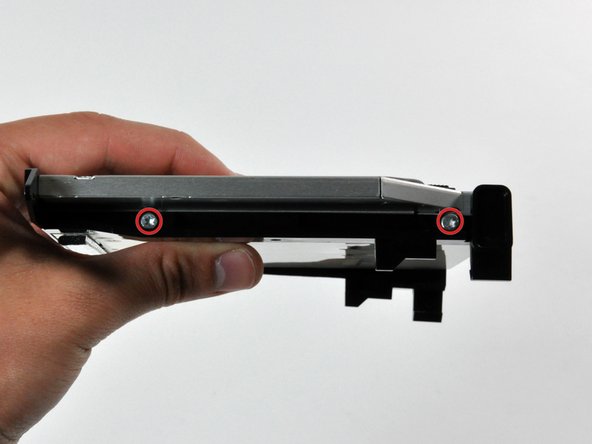
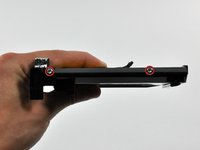
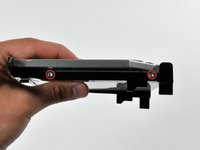
Quita los dos tornillos Torx T10 de cada lado del disco óptico (cuatro tornillos en total).
-
-
-
Usa el extremo plano de un spudger para retirar la junta EMI de la parte inferior del disco óptico.
-
-
-
Usa el extremo afilado de un spudger para empujar las pestañas del soporte del disco óptico fuera de sus ranuras en la parte inferior del disco óptico.
-
-
-
Usando el extremo afilado de un spudger, premotor la pestaña del soporte del disco óptico fuera de su ranura en el lateral del disco óptico.
-
-
-
Empuja las pestañas del soporte del disco óptico fuera de sus ranuras en la parte superior del disco óptico.
-
-
-
Tira del disco óptico para separarlo de su soporte, prestando atención a cualquier lengüeta que todavía pueda estar atrapada en sus ranuras.
-
-
-
Usa el extremo plano de un spudger para quitar la junta EMI de la parte superior del disco óptico.
-
-
-
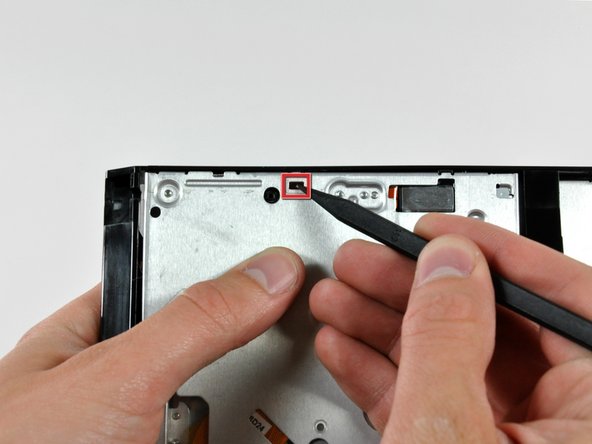
Usa el extremo plano de un spudger para hacer palanca en el sensor térmico del disco óptico y separarlo del adhesivo que lo mantiene sujeto a la parte superior del disco óptico.
-
No olvides transferirlo a tu nuevo disco.
-
-

















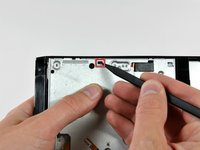


Para volver a ensamblar el dispositivo, siga estas instrucciones en orden inverso.
Cancelar: No complete esta guía.
26 personas más completaron esta guía.
Un agradecimiento especial a estos traductores:
100%

¡ Angel nos está ayudando a reparar el mundo! ¿Quieres contribuir?
Empezar a traducir ›

2Guía Comentarios
There are two things not mentioned in this guide (which is, all-in-all very good)
1. There is a short lead connected through the EMI shielding at the top of the IMac to th right (inside vie) of the camera board, to a very small daughter card marked Apple 820 2009-A 2006 srewed to the inside upper ABS case surface by a single 1mm torx screw. The lead s othere end goes to the power board. Check this has not been severed. I extended mine.
2. The Super drive DVD drive is very difficult to re-position because apart from the mounting frame ears mentioned, there are two "dowels" moulded into the ABS bezel. If these are not correctly aligned when fitting, then the CD/DVD will not eject because of the mis-alinement. The ears can be difficult to release because the unit is forced against the logic board at the point where the board to drive connector is situated.
I didn't buy a DVD I'm taking it out of my other 27" IMAC I'm hoping this works as there was no mention of what drive to use buy but this is an excellent guide and I hope others have easier time also I'm replacing the screen new>(LP171WU1 (TL)(A3) LINES in it from walmart $54.00 and got a deal on V4 adapter. Thank you all for this info .
