Traduciendo paso 2
Paso 2

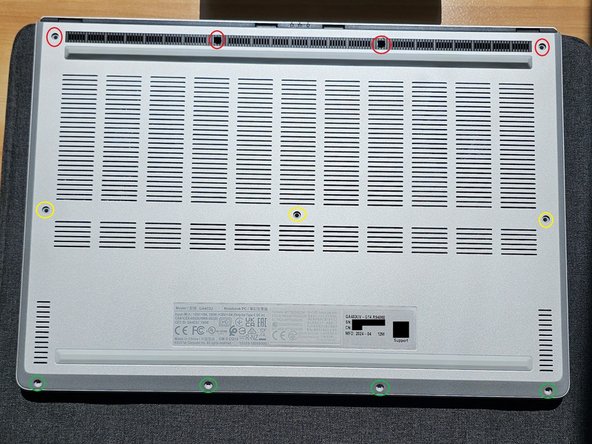
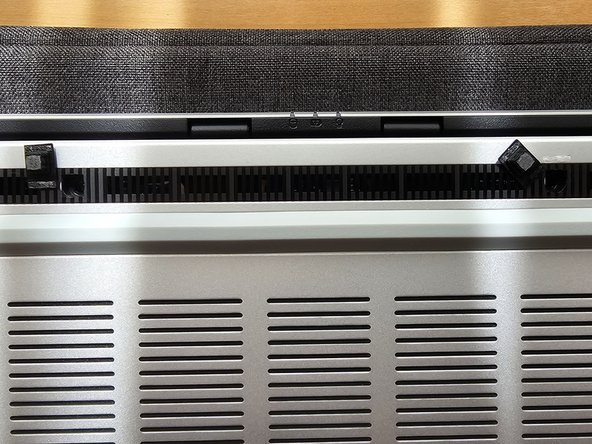


Remove the Bottom Cover Screws
-
After the clone process is complete go ahead and shut down the laptop and remove any usb drives, dongles, and power cord from the laptop.
-
Flip the laptop over and put it on a soft work pad, I used the laptop sleeve to protect the lid from getting scratches on it.
-
Remove the 11 screws that fasten the bottom cover with the Torx 6 bit. There are 2 rubber stoppers that need to be removed to get access to 2 of the screws. I used the toolkit lid to keep the screws organized since there are a few different screw sizes.
Tus contribuciones son autorizadas bajo la licencia de código abierto de Creative Commons.