Introducción
Follow this guide to replace the disc drive (also called the optical drive) on your Xbox One X model 1787. You might do this if other troubleshooting steps don’t fix disc-reading issues.
Turn off the console and unplug any cables before beginning this guide. Follow general electrostatic discharge (ESD) safety procedures while repairing the console.
Because the disc drive’s circuit board is linked to the console’s motherboard, you will need to transfer the original board into the replacement disc drive. This will require you to de-solder and solder two wires. Follow general soldering safety guidelines such as wearing eye protection, working in a well-ventilated area, and washing your hands after with soap and water after soldering.
Qué necesitas
Resumen del Video
-
-
Use blunt tweezers to peel off the sticker covering the right-side screw on the back of the console.
-
-
-
Use a T10 Torx screwdriver to remove the two 12.6 mm–long screws located on the back of the console.
-
-
-
Rotate the console 90 degrees.
-
Pull the front of the upper plastic case horizontally toward the front of the console until it comes to a stop. This slides the clips out of the slots on the upper plastic case.
-
-
-
Rotate the console 90 degrees so that the back is facing you.
-
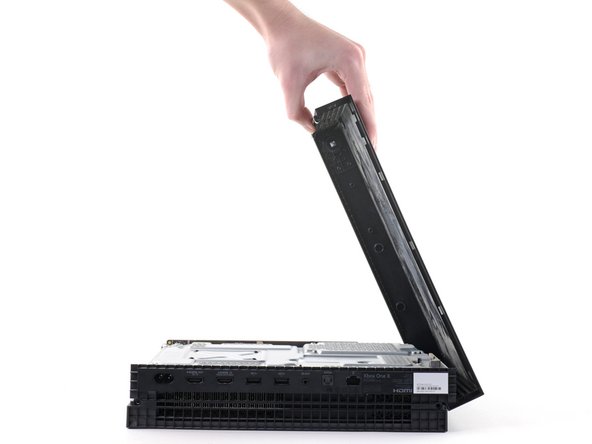
Lift up the left side of the upper plastic case (as viewed from the back of the console), stopping when it won’t lift any further.
-
-
-
Use the pointed end of a spudger, an opening tool, or your fingernail to flip down the small, hinged locking flap on the ribbon cable ZIF connector on the front circuit board.
-
-
-
Use blunt tweezers to pull the ribbon cable down out of the connector.
-
-
-
Use a T8 Torx screwdriver to remove the three 13.3 mm screws securing the front circuit board to the upper metal case.
-
-
-
Pull the front circuit board straight out away from the upper metal case and set it aside.
-
-
-
Use a T10 Torx screwdriver to remove the six 47.7 mm screws securing the upper metal case to the lower plastic case.
-
Use a T8 Torx screwdriver to remove the two 7.5 mm screws securing the press connector to the upper metal case.
-
-
-
Insert the flat end of a spudger underneath the press connector on the side opposite of the ribbon cable.
-
Use the spudger to lift the press connector up and away from the upper metal case.
-
-
-
-
Flip the console over.
-
Lift the lower plastic case up from the metal case and set it aside.
-
-
-
Remove the two T10 Torx screws securing the lower metal case:
-
One 7.7 mm screw
-
One 11.4 mm screw
-
-
-
Lift the lower metal case up off the upper metal case and internal components.
-
Set the lower metal case aside.
-
-
-
Flip the console over.
-
Use a T10 Torx screwdriver to remove the two 11.4 mm screws securing the power supply to the upper metal case
-
-
-
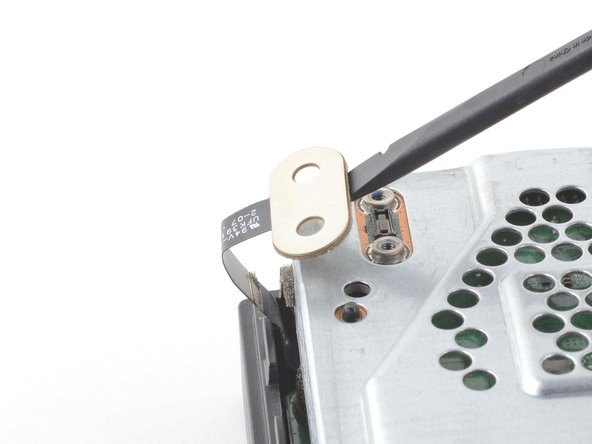
Lift the disc drive so that its metal tab is unhooked from the power supply.
-
Place the disc drive on the upper metal case so that it sits over the hard drive. You'll need enough space to unplug the power supply from the motherboard.
-
-
-
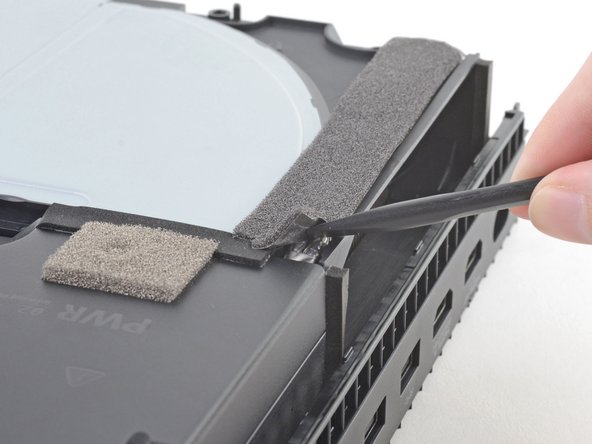
Insert the flat end of the spudger underneath the dark grey foam tape starting at the corner closest to the power supply and edge of the console.
-
Lift up the corner.
-
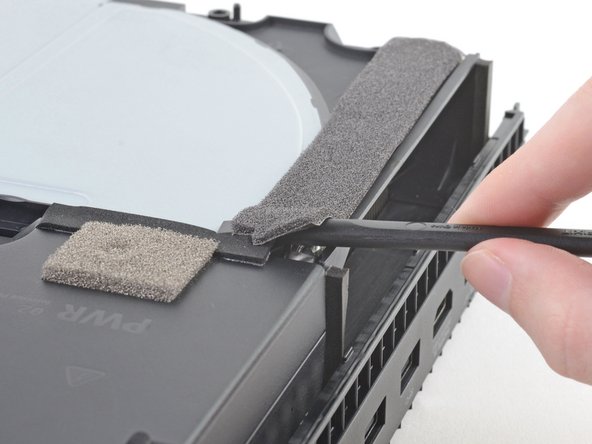
Slowly push the spudger through to the other side of the tape until you can see the flat end emerge.
-
-
-
Lift the power supply directly upward to unplug it from the motherboard.
-
-
-
After the power supply is unplugged from the motherboard, rotate and lift it away from the console.
-
Place the power supply so that it is sitting on its side just outside the upper metal case.
-
-
-
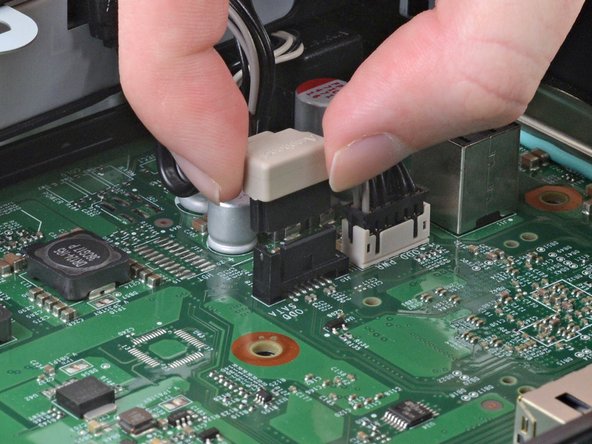
Unplug the SATA cable connecting the disc drive to the motherboard by pulling directly upward.
-
-
-
Slide the rubber vibration dampener off of the disc drive.
-
-
-
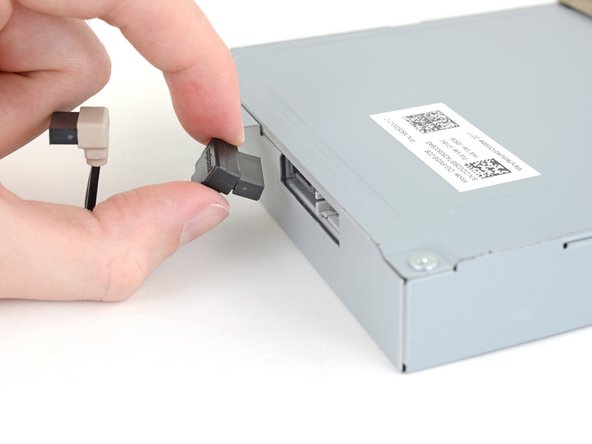
Unplug the bundled cable connector from the disc drive.
-
-
-
Use a Phillips screwdriver to remove the four 3.7 mm screws securing the disc drive cover.
-
-
-
Use the tip of a spudger, an opening tool, or your fingernail to flip up the small, hinged locking flap on the large ribbon cable ZIF connector.
-
-
-
Use the tip of a spudger, an opening tool, or your fingernail to flip up the small, hinged locking flap on the small ribbon cable next to the large ribbon cable ZIF connector.
-
-
-
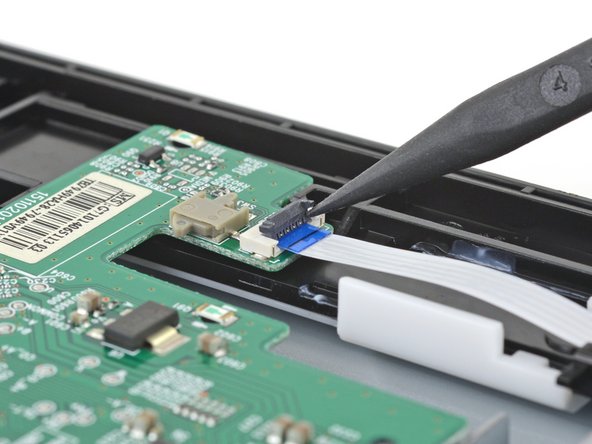
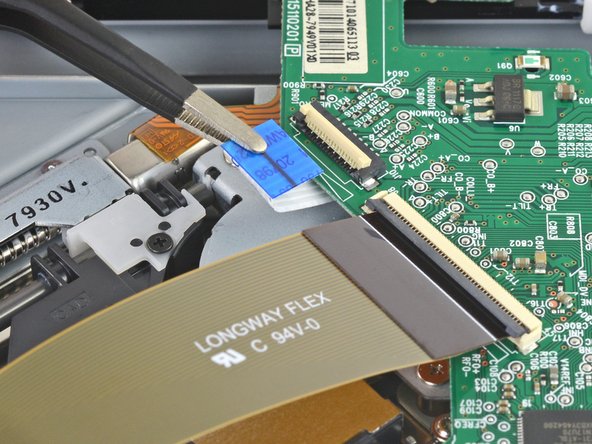
Use the tip of a spudger, an opening tool, or your fingernail to flip up the small, hinged locking flap on the long ribbon cable in the corner of the disc drive ZIF connector.
-
-
-
Use blunt tweezers to pull out each of the three ribbon cables in the direction of the cable.
-
-
-
Use a soldering iron to desolder the red wire in the corner of the disc drive circuit board.
-
Then, desolder the adjacent black wire. Use blunt tweezers to hold and pull away the wires from the circuit board.
-
-
-
Use a Phillips screwdriver to remove the three 3.4 mm screws securing the circuit board to the disc drive case.
-
-
-
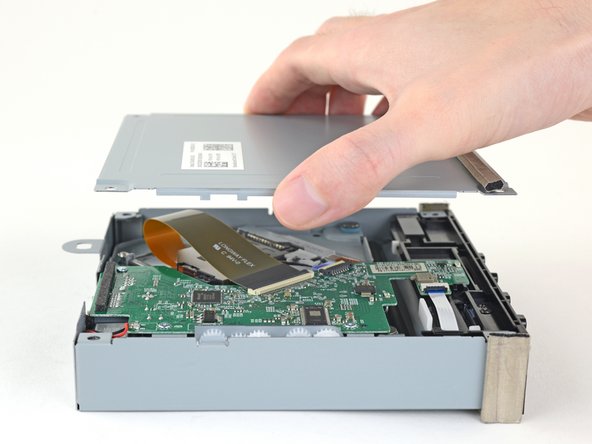
Lift the circuit board out of the disc drive case and transfer it to the replacement drive.
-


To reassemble your device, follow these instructions in reverse order.
Take your e-waste to an R2 or e-Stewards certified recycler.
Repair didn’t go as planned? Try some basic troubleshooting, or ask our Xbox One X Answers community for help.
To reassemble your device, follow these instructions in reverse order.
Take your e-waste to an R2 or e-Stewards certified recycler.
Repair didn’t go as planned? Try some basic troubleshooting, or ask our Xbox One X Answers community for help.
Cancelar: No complete esta guía.
13 personas más completaron esta guía.

Un comentario
I bought a One X for cheap and it worked but the Disc drive didn't - it couldn't pull in the discs; I opened it up, discovered that it was very dusty, cleaned that out and also cleaned the Disc drive, especially the rollers of the mechanism that pushes the disc out or pulls it in, of course also the laser lens, then reassembled it and it works absolutely fine again.