Introducción
The gasket of the brewing unit has to withstand heavy usage. Especially the large O-Ring on the piston needs replacing from time to time. Follow this guide to replace the gasket.
These instructions may also help with other Saeco models and with coffee makers from Philips and Gaggia—they are all made by the same manufacturer and have a very similar design.
Qué necesitas
-
-
-
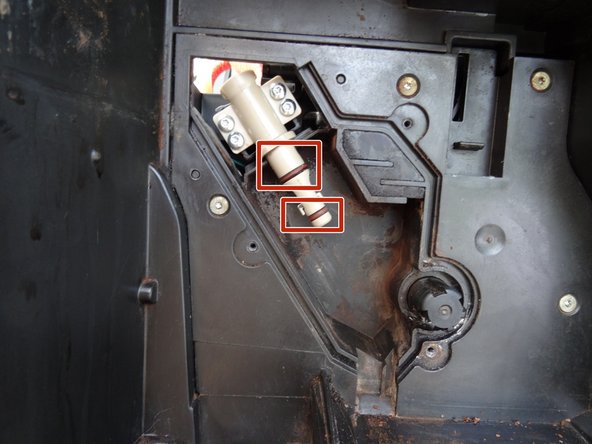
Take this opportunity to carefully replace the two O-rings on the support valve. The larger one is at the top. These two seals are stressed during every brewing process. Therefore, lubricate them with food-safe silicone grease.
-
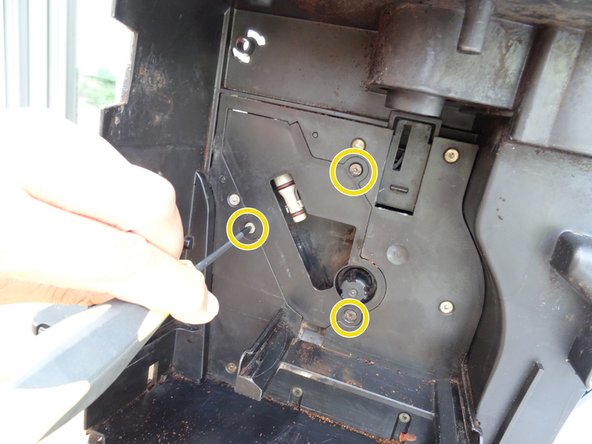
On some models, the support valve is covered. In this case, you must unscrew the cover first.
-


Follow the steps in reverse order to reassemble your device.
Follow the steps in reverse order to reassemble your device.
Cancelar: No complete esta guía.
Una persona más ha completado esta guía.
Un agradecimiento especial a estos traductores:
100%


Estos traductores nos están ayudando a reparar el mundo! ¿Quieres contribuir?
Empezar a traducir ›
Equipo

Repair is War on Entropy Miembro de Repair is War on Entropy
Community
27 Miembros
1,209 Guías creadas