Esta versión puede contener ediciones incorrectas. Cambie a la última instantánea verificada.
Qué necesitas
-
Este paso está sin traducir. Ayuda a traducirlo
-
For single-pump models (Mighty Pro, X3), if the Rug Doctor does not spray at all, the pump requires replacement.
-
For the Wide Track model, if the Rug Doctor does not spray at all, both pumps require replacement.
-
If water splashes out of the nozzles for the Wide Track model but does not spray adequately, check the spray nozzles for clogs first.
-
If the nozzles are clear, one of the two pumps may be defective, not supplying sufficient pressure to the nozzles. If possible, replace both pumps.
-
If you need to determine which of the two pumps requires replacement, switch the Rug Doctor on to the upholstery mode. Do not disconnect the quick-connect for accessories. If water splashes out of the nozzles like the carpet mode, replace the front pump.
-
If water does not splash out of the nozzles in accessory mode, replace the rear pump.
-
-
Este paso está sin traducir. Ayuda a traducirlo
-
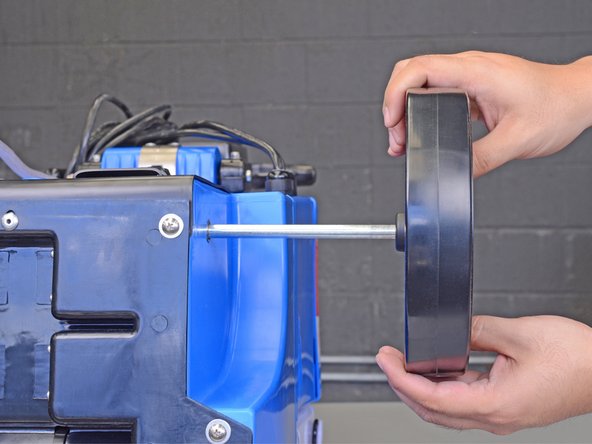
Use pliers to grip and wiggle the axle hub cap to loosen it.
-
Pull the axle cap off.
-
-
Este paso está sin traducir. Ayuda a traducirlo
-
Pull the wheel off of the axle.
-
Pull the other wheel with the attached axle out of the body.
-
Slide the axle and wheels back onto the Rug Doctor.
-
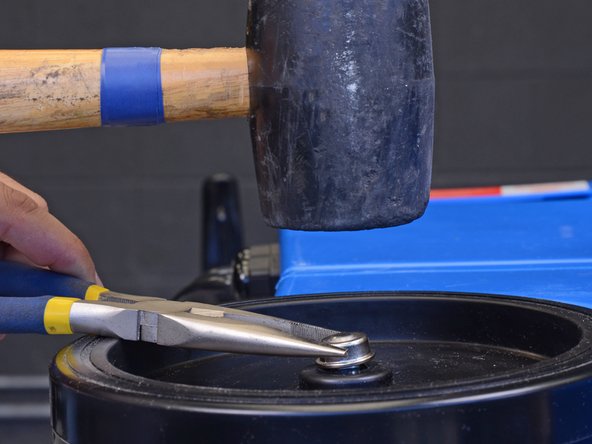
Center a replacement axle hub cap over the exposed axle end.
-
Use a mallet to tap the hub cap in place. It should not feel loose on the axle.
-
-
Este paso está sin traducir. Ayuda a traducirlo
-
Unclip the clear hose from the back of the Rug Doctor.
-
-
Este paso está sin traducir. Ayuda a traducirlo
-
Remove the eight 15.1 mm long Phillips machine screws securing the bottom pan.
-
-
-
Este paso está sin traducir. Ayuda a traducirlo
-
Remove the five 15.1 mm long Phillips machine screws securing the back plate.
-
-
Este paso está sin traducir. Ayuda a traducirlo
-
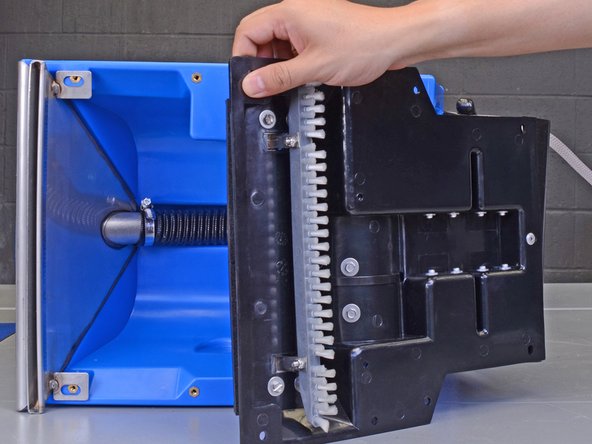
Beginning from the bristle end, carefully pull the bottom pan away from the body, to gain access to the pumps.
-
-
Este paso está sin traducir. Ayuda a traducirlo
-
Carefully note the pump direction indicated by the arrow on its label. The replacement pump must be installed in the same direction as the original.
-
The front pump
-
The rear pump
-
-
Este paso está sin traducir. Ayuda a traducirlo
-
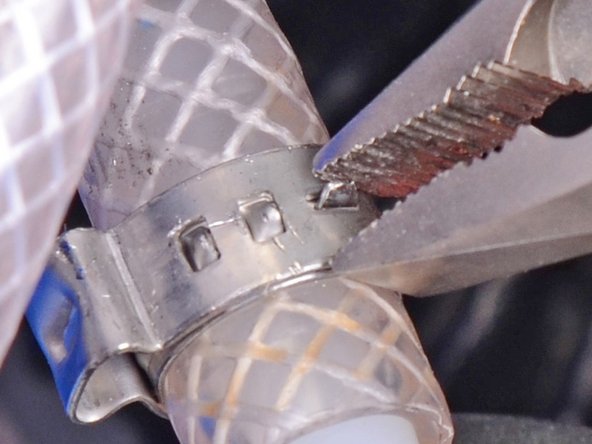
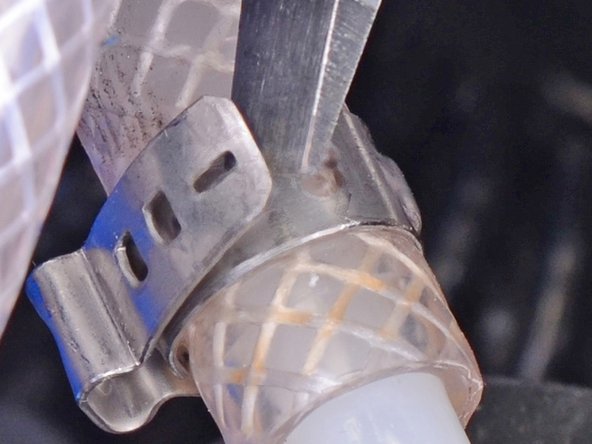
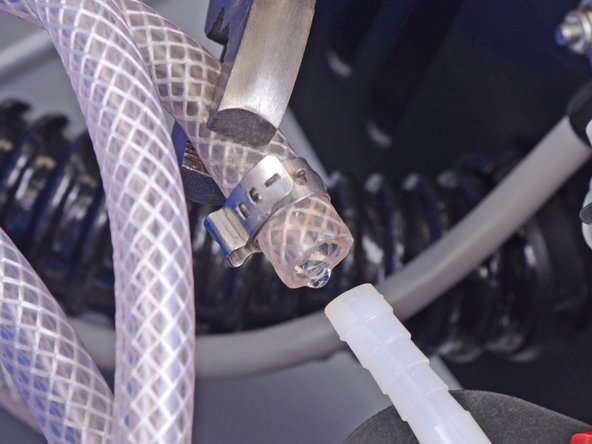
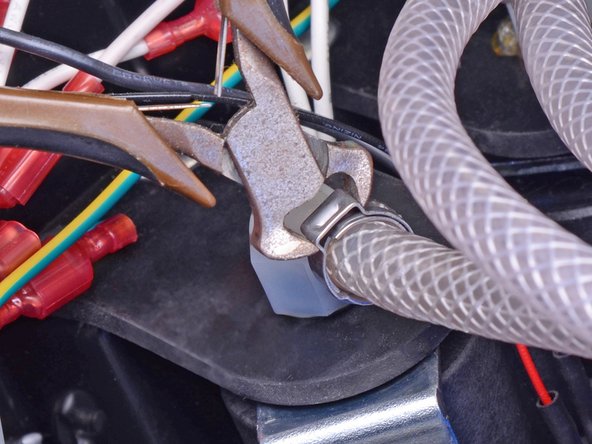
Remove the crimped hose clamps securing from each end of the pump you are replacing.
-
You can use a clamp removal tool to cut the clamps.
-
Alternatively, use pliers to unlatch the small retaining tab on the clamp.
-
Pry the clamp apart to loosen it.
-
Use your fingers or pliers to pull the hoses off of the pump nozzles.
-
-
Este paso está sin traducir. Ayuda a traducirlo
-
Slide the clamp onto the hose, leaving 1/2" of hose at the end.
-
Use hose clamp pliers or straight edge cutters to squeeze and crimp the clamp ears.
-
-
Este paso está sin traducir. Ayuda a traducirlo
-
Cut the zip ties holding the bundle of wires together.
-
Carefully trace the two wires coming out of the pump you are replacing.
-
The pump wires should connect to a black wire and a white wire.
-
There may be a diode attached in-line on the red wire.
-
Disconnect the pump by pulling the wire terminals apart. This may take significant force. Pull at the terminals, not the wires.
-
-
Este paso está sin traducir. Ayuda a traducirlo
-
Re-connect the pump's wires to the Rug Doctor's black and white wires.
-
-
Este paso está sin traducir. Ayuda a traducirlo
-
Pull the rubber mount away from the pump and slide it over the pump nozzle.
-
-
Este paso está sin traducir. Ayuda a traducirlo
-
Remove the pump.
-
Remove the orange caps from the nozzles.
-
Make sure that the pump is installed in the correct direction.
-
Check that the nozzles are pointed towards the back of the machine.
-


Cancelar: No complete esta guía.
28 personas más completaron esta guía.


15 comentarios
I would like to view how to open the housing & replace the pump on the Rug Doctor model DC 1.
My X3 model rug doctor continuously sprays Until it runs out of water doesn't matter if the red button is pressed or not when you turn on the machine, it starts sprain. Any thoughts?
Hi Mike,
Does it full-on spray, or just leak? It could be that the red button is broken. Look through this guide. You may be able to disconnect the spray button wires through the black cutout. If the Rug Doctor still sprays with the button disconnected, then the problem is elsewhere.
We replaced our pump but still does spray. We have the doctor deep carpet cleaner model with single pump.
Do you know which way for sure the pump nozzles should be facing on our model? Maybe they’re in wrong though we are hundred percent sure it’s in how old one came out.