Introducción
If the vacuum cleaner only runs for a short time, the batteries are exhausted. The batteries are readily available, but you need to be good at soldering to replace them.
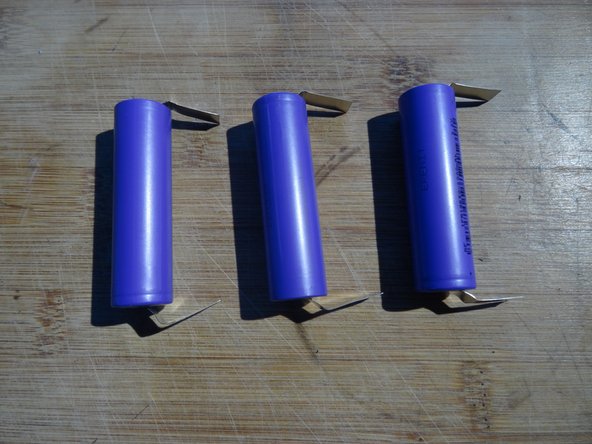
You will need three 18650 batteries with U-shaped soldering tabs and a voltage of 3.7 volts.
Qué necesitas
-
-
Remove all attachments, leaving only the base unit.
-
Unscrew the five Phillips screws.
-
-
-
-
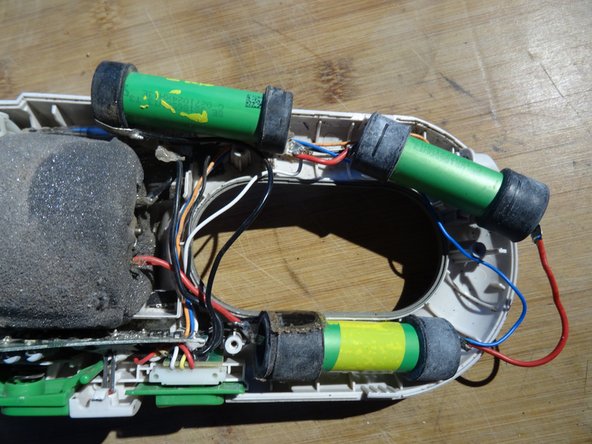
The batteries - shown here in green - are easy to see. They are held in the device by rubber buffers.
-
You need three 18650 batteries with U-shaped solder tabs. The higher the capacity, the longer you can vacuum. Use types with a nominal voltage of 3.7 V and a charging voltage of 4.1 V.
-
To be on the safe side, measure the voltage of each cell. They should all be the same.
-
-
-
Carefully lift out the batteries. A fuse and a thermal sensor are glued to the first and third battery.
-
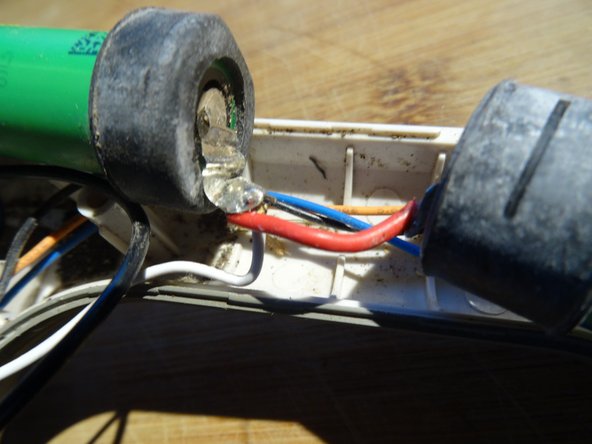
Remove the adhesive tapes and carefully push the fuse and the thermal sensor to the side.
-
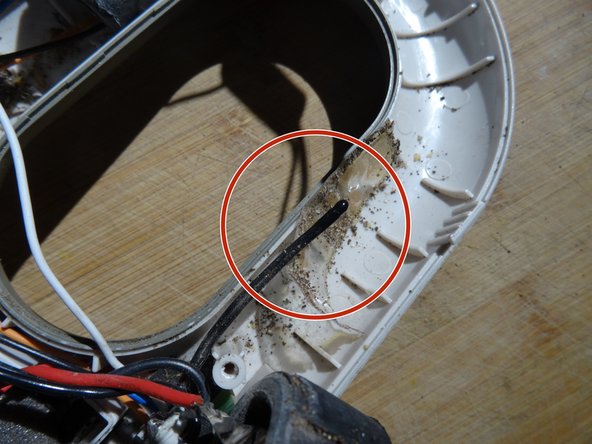
In the third picture you can see the thermal sensor. Note how it is guided through a groove in the rubber buffer and rests against the battery.
-
-
-
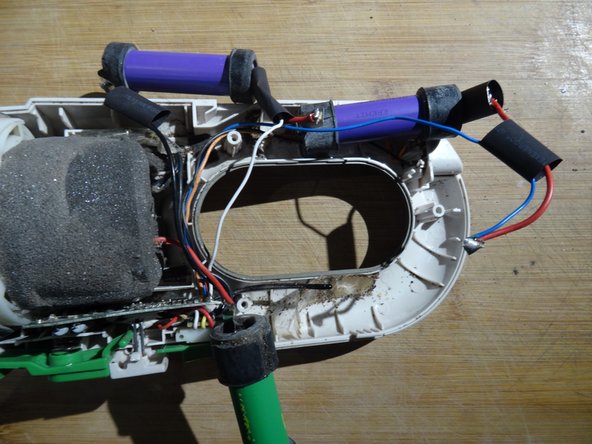
Now comes the main work: soldering. Get some wide heat-shrink tubing that fits over the soldering tabs.
-
Desolder the old batteries piece by piece - you can also pinch off the cables - and solder them to the new batteries in the same way:
-
Slide on suitable pieces of heat-shrink tubing before soldering.
-
Heat the heat-shrink tubing until it tightens against the soldering tabs.
-


Work through the steps in reverse order to reassemble your device.
Work through the steps in reverse order to reassemble your device.
Cancelar: No complete esta guía.
Una persona más ha completado esta guía.
Un agradecimiento especial a estos traductores:
100%

¡ oldturkey03 nos está ayudando a reparar el mundo! ¿Quieres contribuir?
Empezar a traducir ›
Equipo

Repair is War on Entropy Miembro de Repair is War on Entropy
Community
27 Miembros
1,209 Guías creadas