Introducción
This guide replaces the previous foot replacement guide: DEAD - How to reduce Mac Laptop temperatures **Guide now private**
While foot replacement does not need to be done in a set, many modern 3rd party replacements are now rubberized and come in a set and in many cases, the original feet tend to fail as the system ages. If you want to change the set out to fix the problem for good or make your laptop non-slip, this guide will show you how to break the feet for replacement. These steps do not apply to the rMBP (PCIe, T1 and T2) series.
Guide notes
- Once the foot is broken, there is no way to go back. Be sure you want to do this before removing surviving feet!
- While bottom panel damage is unlikely if done with caution, it can happen if you work over an edge.
- Place the bottom on a flat surface to avoid damaging the cover while doing this. In most cases, the original feet are brittle enough a light cut will suffice.
- Once the foot is removed, it must be replaced and CANNOT be reused.
- Make sure you have a set of four available for this procedure as you will need to replace these intentionally damaged feet due to the design.
- Place the old feet in a container designated for the remains of the original set. This is so you don’t mix them up.
Qué necesitas
-
-
-
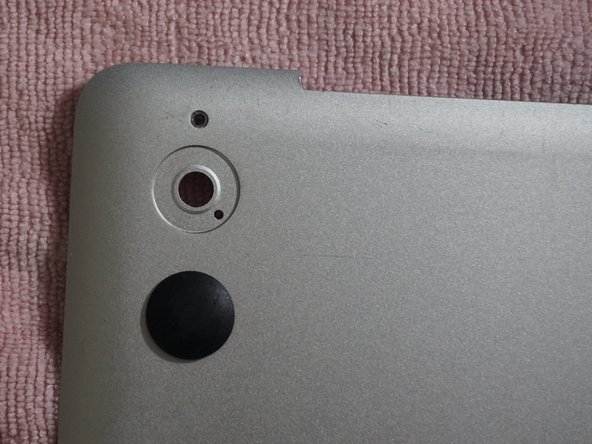
Before removing the good feet, remove the failed feet first. These may come off without disassembly if they have fully failed.
-
After removing the damaged feet, remove the intact feet. Follow the disassembly guide for your specific Mac.
-
-
-
-
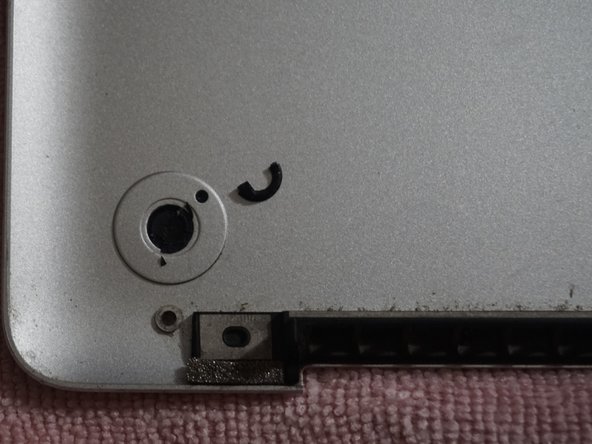
To remove the intact feet, score the internal plug. Once scored, remove the plug with a guitar pick.
-
After removing the inner plug, push the foot out with a spudger or screwdriver.
-
-
-
If the adhesive ring remains, remove it first. Clean the chassis with denatured alcohol or adhesive cleaner.
-
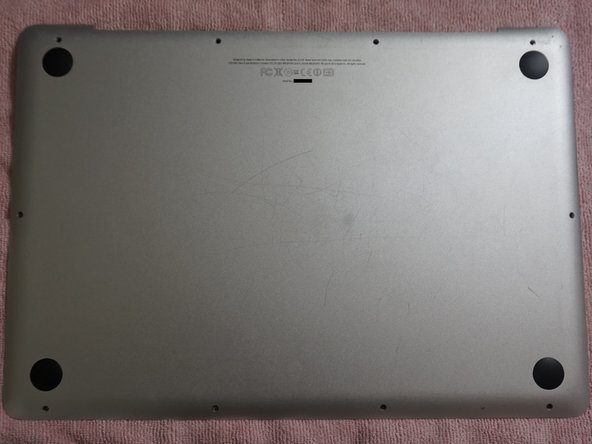
After removing the old feet, install the new set onto the bottom cover.
-
Re-install the cover on the computer.
-


Cancelar: No complete esta guía.
4 personas más completaron esta guía.

Equipo
