Saltar al contenido principal
Únete a la Comunidad de Reparación - Crear Cuenta

Neo3Do Wire Replacement

Qué necesitas

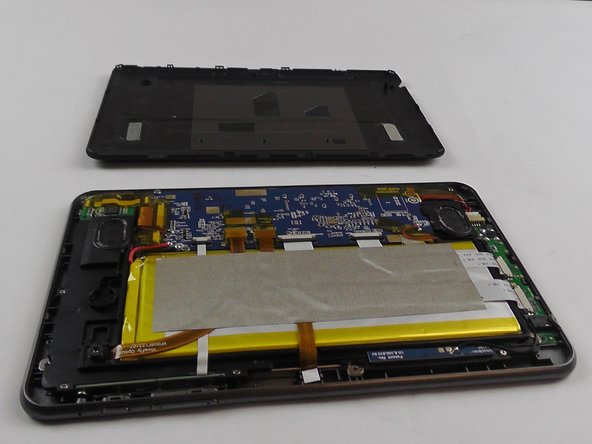
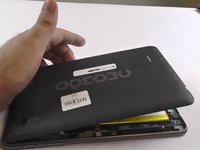
    1. Neo3Do Wire Replacement, Back Panel: paso 1, imagen 1 de 3 Neo3Do Wire Replacement, Back Panel: paso 1, imagen 2 de 3 Neo3Do Wire Replacement, Back Panel: paso 1, imagen 3 de 3
      • Turn the Neo3DO face down so that the logo is facing toward you.

      • Insert the plastic opening tool between the metal frame and the plastic back panel, as shown.

      Pregunta a FixBot

      Agregar Comentario

    2. Neo3Do Wire Replacement: paso 2, imagen 1 de 2 Neo3Do Wire Replacement: paso 2, imagen 2 de 2
      • Gently pry the back panel upwards.

      • Ensure the tool does not slip into the device and damage the internals.

      Pregunta a FixBot

      Agregar Comentario

    3. Neo3Do Wire Replacement: paso 3, imagen 1 de 2 Neo3Do Wire Replacement: paso 3, imagen 2 de 2
      • Once the back panel has been pried away from the bottom and sides of the Neo3DO, lift the back panel up and away from the tablet.

      Pregunta a FixBot

      Agregar Comentario

    4. Neo3Do Wire Replacement: paso 4, imagen 1 de 1
      • When replacing the back panel, place the top edge of the back panel against the top edge of the Neo3DO, as shown.

      • The top edge of the device is the edge closest to the camera. The top of the back panel is the side with the hole for the camera.

      Pregunta a FixBot

      Agregar Comentario

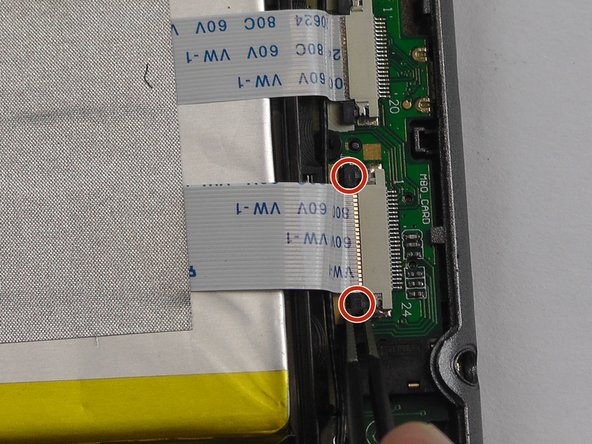
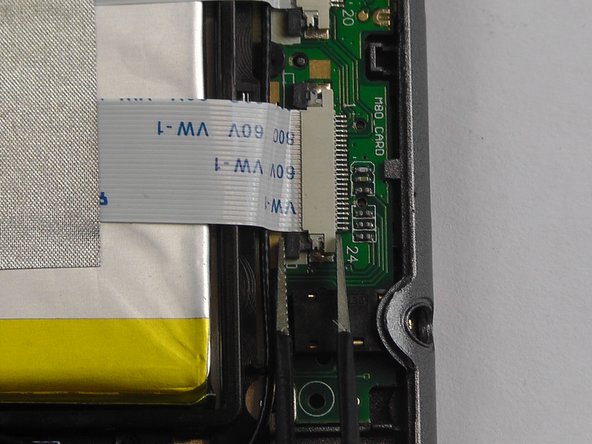
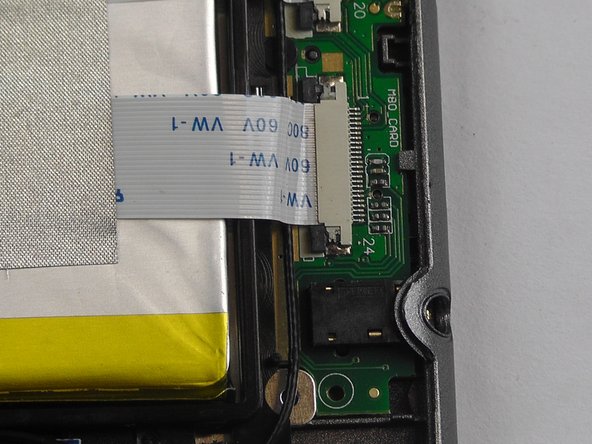
    1. Neo3Do Wire Replacement, Wire: paso 5, imagen 1 de 3 Neo3Do Wire Replacement, Wire: paso 5, imagen 2 de 3 Neo3Do Wire Replacement, Wire: paso 5, imagen 3 de 3
      Herramienta utilizada en este paso:
      Tweezers
      $4.99
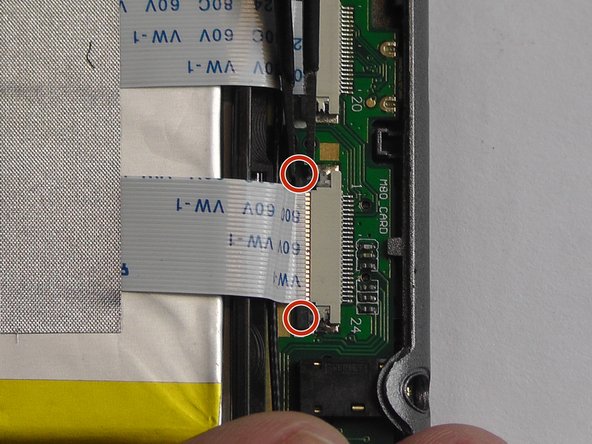
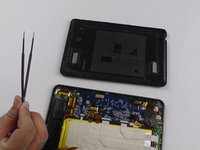
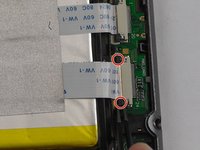
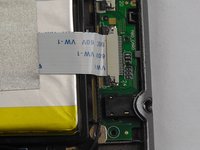
      • Starting with an open back panel, take your tweezers and use them to pull back the black tabs on the connector.

      Pregunta a FixBot

      Agregar Comentario

    2. Neo3Do Wire Replacement: paso 6, imagen 1 de 1
      • Pull the wire completely from the socket.

      • Check the metallic parts for signs of damage or corrosion. If either exists, you might need to replace the battery entirely.

      Pregunta a FixBot

      Agregar Comentario

    3. Neo3Do Wire Replacement: paso 7, imagen 1 de 1
      • Re-insert the wire into the socket.

      Pregunta a FixBot

      Agregar Comentario

    4. Neo3Do Wire Replacement: paso 8, imagen 1 de 3 Neo3Do Wire Replacement: paso 8, imagen 2 de 3 Neo3Do Wire Replacement: paso 8, imagen 3 de 3
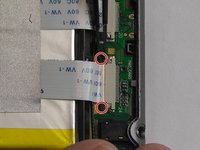
      • Using the tweezers, push the black tabs back in.

      Pregunta a FixBot

      Agregar Comentario

Conclusión

To reassemble your device, follow these instructions in reverse order.

Cancelar: No complete esta guía.

Una persona más ha completado esta guía.

Equipo

USF Tampa, Team 14-3, Eyestone Fall 2016 Miembro de USF Tampa, Team 14-3, Eyestone Fall 2016

USFT-EYESTONE-F16S14G3

Miembros de 3

12 Guías creadas

0Guía Comentarios

Agregar Comentario

Ver Estadísticas:

Ultimas 24 horas: 1

Ultimos 7 días: 4

Ultimos 30 días: 23

Todo El Tiempo: 414