Saltar al contenido principal
Únete a la Comunidad de Reparación - Crear Cuenta
Motion Computing LE1600 Display Screen Replacement

Qué necesitas

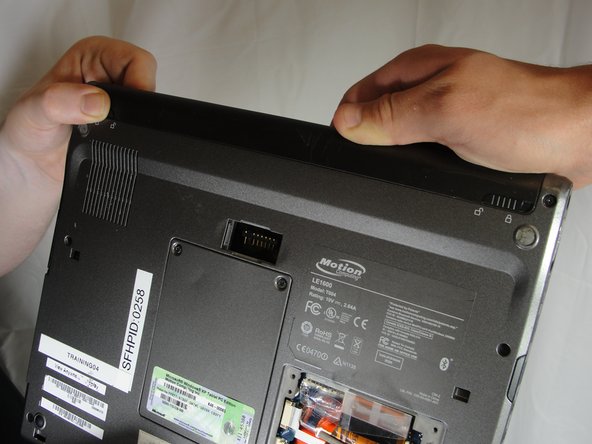
    1. Motion Computing LE1600 Display Screen Replacement, Battery: paso 1, imagen 1 de 1
      • Turn the device so the screen is facing down.

      Pregunta a FixBot

      Agregar Comentario

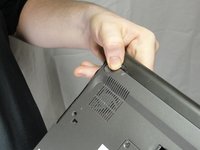
    2. Motion Computing LE1600 Display Screen Replacement: paso 2, imagen 1 de 2 Motion Computing LE1600 Display Screen Replacement: paso 2, imagen 2 de 2
      • Slide the battery lock switch next to the power slider to the unlocked position.

      Pregunta a FixBot

      Agregar Comentario

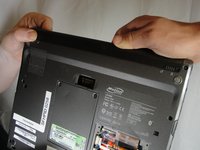
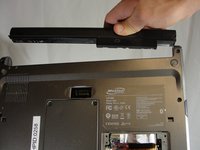
    3. Motion Computing LE1600 Display Screen Replacement: paso 3, imagen 1 de 3 Motion Computing LE1600 Display Screen Replacement: paso 3, imagen 2 de 3 Motion Computing LE1600 Display Screen Replacement: paso 3, imagen 3 de 3
      • Slide and hold the switch by the fan vent to the unlocked position. Firmly grasp the battery and pull away from tablet.

      • When replacing the battery, place the end near the fan vent in first. Make sure to keep the other switch in the unlocked position while pushing the battery into place.

      Pregunta a FixBot

      Agregar Comentario

    1. Motion Computing LE1600 Display Screen Replacement, Display Screen: paso 4, imagen 1 de 1
      • Unscrew hard drive panel using a Phillips head #1 screwdriver.

      • (Our device was not given to us with a hard drive or a hard drive panel)

      Pregunta a FixBot

      Agregar Comentario

    2. Motion Computing LE1600 Display Screen Replacement: paso 5, imagen 1 de 3 Motion Computing LE1600 Display Screen Replacement: paso 5, imagen 2 de 3 Motion Computing LE1600 Display Screen Replacement: paso 5, imagen 3 de 3
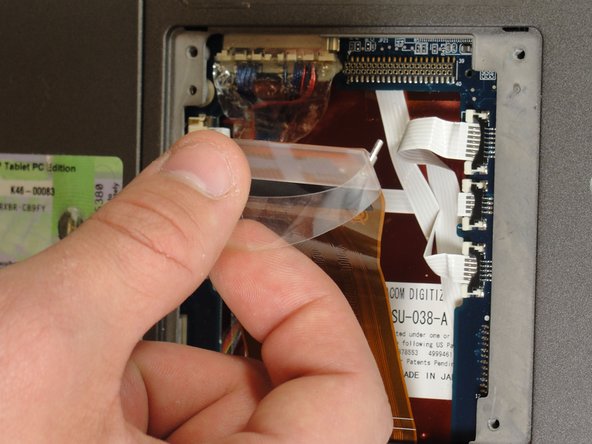
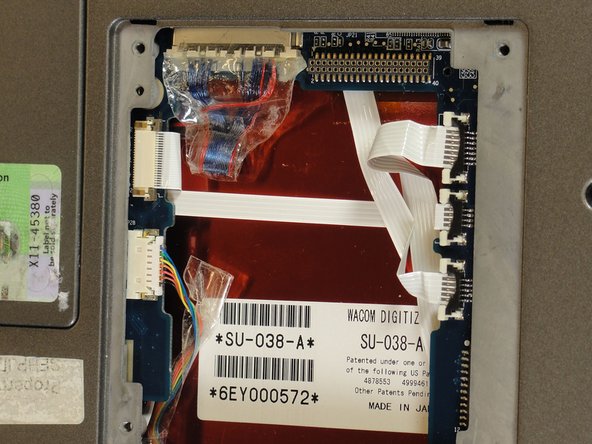
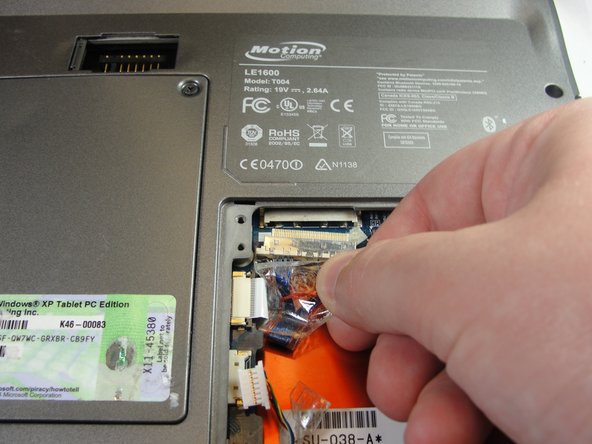
      • Pull clear plastic tab to detach hard drive from tablet.

      Pregunta a FixBot

      Agregar Comentario

    3. Motion Computing LE1600 Display Screen Replacement: paso 6, imagen 1 de 2 Motion Computing LE1600 Display Screen Replacement: paso 6, imagen 2 de 2
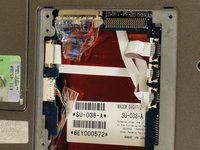
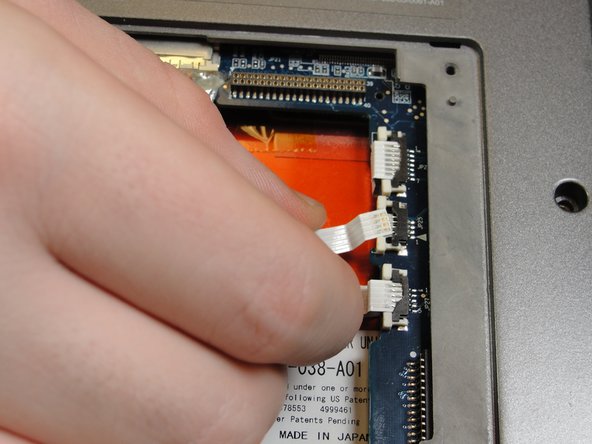
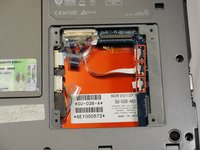
      • To disconnect the three white ribbon cables on the side closest to the hard drive connector, pull the white plastic tabs.

      Pregunta a FixBot

      Agregar Comentario

    4. Motion Computing LE1600 Display Screen Replacement: paso 7, imagen 1 de 1
      • Pull the brown tabs to disconnect the white ribbon cable on the other side.

      Pregunta a FixBot

      Agregar Comentario

    5. Motion Computing LE1600 Display Screen Replacement: paso 8, imagen 1 de 2 Motion Computing LE1600 Display Screen Replacement: paso 8, imagen 2 de 2
      • Caution: do not pull on the wires, instead pull from the plastic connectors.

      • To disconnect the remaining ribbon cables, pull the plastic connectors away from their connections.

      Pregunta a FixBot

      Agregar Comentario

    6. Motion Computing LE1600 Display Screen Replacement: paso 9, imagen 1 de 1
      • With a Phillips #1 screwdriver, Unscrew the nine 10mm screws holding the case together.

      Pregunta a FixBot

      Agregar Comentario

    7. Motion Computing LE1600 Display Screen Replacement: paso 10, imagen 1 de 2 Motion Computing LE1600 Display Screen Replacement: paso 10, imagen 2 de 2
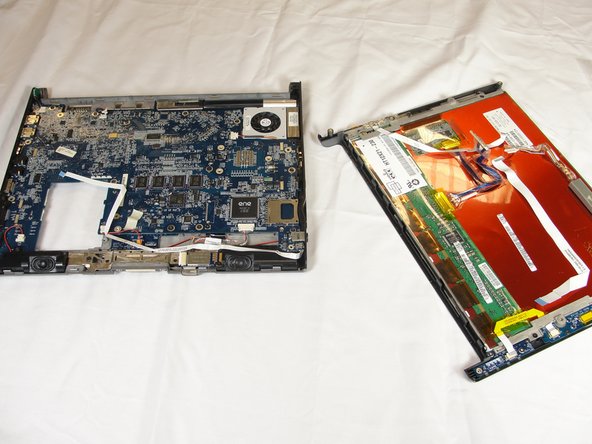
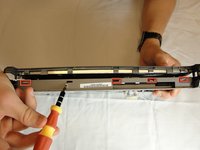
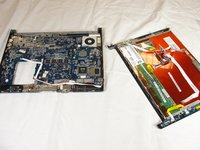
      • Using a spudger, press in the five tabs on the side where the battery was.

      • This should separate the two halves of the device. Carefully set the side with the motherboard off to the side.

      Pregunta a FixBot

      Agregar Comentario

    8. Motion Computing LE1600 Display Screen Replacement: paso 11, imagen 1 de 2 Motion Computing LE1600 Display Screen Replacement: paso 11, imagen 2 de 2
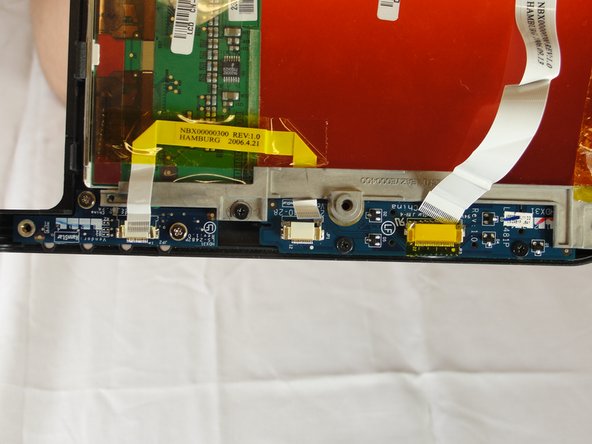
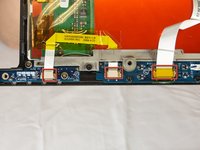
      • Unplug the three ribbon cables by pulling on the brown tabs and unplugging cable.

      Pregunta a FixBot

      Agregar Comentario

    9. Motion Computing LE1600 Display Screen Replacement: paso 12, imagen 1 de 2 Motion Computing LE1600 Display Screen Replacement: paso 12, imagen 2 de 2
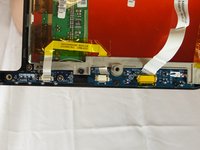
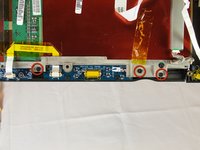
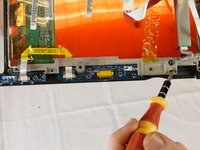
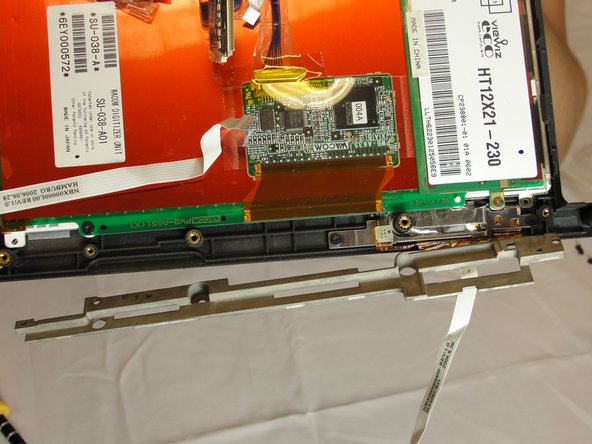
      • With a Phillips #1 screwdriver, unscrew the three 4mm screws holding the display bracket on the back side of the front buttons.

      Pregunta a FixBot

      Agregar Comentario

    10. Motion Computing LE1600 Display Screen Replacement: paso 13, imagen 1 de 3 Motion Computing LE1600 Display Screen Replacement: paso 13, imagen 2 de 3 Motion Computing LE1600 Display Screen Replacement: paso 13, imagen 3 de 3
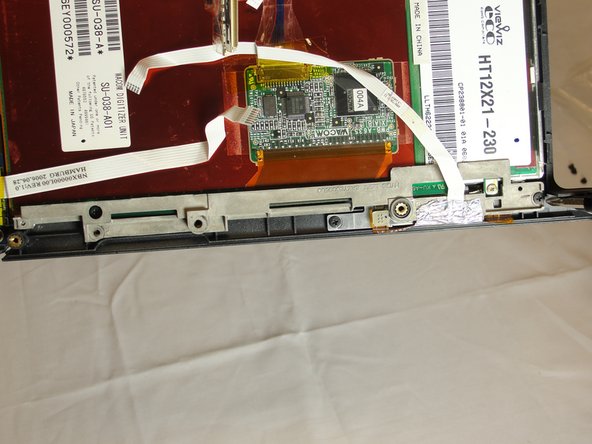
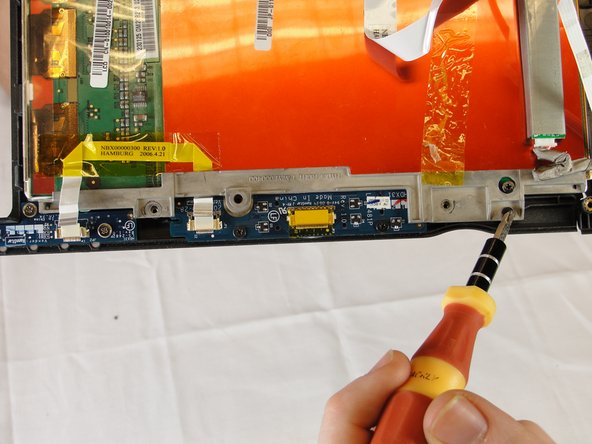
      • On the bracket behind the fingerprint scanner, unscrew the two 4mm screws holding it to the display with a Phillips #1 screwdriver.

      • Fold away right bracket from display.

      Pregunta a FixBot

      Agregar Comentario

    11. Motion Computing LE1600 Display Screen Replacement: paso 14, imagen 1 de 2 Motion Computing LE1600 Display Screen Replacement: paso 14, imagen 2 de 2
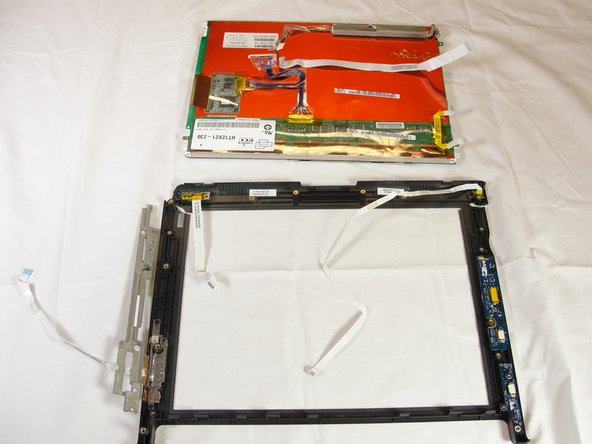
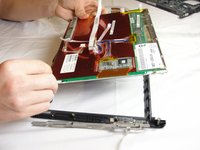
      • Pull the plastic case away from the display screen.

      Pregunta a FixBot

      Agregar Comentario

Conclusión

To reassemble your device, follow these instructions in reverse order.

Cancelar: No complete esta guía.

4 personas más completaron esta guía.

Equipo

Cal Poly, Team 15-14, Forte Spring 2012 Miembro de Cal Poly, Team 15-14, Forte Spring 2012

CPSU-FORTE-S12S15G14

Miembros de 5

5 Guías creadas

0Guía Comentarios

Agregar Comentario

Ver Estadísticas:

Ultimas 24 horas: 2

Ultimos 7 días: 10

Ultimos 30 días: 48

Todo El Tiempo: 4,077