Introducción
This guide will show how to remove the casing of the Kinect. This is necessary to replace many of the components in the Kinect that may become damaged.
Qué necesitas
-
-
Remove the two plastic strips off the bottom of the main Kinect housing using the metal spudger's sharper side.
-
Peel off the two Xbox 360 stickers from the bottom of the case to reveal two hidden screws.
 Pregunta a FixBot
-
-
-
-
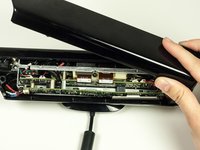
Remove the top portion of the case from the rest of the body.
-
Detach the side portions of the case from the body.
-
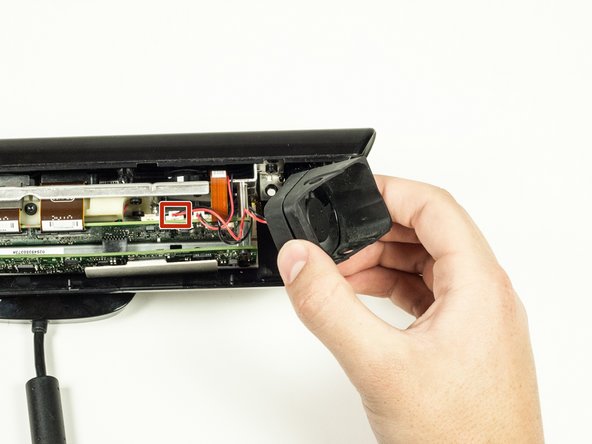
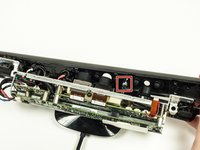
Remove the fan piece from the side of the body. Unplug it from the logic board to fully remove it.
-
-
-
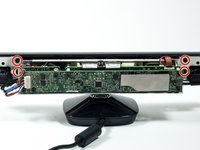
Remove the bottom portion of the case by sliding it out from under the body.
-
-
-
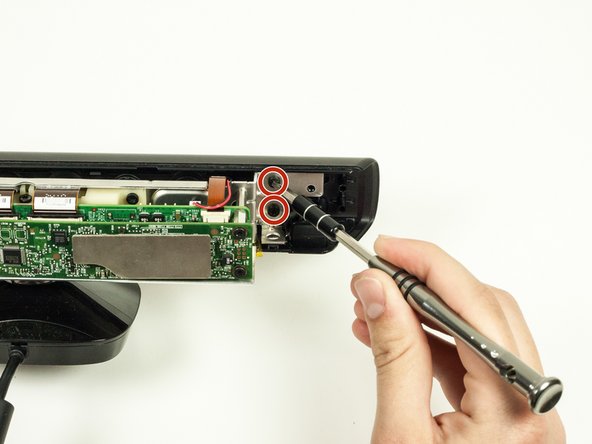
Remove the four 7mm T10 Torx screws (two on each side of the metal body).
-
-
-
Remove the front portion of the case containing the lens coverings for the cameras.
-
The LED component is connected to the front portion of the case. To disconnect it, just pull it out of its plastic connector.
-


To reassemble your device, follow these instructions in reverse order.
Cancelar: No complete esta guía.
4 personas más completaron esta guía.
Equipo

Cal Poly, Team 14-7, Amido Spring 2015 Miembro de Cal Poly, Team 14-7, Amido Spring 2015
CPSU-AMIDO-S15S14G7
Miembros de 4
6 Guías creadas