Saltar al contenido principal
Únete a la Comunidad de Reparación - Crear Cuenta

Micro-USB Port Replacement

Qué necesitas

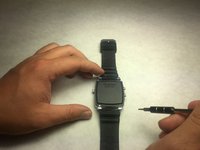
    1. Micro-USB Port Replacement, Back Plate: paso 1, imagen 1 de 2 Micro-USB Port Replacement, Back Plate: paso 1, imagen 2 de 2
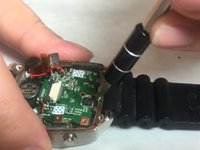
      • Unscrew the four 3.4 mm flat head screws

      Pregunta a FixBot
      Agregar Comentario

    2. Micro-USB Port Replacement: paso 2, imagen 1 de 1
      • Carefully lift the back plate off the watch. You will notice a lithium battery and rubber gasket attached to the back plate.

      Pregunta a FixBot
      Agregar Comentario

    1. Micro-USB Port Replacement, Lithium Battery: paso 3, imagen 1 de 1
      • If not replacing lithium battery, skip down two steps.

      • Using the plastic removal tool, pry the battery from the backing plate. The battery is simply attached with glue.

      Pregunta a FixBot
      Agregar Comentario

    2. Micro-USB Port Replacement: paso 4, imagen 1 de 1
      • Desolder the battery connections from the motherboard. Learn how to solder components here!

      Pregunta a FixBot

      Agregar Comentario

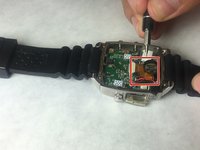
    1. Micro-USB Port Replacement, Motherboard: paso 5, imagen 1 de 1
      • Use PH00 screw driver to remove two 2.4mm Phillips head screws.

      Pregunta a FixBot

      Agregar Comentario

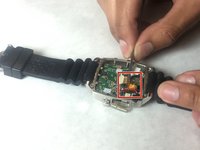
    2. Micro-USB Port Replacement: paso 6, imagen 1 de 1
      Herramienta utilizada en este paso:
      Tweezers
      $4.99
      • Use a spudger or tweezers to remove a white sticker that covers a Phillips head screw.

      Pregunta a FixBot

      Agregar Comentario

    3. Micro-USB Port Replacement: paso 7, imagen 1 de 1
      • Use PH00 screwdriver to remove 5.2mm Phillips head screw

      Pregunta a FixBot

      Agregar Comentario

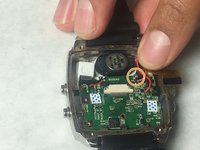
    4. Micro-USB Port Replacement: paso 8, imagen 1 de 3 Micro-USB Port Replacement: paso 8, imagen 2 de 3 Micro-USB Port Replacement: paso 8, imagen 3 de 3
      • Use ESD safe tweezers to remove the gold ribbon cable.

      • This will expose a second 5.2mm Phillips head screw that can be removed with a PH00 screwdriver.

      Pregunta a FixBot

      Agregar Comentario

    5. Micro-USB Port Replacement: paso 9, imagen 1 de 2 Micro-USB Port Replacement: paso 9, imagen 2 de 2
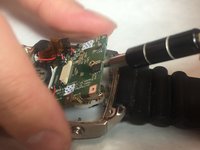
      • Use a spudger to gently pry on the motherboard towards the top of the watch, being towards the 12 o'clock position to loosen the motherboard.

      • You can now access the parts and pieces on the bottom of, and below the motherboard.

      Pregunta a FixBot

      Agregar Comentario

    1. Micro-USB Port Replacement, Micro-USB Port: paso 10, imagen 1 de 1
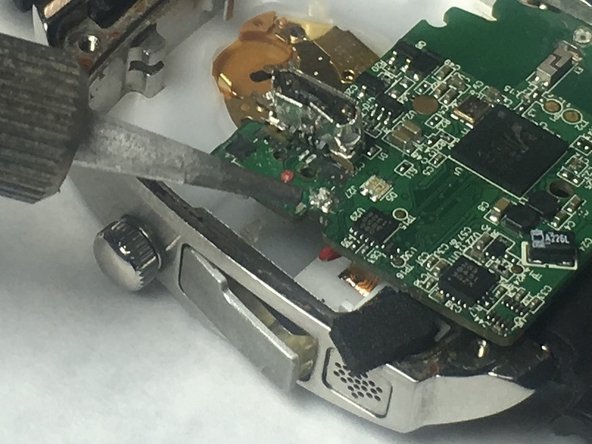
      • Locate the four main soldering points marked in red.

      • Be aware of the five additional soldered pins marked by the blue arrow.

      Pregunta a FixBot

      Agregar Comentario

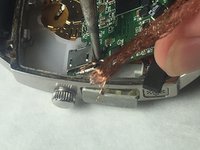
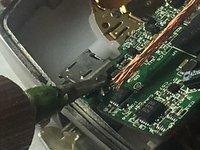
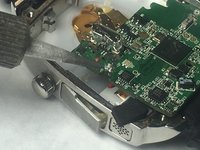
    2. Micro-USB Port Replacement: paso 11, imagen 1 de 3 Micro-USB Port Replacement: paso 11, imagen 2 de 3 Micro-USB Port Replacement: paso 11, imagen 3 de 3
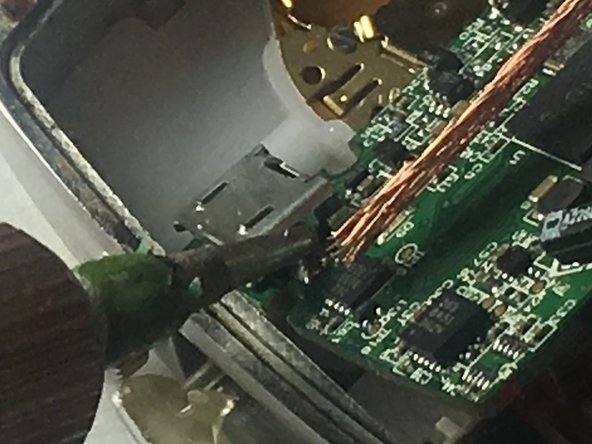
      • Begin to desolder the points pointed out in the last step.

      • Use the soldering wick to help remove the solder.

      Pregunta a FixBot

      Agregar Comentario

Conclusión

To reassemble your device, follow these instructions in reverse order.

Cancelar: No complete esta guía.

3 personas más completaron esta guía.

Equipo

IUPUI, Team 3-3, Baechle Fall 2016 Miembro de IUPUI, Team 3-3, Baechle Fall 2016

IUPUI-BAECHLE-F16S3G3

Miembros de 4

8 Guías creadas

1Guía Comentario

I want to know that what I have to do if want to replace the lithium battery with usb direct powered device.

amupis232389 - Contestar Compartir

Agregar Comentario

Ver Estadísticas:

Ultimas 24 horas: 1

Ultimos 7 días: 21

Ultimos 30 días: 70

Todo El Tiempo: 18,348