Introducción
These instructions may also help with other Melitta models and with coffee makers from Nivona, Siemens, and Miele—they have a very similar design.
After a few 1000 cups, you need to check the grinder. It may be dirty, or the grinding stones may be blunt. With these machines, the ground coffee may no longer fall easily into the brewing unit. The machine will then abort the brewing process because there is not enough coffee in the brewing unit. Then it's time to clean the grinder, clear the channels or replace the grindstones.
To access the grinder, you must open the machine and remove the bean compartment and the powder chute.
Qué necesitas
-
-
The backside is fixed with seven Torx T10 screws. Unscrew them
-
Get the Backside of. It should be a bit stuck.
-
-
-
Pull the powder compartment up.
-
Pull one of the sides of the Powder compartment out of the hinge and loosen the lid.
-
Remove the powder compartment
-
-
-
In the powder compartment, you should see a rubber cover. Loosen the rubber cover with the appropriate tools.
-
There should also be a Torx T10 screw. Unscrew it
-
-
-
-
The upper cover with the brewing unit is held up from three clamps. These can be reached through a slit.
-
Press these clams with a flat scredriver in and pull the upper cover up, until the clamps loosen.
-
-
-
On the side that has a a watertank you can find 2 other clamps
-
Press these clamps with a flat scredriver in and pull the cover up until they loosen
-
Lift the upper cover and the backside up, hook it on the front edge and remove them
-
-
-
Push the right and the left side panel back, then pull the lower edge out and pull the side panel out.
-
On the side panel with the watertank, there should be a supply hose attached to a cable that connects the water-level sensore. loosen them
-
Hint: the side panel doesn't have to be removed completely for each repair.
-
-
-
Unscrew the 3x Torx T10 screws that secure the bean compartment.
-
Remove the bean compartment upwards.
-
-
-
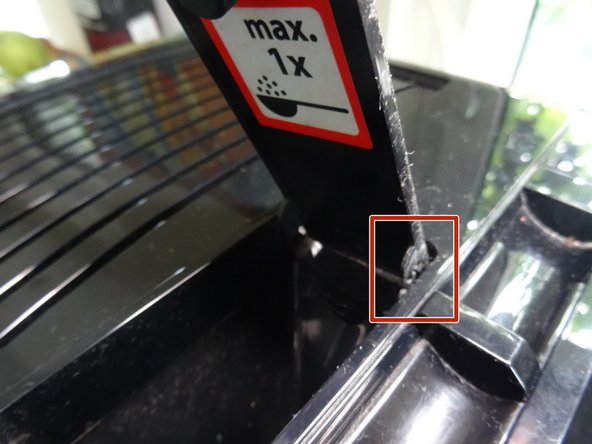
Unscrew the Torx T10 screw that secures the powder chute.
-
Lift out the powder chute.
-
-
-
The grinder is fixed with 3x Torx T10 screws. Unscrew them.
-
Now the grinder is loose. Press it inward a little so that the previously mentioned adjustment lever is free and lift the grinder upward a little.
-


Follow these steps in reverse order to reassemble your device.
Follow these steps in reverse order to reassemble your device.
Un agradecimiento especial a estos traductores:
100%


Estos traductores nos están ayudando a reparar el mundo! ¿Quieres contribuir?
Empezar a traducir ›
Equipo

Repair is War on Entropy Miembro de Repair is War on Entropy
Community
27 Miembros
1,186 Guías creadas