Introducción
Utiliza esta guía para reemplazar el cable del micrófono.
Esta guía requiere la extracción del disipador de calor y la placa lógica. No olvides seguir nuestra guía de aplicación de pasta térmica antes de reinstalar su disipador de calor.
Qué necesitas
-
-
Quita los 10 tornillos que aseguran la parte inferior de la carcasa a la parte superior:
-
Dos tornillos Pentalobe P5 de 2.3 mm
-
Ocho tornillos Pentalobe P5 de 3.0 mm
-
-
-
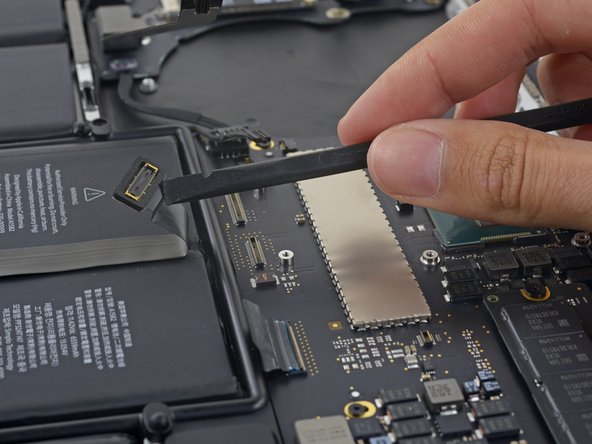
Retira con cuidado el tope de goma del ventilador del borde del disipador de calor.
-
-
-
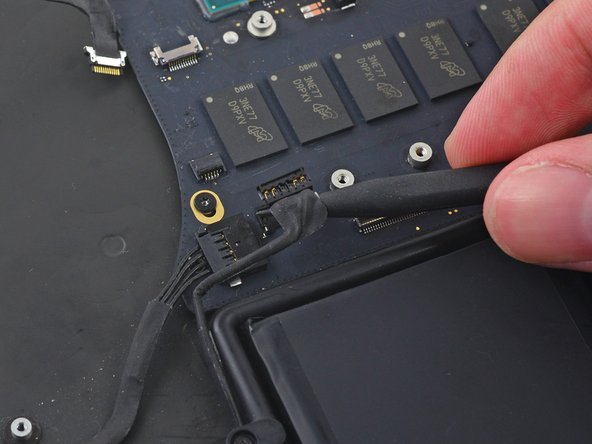
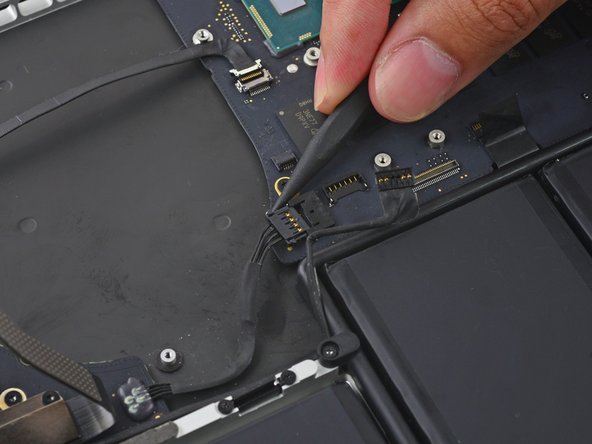
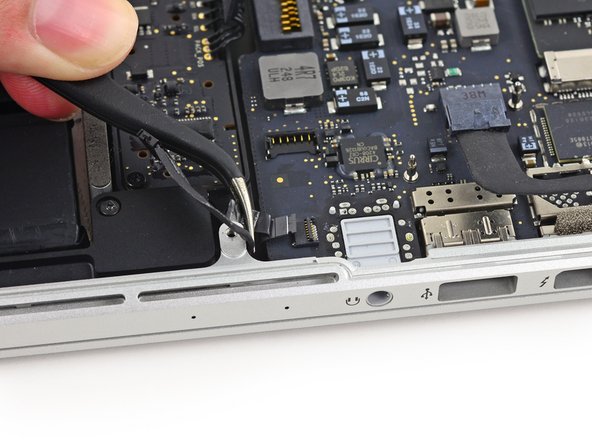
Utiliza la punta de un spudger para empujar a cualquier lado del conector del cable de la cámara para desplazarla afuera de su zócalo en la placa lógica.
-
-
-
-
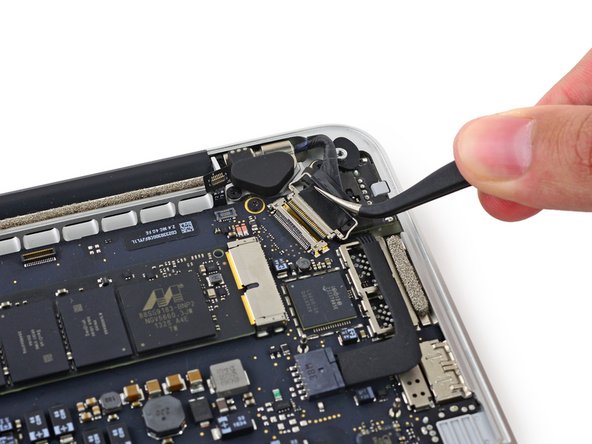
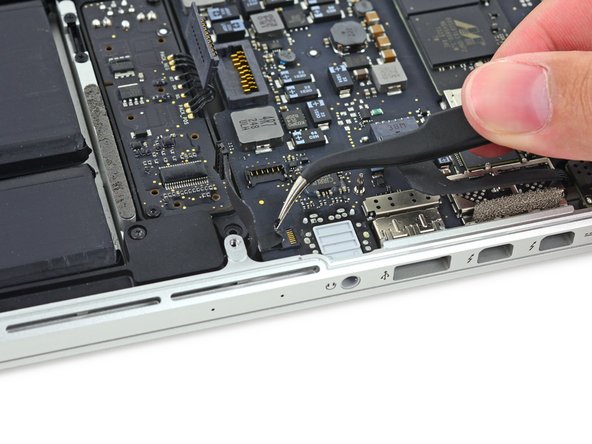
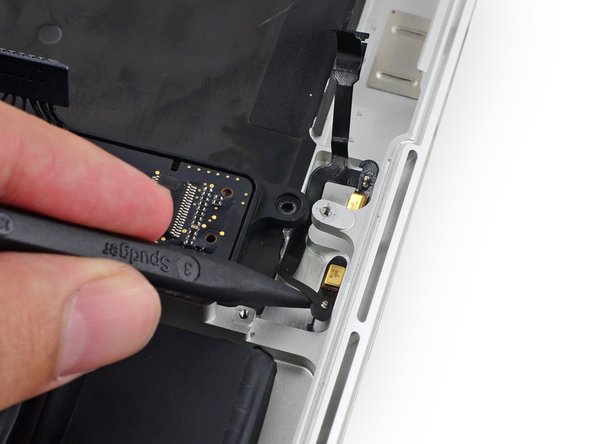
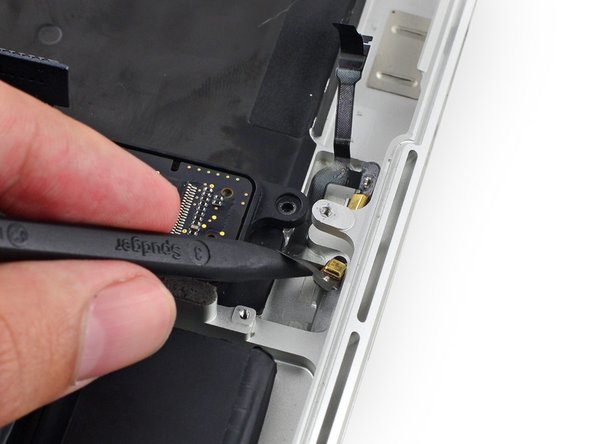
Retira los dos tornillos Torx T5 de 2,1 mm que sujetan el soporte del cable de la placa de E/S a la placa lógica.
-
Retira el soporte del cable de la placa de E/S.
-
-
-
Retira los siguientes tornillos que sujetan el altavoz izquierdo a la carcasa superior:
-
Un tornillo Torx T5 de 5,7 mm
-
Un tornillo Torx T5 de 6,5 mm
-
Un tornillo Torx T5 de 3,8 mm
-


Para volver a armar tu dispositivo, sigue estas instrucciones en orden inverso.
Para volver a armar tu dispositivo, sigue estas instrucciones en orden inverso.
Cancelar: No complete esta guía.
10 personas más completaron esta guía.
Un agradecimiento especial a estos traductores:
100%


Estos traductores nos están ayudando a reparar el mundo! ¿Quieres contribuir?
Empezar a traducir ›

6 comentarios
Simply DISABLING the microphones can be done in 3 steps: #1, #2, #25, #26. No need to yank the logic board/fan and all that.
Many thanks for preparing / making this brilliant guide available. The mic in my Macbookpro failed for some reason and, using this guide I replaced it with a refurbished spare and saved myself $$. Every single step has been captured with specific additional detail / imagery where needed. It’s scary working with the tiny connectors but this guide gives you confidence it can be done / you can do it.
Nick Cassidy,
Where did you find a replacement? I have looked EVERYWHERE and can not find one.
Thanks!
This is the usual valuable guide to disassembly. However Steps 8-14 are NOT necessary and create added complication and potential for problems on reassembly. The motherboard can be safely removed with the fan and heatsink attached (make sure to leave the top right 3.6mm fan screw that secures to the motherboard – marked orange in Step 14 – in place). Obviously be careful not to place stress on the fan while it is only held on the one screw but otherwise there is no problem lifting and sliding the board at Step 31. I was able to get at the microphone easily after that and refitting the board was easily done too (making sure cables are not trapped underneath).
I'm slightly at a loss as to why removing the heat sink is deemed necessary unless this guide is based on another where that step is required.