Introducción
La sustitución de los gatillos L2-R2 del Logitech G Cloud es un proceso complejo que se puede realizar en seis pasos. Necesitarás una herramienta de apertura (cuña) y un destornillador Phillips #00. Lee atentamente las instrucciones antes de comenzar a desmontar el Logitech G Cloud. Es posible que escuches fuertes chasquidos al retirar la placa interior. Una vez que hayas quitado los tornillos, los gatillos deberían salir fácilmente al hacer palanca.
Qué necesitas
-
-
-
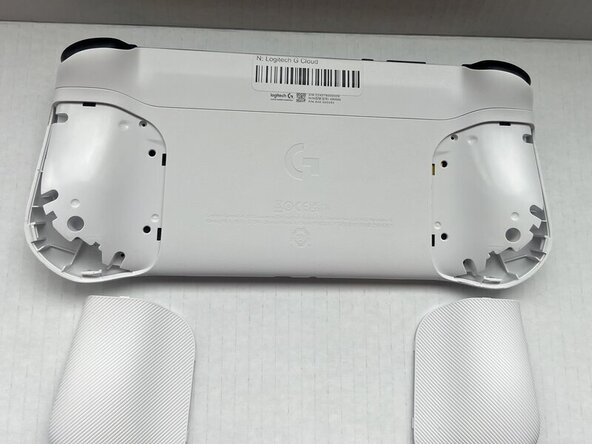
Apaga el dispositivo y dale la vuelta para que la pantalla quede hacia abajo.
-
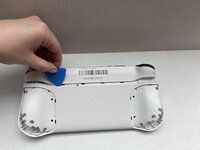
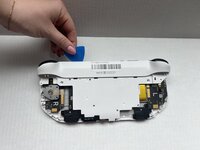
Inserta una púa de apertura en la unión entre la placa trasera y el guardamanos izquierdo.
-
Haz palanca por todo el perímetro hasta liberar completamente el guardamanos.
-
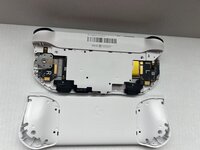
Retira el guardamanos.
-
Repite los tres puntos anteriores en el guardamanos derecho.
 Pregunta a FixBot
-
-
-
Usa un destornillador Phillips #00 para quitar los ocho tornillos Phillips de 10 mm de la carcasa trasera situados bajo donde estaban los protectores de mano.
-
-
-
-
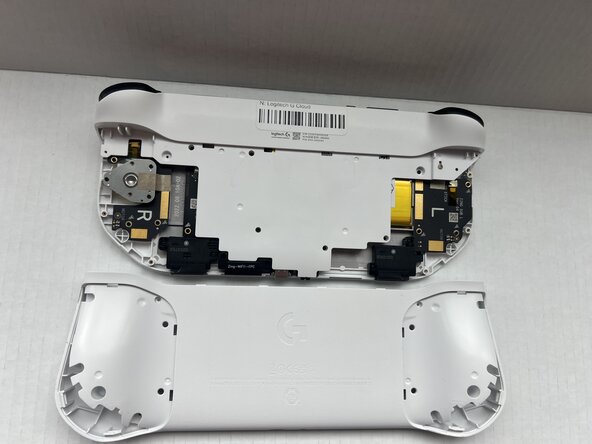
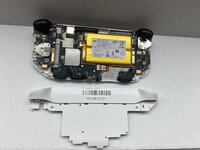
Inserta una púa de apertura en la ranura entre la estructura central y la carcasa trasera.
-
Haz palanca suavemente hacia arriba con la carcasa trasera para separarla de la estructura central.
-
-
-
Usa un destornillador Phillips #00 para quitar los siete tornillos de 10 mm que sujetan la estructura central.
-
-
-
Inserta una púa de apertura en la ranura entre la estructura central y la carcasa frontal en la parte superior del dispositivo para separar el recubrimiento interior.
-
Haz palanca suavemente para abrir la estructura central levantando con una púa de apertura.
-
-
-
-
-
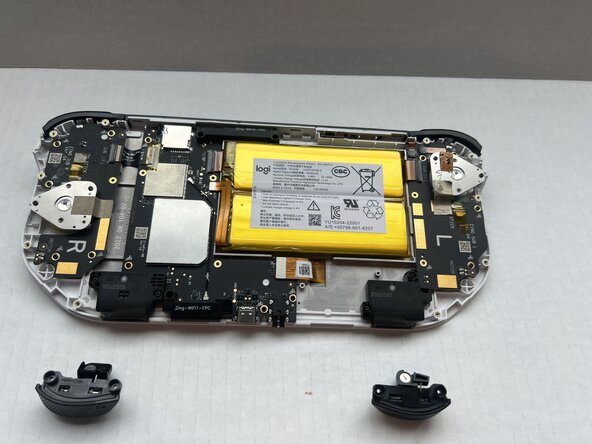
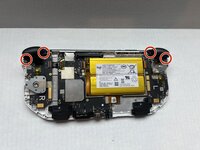
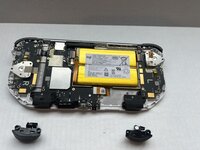
Usa un destornillador Phillips #00 para quitar los cuatro tornillos de 10 mm que sujetan los gatillos L2 y R2.
-
Extrae los gatillos L2 y R2 con los dedos.
-
-


Para volver a montar tu dispositivo, sigue estas instrucciones en orden inverso.
Un agradecimiento especial a estos traductores:
100%

¡ Translation Bot nos está ayudando a reparar el mundo! ¿Quieres contribuir?
Empezar a traducir ›
Equipo

Western Carolina University, Team 1-1, Virtue Spring 2025 Miembro de Western Carolina University, Team 1-1, Virtue Spring 2025
WCU-VIRTUE-S25S1G1
Miembros de 4
66 Guías creadas