Introducción
If the water heater is calcified or does not heat properly, it must be replaced. This procedure is shown here.
Qué necesitas
-
-
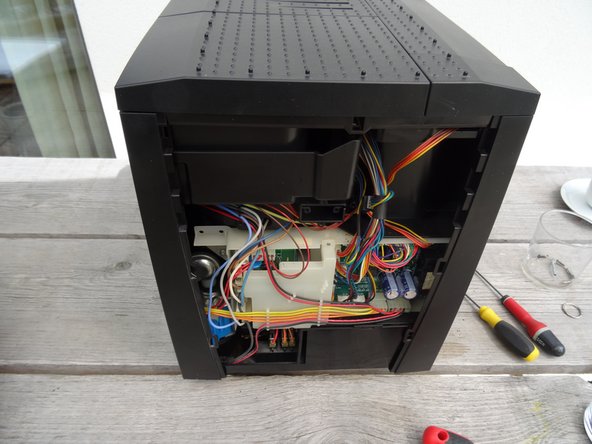
Remove all attachments: water tank, drip tray, aroma lid
-
-
-
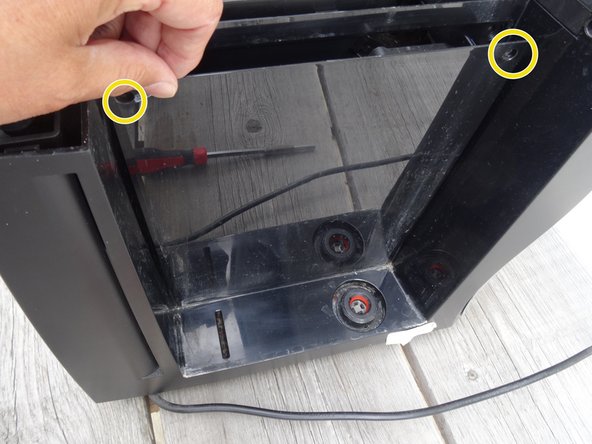
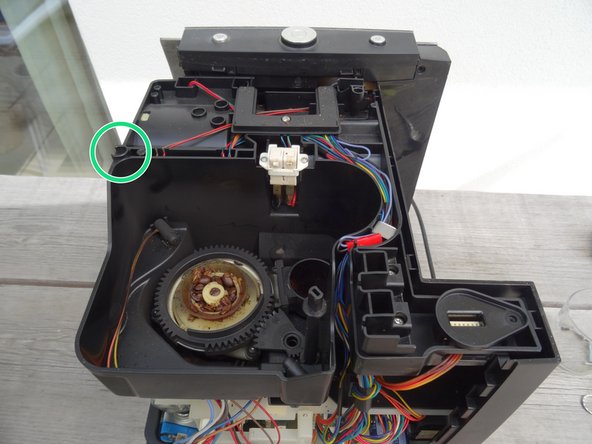
Behind the Jura sign are two screws with an oval head. They have to be removed.
-
These screws have an oval head that makes them look like rivets (picture 2). You need to use a special bit for their removal. If the right bit is not available, it could be done with a pair of needle nose pliers. Jura wants to keep us out of our own machines!!!!
-
-
-
-
This step shows how to remove the top cover
-
Remove the powder tray and all coffee beans.
-
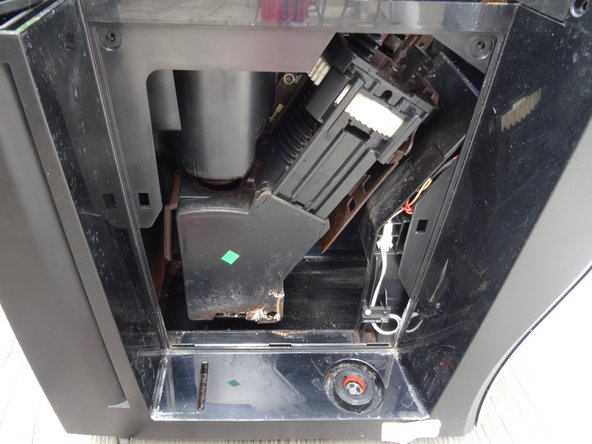
The cover is fastened with three Torx T15 screws. Those are easily visible under the covers as well as the small cover on the left back side.
-
Remove the two Phillips screws on the bean container and remove the bean container.
-
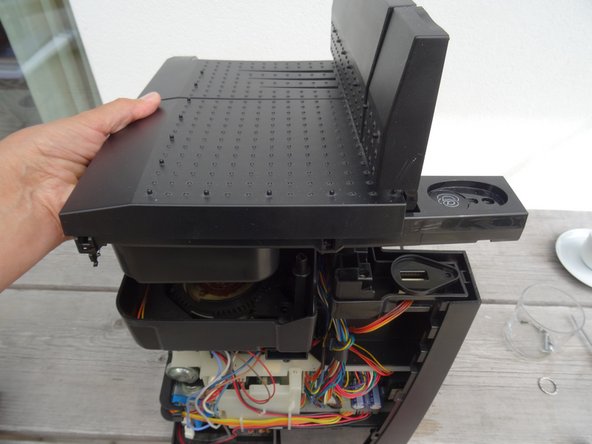
Lift the cover upwards.
-
-
-
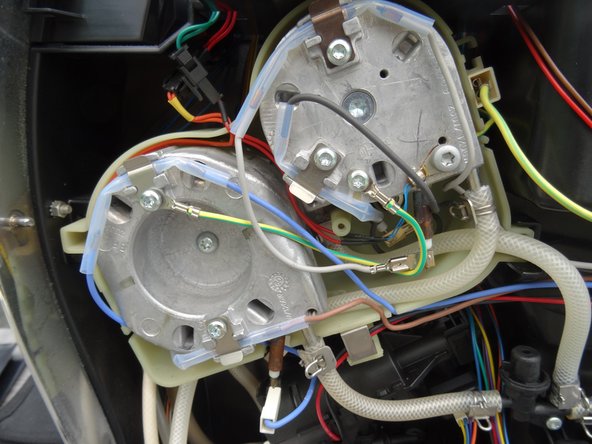
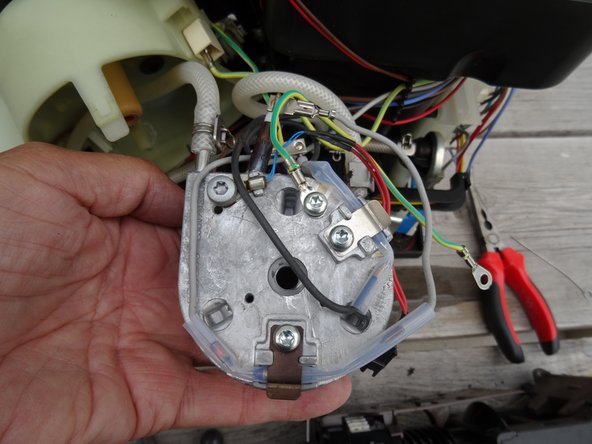
Here is one of the two water heaters removed.
-
A resistance measurement gives an indication of whether the heater is defective. Pull off one of the spade connectors. If the resistance is infinity or zero, then everything is clear... it should be in the 40 - 50 ohm range. But there could also be a short circuit from the heater to the metal housing, here the resistance must actually be infinite.
-
To check whether the heater is limed, you have to detach the two pressure hoses and blow into them. That has to go very easy.
-
-
-
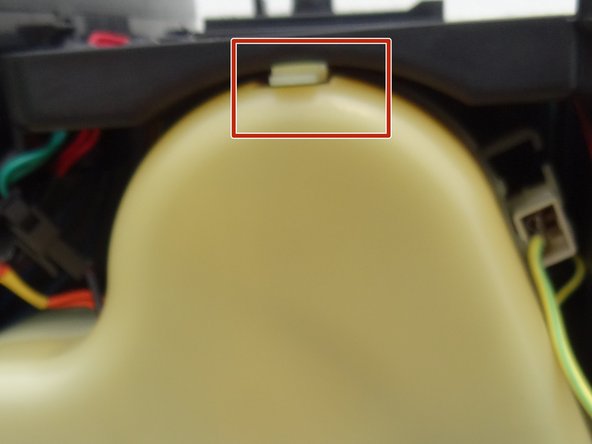
Unscrew the screw on the heater to be replaced. Watch the lock nut on the back.
-
Carefully remove the connectors on the sensor cables. For assembly, remember which sensor is connected to the red wire pair and which to the green wire pair.
-
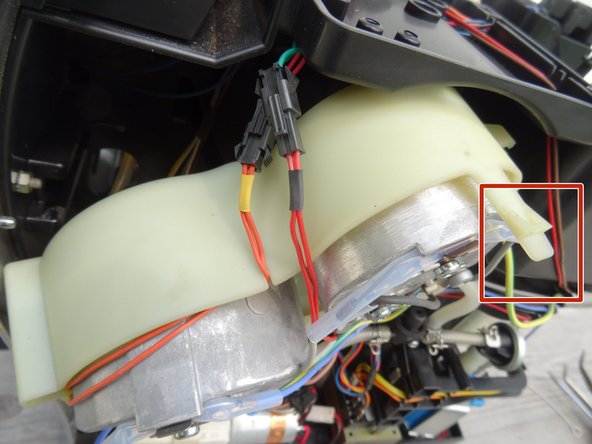
Gently remove the water heater. It is still connected by hoses and wires.
-
-
-
Remove the cable shoes from the water heater connections.
-
Remove both Torx T25 screws from the brackets on the thermal fuses. Remove the thermal fuses.
-
Remove the Torx T25 screw from the eyelet of the yellow / green ground cable. Detach the cable.
-
The thermosensor may stay. If it is defective (the machine then reports Error 4), it has to be replaced
-
-
-
Now only the hoses are connected. They are attached with clips.
-
The clips are easy to open and close: attach a pair of pliers as shown in the photo and squeeze them together. The clamping plate falls out immediately and releases the clamping ring, which can then be compressed with the pliers and pushed away.
-
When the clips are open, the hose can be pushed off with some force.
-


Repeat the steps in reverse order to reassemble your device.
Repeat the steps in reverse order to reassemble your device.
Un agradecimiento especial a estos traductores:
100%

Estos traductores nos están ayudando a reparar el mundo! ¿Quieres contribuir?
Empezar a traducir ›
Equipo

Repair is War on Entropy Miembro de Repair is War on Entropy
Community
27 Miembros
1,209 Guías creadas
2 comentarios
Anyone know if these two water heaters have the same model name and if there’s a part number got it? My Jura Impressa Z9 started leaking out the bottom right heater after a botched service, and the weld completely snapped off..
Jura sells two versions of heaters, one for steam, one for hot water. I don't know, if they are interchangeable.
VauWeh -