Esta versión puede contener ediciones incorrectas. Cambie a la última instantánea verificada.
Qué necesitas
-
Este paso está sin traducir. Ayuda a traducirlo
-
Use the nylon spudger to remove the rubber pads near the hinge of the screen, then remove the screws under the pads.
-
Use the Phillips #0 to remove four 9mm screws.
-
Use the Phillips #0 to remove seven 6mm screws.
-
-
Este paso está sin traducir. Ayuda a traducirlo
-
Use the nylon spudger to pry the back casing near the hinges for the screen.
-
Continue to pry along the edge of the back case until the back is ready to be removed.
-
-
Este paso está sin traducir. Ayuda a traducirlo
-
Use the blue plastic opening tool to lift up on the white tab that is holding the cable in place on the motherboard.
-
Now carefully pull the cable out of place and remove the entire back casing.
-
-
-
Este paso está sin traducir. Ayuda a traducirlo
-
Remove the five 6mm screws that hold the battery in place using the Phillips #0.
-
-
Este paso está sin traducir. Ayuda a traducirlo
-
Use the nylon spudger to pry away the blue/white wire that is positioned near your battery.
-
-
Este paso está sin traducir. Ayuda a traducirlo
-
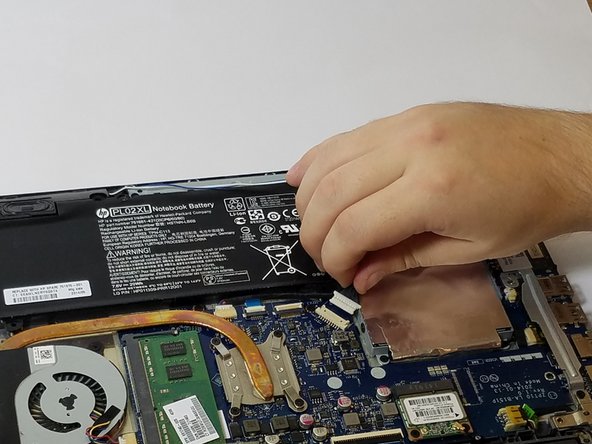
Disconnect the battery cable from the motherboard by carefully pulling on the black wire at the point closest to the white tab.
-
-
Este paso está sin traducir. Ayuda a traducirlo
-
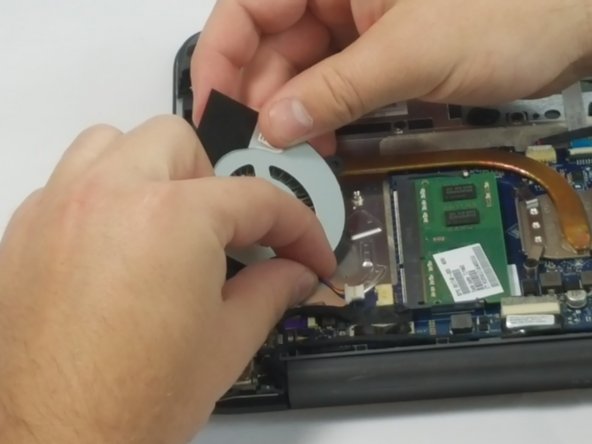
Use the Phillips #0 to remove the two 3mm screws holding the fan in place.
-
-
Este paso está sin traducir. Ayuda a traducirlo
-
Use the plastic opening tool to slowly loosen the connection cable.
-
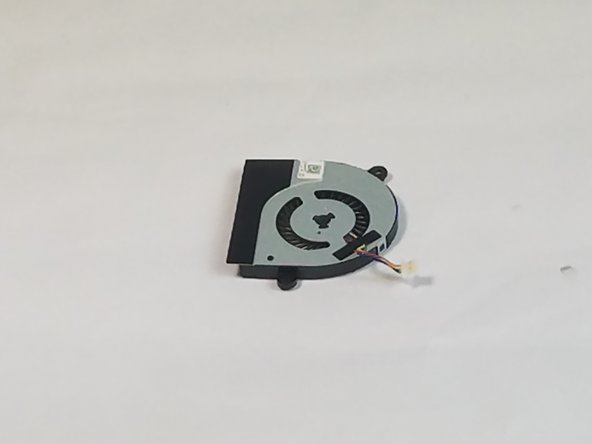
Once the connector is loose enough, grab the cable and carefully pull it free from your device.
-


Cancelar: No complete esta guía.
2 personas más completaron esta guía.
Equipo

USF Tampa, Team 11-5, Blackwell Fall 2016 Miembro de USF Tampa, Team 11-5, Blackwell Fall 2016
USFT-BLACKWELL-F16S11G5
3 Miembros
5 Guías creadas