Saltar al contenido principal

HP OfficeJet 4650 Power Button Replacement

Qué necesitas

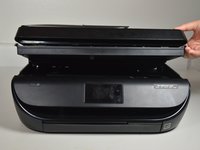
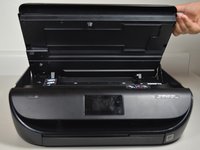
  1. HP OfficeJet 4650 Power Button Replacement, Power Button: paso 1, imagen 1 de 3 HP OfficeJet 4650 Power Button Replacement, Power Button: paso 1, imagen 2 de 3 HP OfficeJet 4650 Power Button Replacement, Power Button: paso 1, imagen 3 de 3
    • Open the cartridge access door by putting one hand on the grooves of each side and pulling up.

  2. HP OfficeJet 4650 Power Button Replacement: paso 2, imagen 1 de 2 HP OfficeJet 4650 Power Button Replacement: paso 2, imagen 2 de 2
    • Using the 2.0 mm hex screwdriver, remove the 14 mm hex screw that binds the front cover to the printer body by turning the screw counterclockwise.

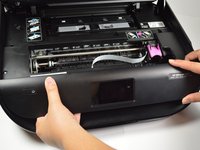
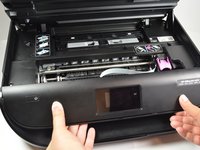
  3. HP OfficeJet 4650 Power Button Replacement: paso 3, imagen 1 de 3 HP OfficeJet 4650 Power Button Replacement: paso 3, imagen 2 de 3 HP OfficeJet 4650 Power Button Replacement: paso 3, imagen 3 de 3
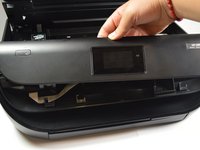
    • Release the front panel from its internal hooks by applying a little force and sliding the front panel to the right.

    • Push the panel upward to remove it from the printer.

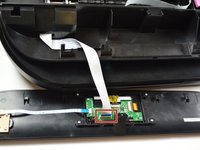
    • There is a connector attached to the back of the panel. Flip the front cover towards you gently and proceed to the next step.

  4. HP OfficeJet 4650 Power Button Replacement: paso 4, imagen 1 de 3 HP OfficeJet 4650 Power Button Replacement: paso 4, imagen 2 de 3 HP OfficeJet 4650 Power Button Replacement: paso 4, imagen 3 de 3
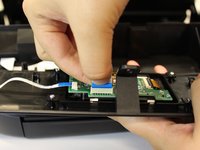
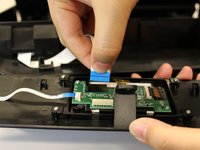
    • Remove the connector that is attached to the screen's circuit board by pinching the blue part of the connector with two fingers and pulling it away from the circuit board.

  5. HP OfficeJet 4650 Power Button Replacement: paso 5, imagen 1 de 3 HP OfficeJet 4650 Power Button Replacement: paso 5, imagen 2 de 3 HP OfficeJet 4650 Power Button Replacement: paso 5, imagen 3 de 3
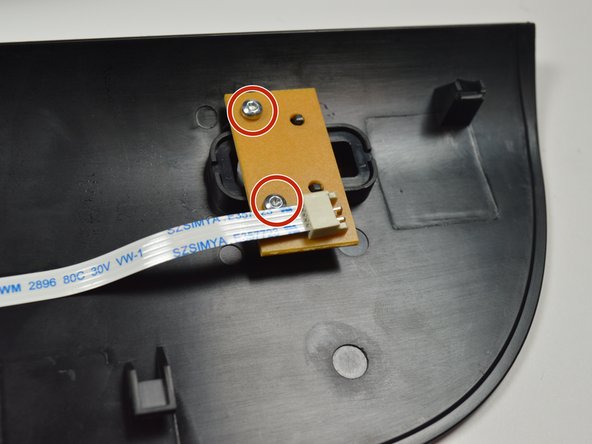
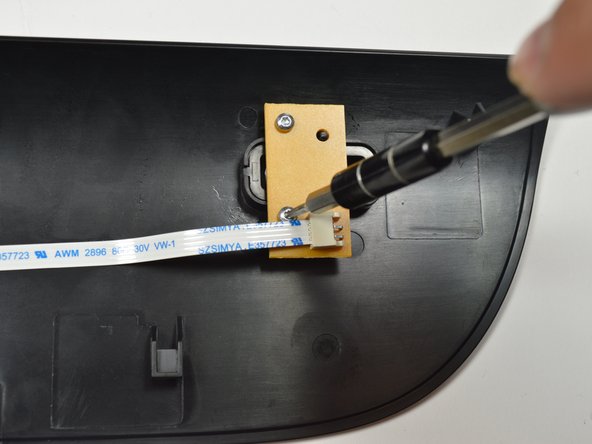
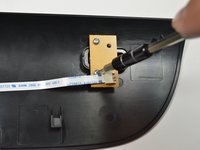
    • Using the Torx T6 hex screwdriver, remove the 7.0mm screw that binds the front cover to the printer body by turning the screw counterclockwise.

  6. HP OfficeJet 4650 Power Button Replacement: paso 6, imagen 1 de 3 HP OfficeJet 4650 Power Button Replacement: paso 6, imagen 2 de 3 HP OfficeJet 4650 Power Button Replacement: paso 6, imagen 3 de 3
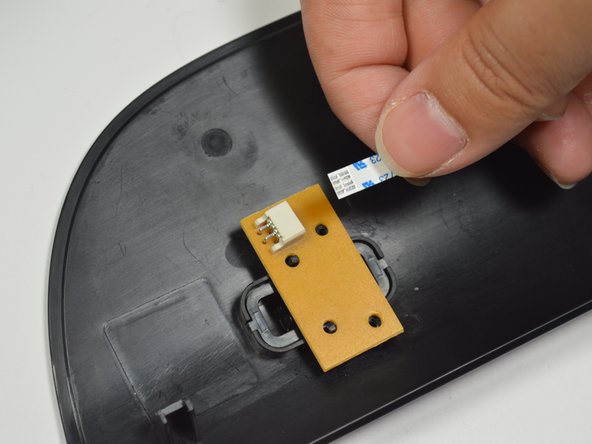
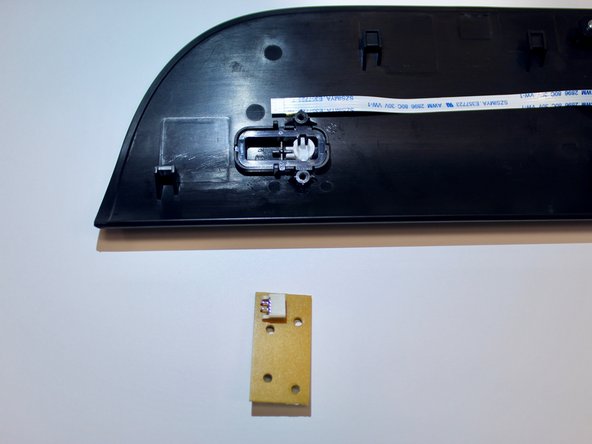
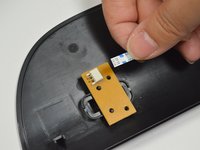
    • Remove the connector that is attached to the screen's circuit board by pinching the blue part of the connector with two fingers and pulling it away from button circuit board.

  7. HP OfficeJet 4650 Power Button Replacement: paso 7, imagen 1 de 3 HP OfficeJet 4650 Power Button Replacement: paso 7, imagen 2 de 3 HP OfficeJet 4650 Power Button Replacement: paso 7, imagen 3 de 3
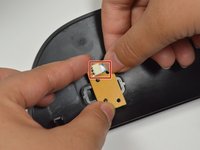
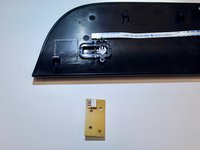
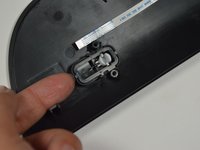
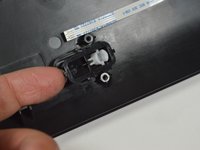
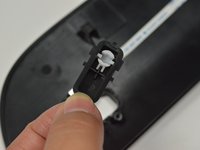
    • Pop the button off from the black cover by using your finger tip to bring it up.

Conclusión

To reassemble your device, follow these instructions in reverse order.

Una persona más ha completado esta guía.

Equipo

Cal Poly, Team S19-G6, Livingston Winter 2018 Miembro de Cal Poly, Team S19-G6, Livingston Winter 2018

CPSU-LIVINGSTON-W18S19G6

3 Miembros

10 Guías creadas

5 comentarios

Does this fix the printer not turning on?

cindim - Contestar

Where can I purchase the replacement Power Button? What is the part number?

Mort Rosenberg - Contestar

Is it possible to bypass the malfunctioning power button, so the printer is on whenever it is plugged in? If so, how?

Ron Sela - Contestar

Where can I purchase the replacement Power Button? What is the part number

Jack Farr

Jack Farr - Contestar

Bonjour,

Ou peut on acheter l'écran tactile HP Officejet 4650 ???

Georges N'GUELA - Contestar

Agregar Comentario

Ver Estadísticas:

Ultimas 24 horas: 0

Ultimos 7 días: 5

Ultimos 30 días: 27

Todo El Tiempo: 2,653