Introducción
Follow this guide to replace, upgrade, or customize the buttons in your Nintendo Game Boy Advance model AGB-001.
This guide covers how to replace the action (A + B) buttons, shoulder (L + R) buttons, D‑pad, and ON/OFF power switch cover, as well as the side bumpers.
If you're completely re‑shelling your Game Boy, follow this guide.
The Game Boy Advance uses JIS screws. If you use a non-iFixit Phillips driver in JIS screws, you'll risk stripping them. iFixit's Phillips bits are designed to be compatible with JIS screws.
Qué necesitas
-
-
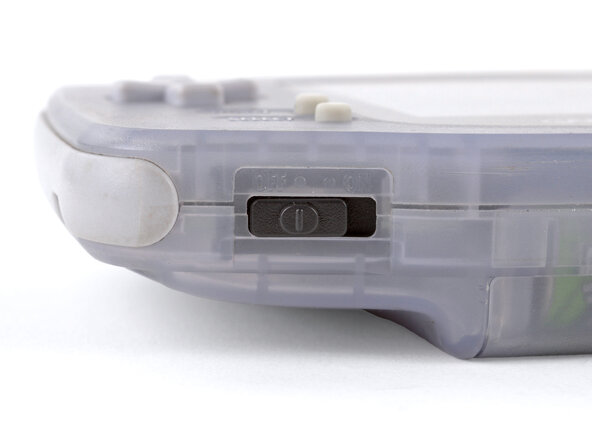
Before working on your Game Boy, turn the power switch to the OFF position and unplug any cables.
-
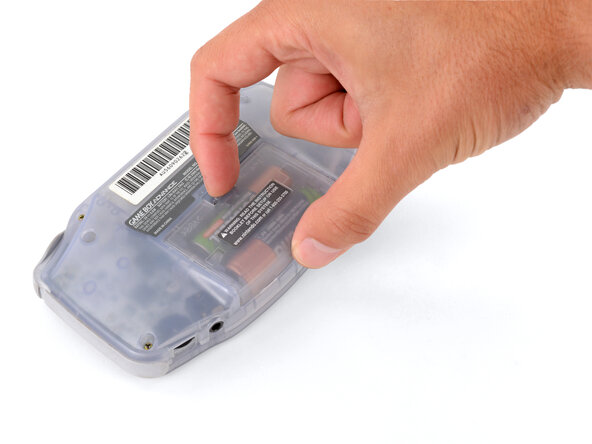
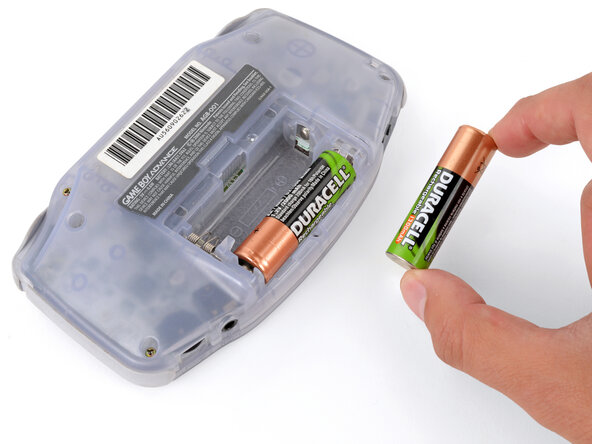
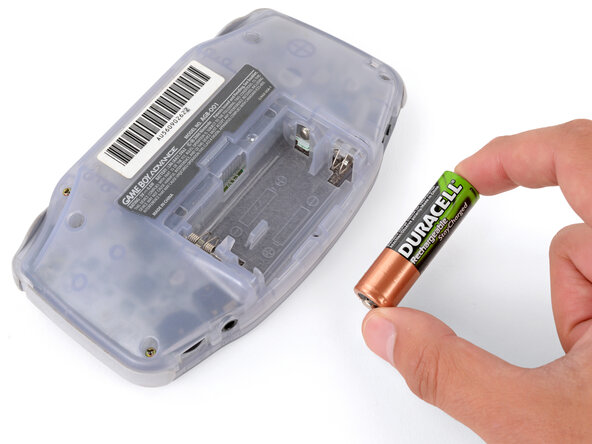
If you have a game cartridge installed, remove it.
-
-
-
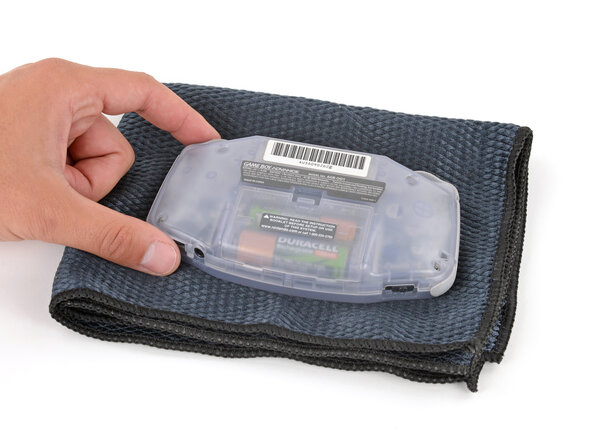
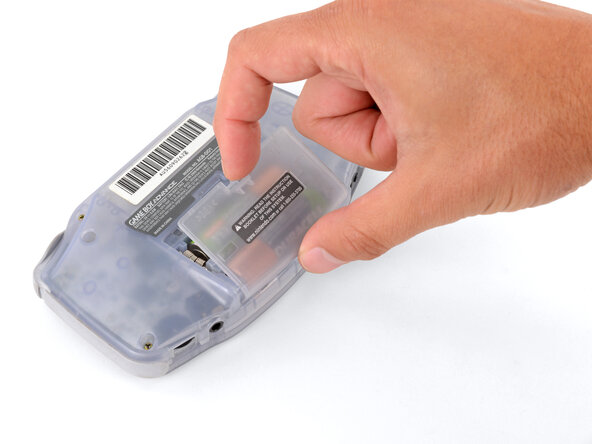
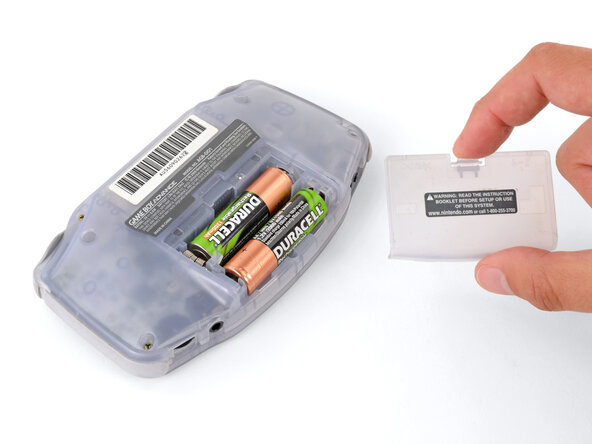
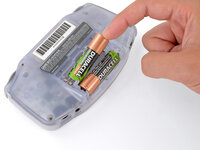
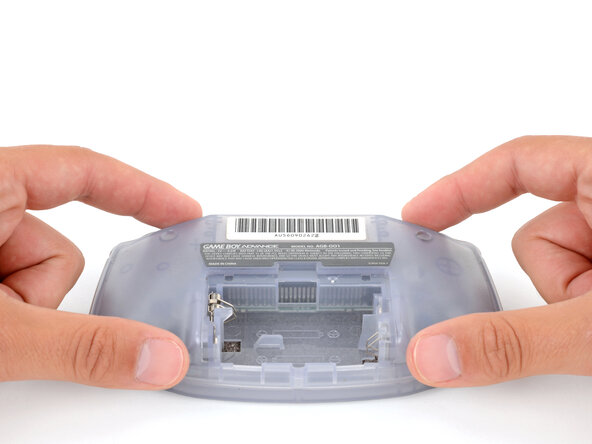
Release the battery cover tab with your finger and swing the cover away from your Game Boy to remove it.
-
-
-
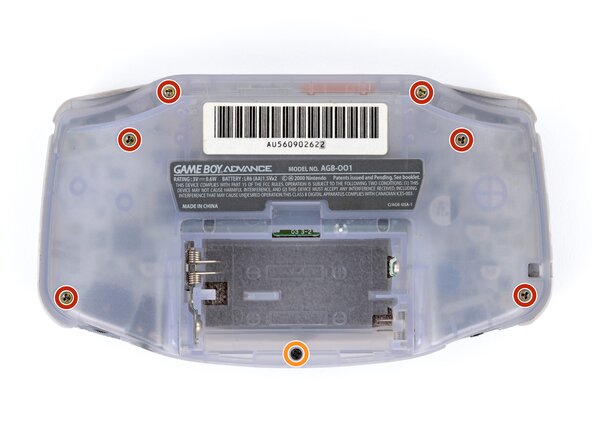
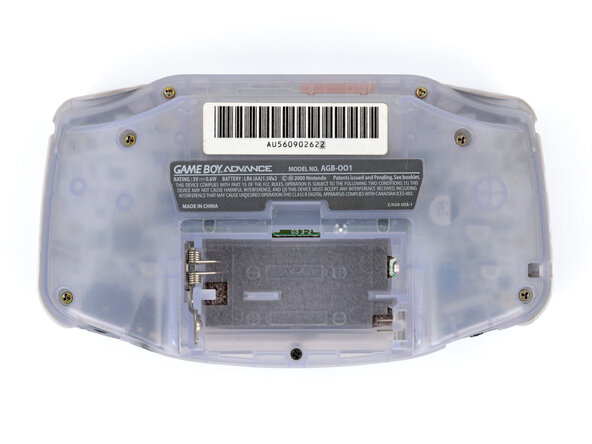
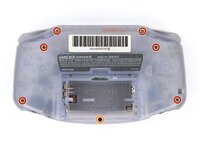
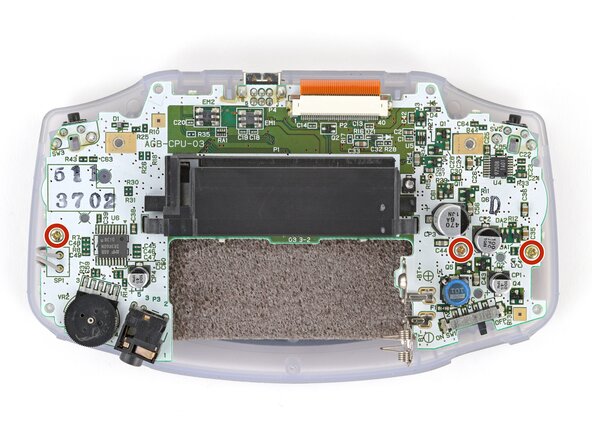
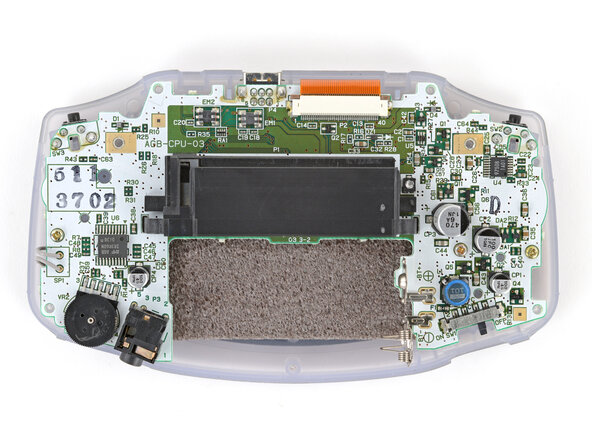
Remove the seven screws securing the back shell:
-
Six 9.4 mm‑long tri‑point Y0 screws
-
One 8.5 mm‑long JIS 1 screw
-
-
-
-
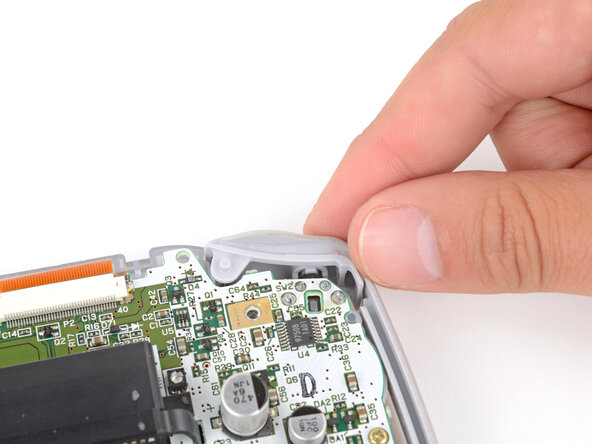
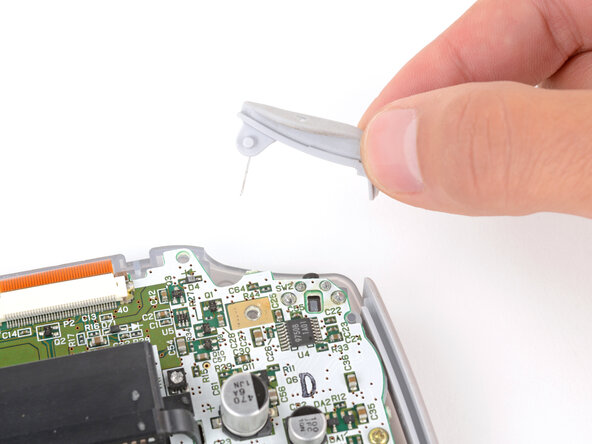
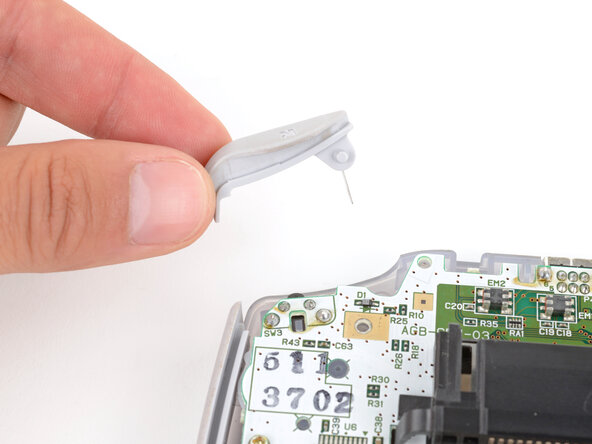
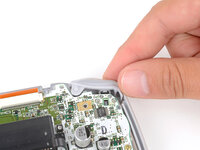
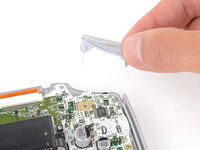
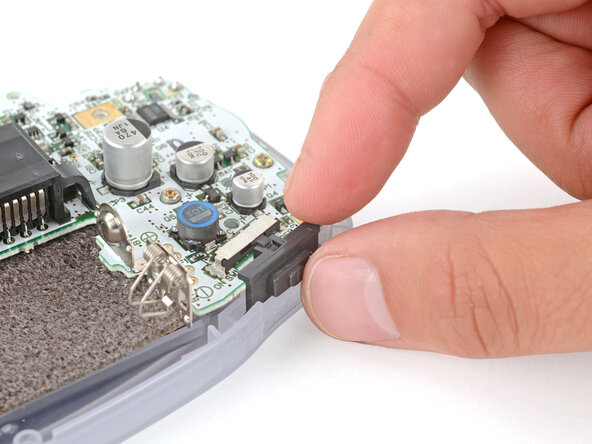
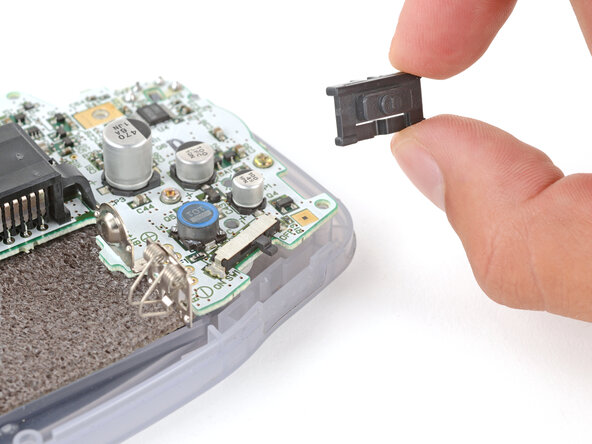
Lift the shoulder buttons (aka L and R buttons) straight up to remove them.
-
Slide the buttons into place, making sure the peg on the button goes into its circular cutout and the button itself is over the actual button mechanism.
-
Gently test the buttons to make sure they feel correct. If they don't, reposition them and make sure the metal arms aren't stuck in a weird position under the board.
-
-
-
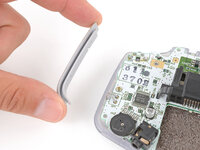
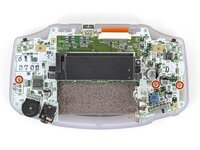
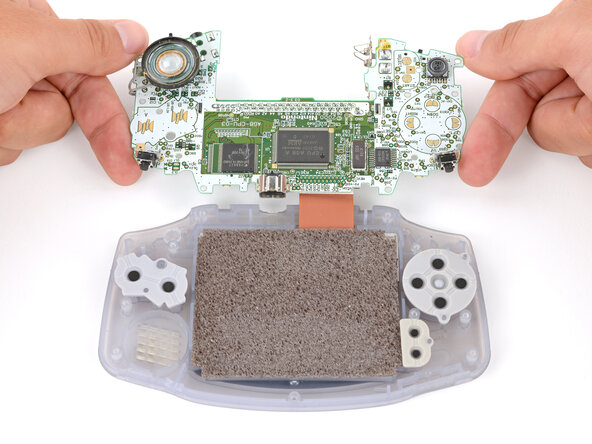
Use a JIS 1 screwdriver to remove the three 7 mm‑long screws securing the motherboard.
-
-
-
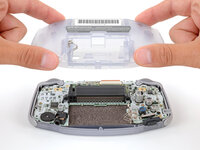
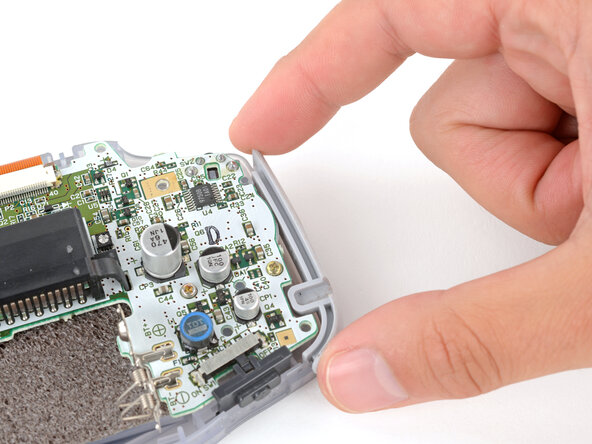
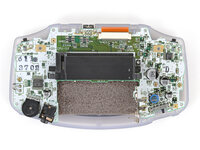
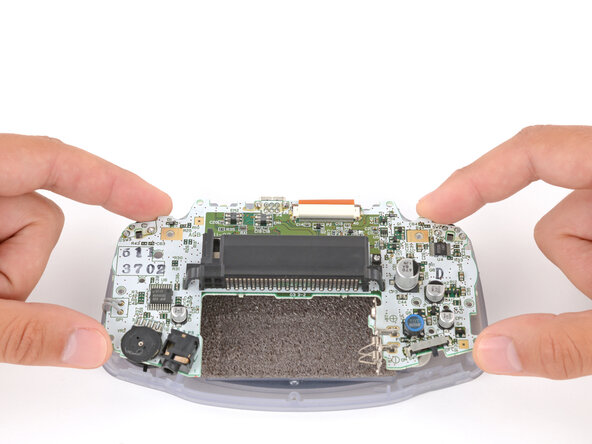
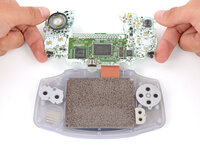
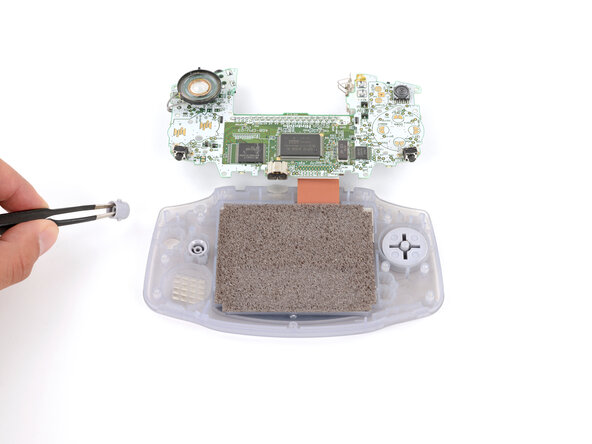
Carefully flip the motherboard over the top edge of your Game Boy and rest it on your work surface.
-
-
-
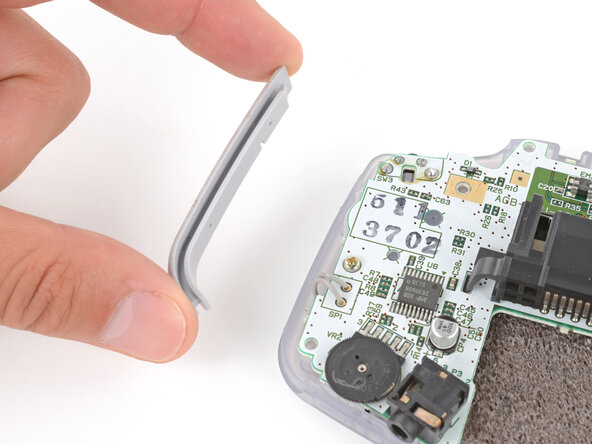
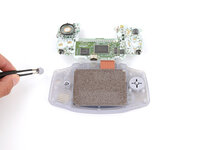
Use tweezers or your fingers to remove the three silicone pads covering the buttons (A and B, the D‑pad, and Start/Select ).
-
-
-
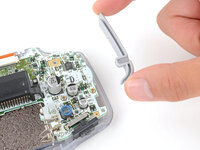
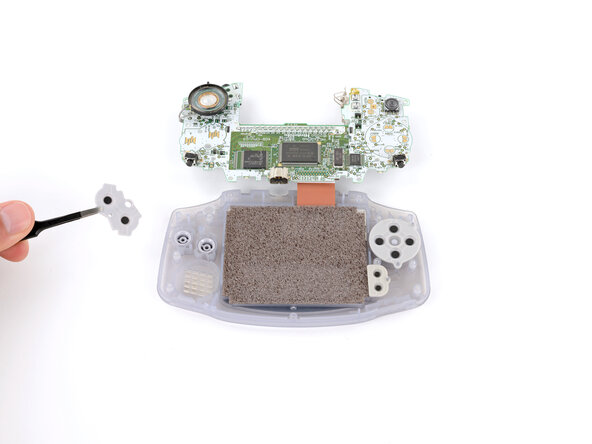
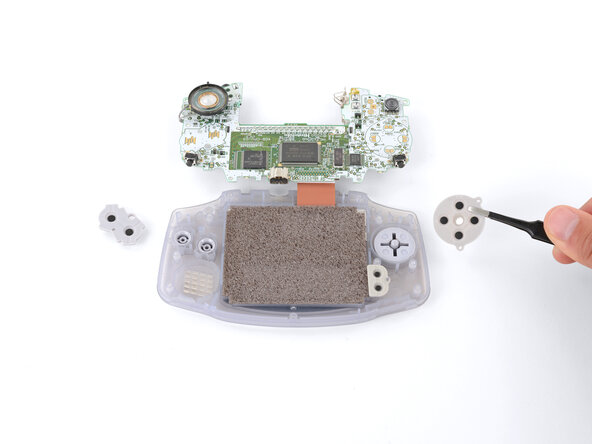
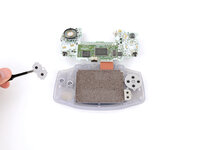
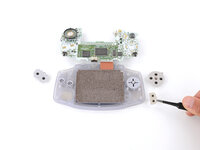
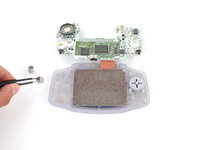
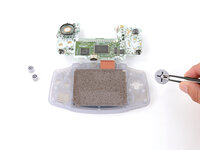
Use tweezers or your fingers to remove the buttons (A and B as well as the D‑pad).
-


To reassemble your device, follow these instructions in reverse order.
Repair didn’t go as planned? Try some basic troubleshooting, or ask our Answers Community for troubleshooting help.
Cancelar: No complete esta guía.
15 personas más completaron esta guía.
