Esta traducción la ha hecho un programa y todavía no la ha revisado nadie. ¿Hablas este idioma? Échale un vistazo.
Introducción
Esta guía te mostrará cómo quitar el botón de encendido y sustituirlo. Necesitarás la herramienta de apertura iFixit y el destornillador Phillips #1. No debería llevarte más de 15 minutos; si tardas más, es posible que hayas hecho algo mal.
Qué necesitas
-
-
-
Desbloquea la tapa de la batería deslizando el interruptor hasta la posición de desbloqueo.
 Pregunta a FixBot
-
-
-
Retira la tapa de la batería deslizándola hacia abajo, alejándola de la cámara.
-
-
-
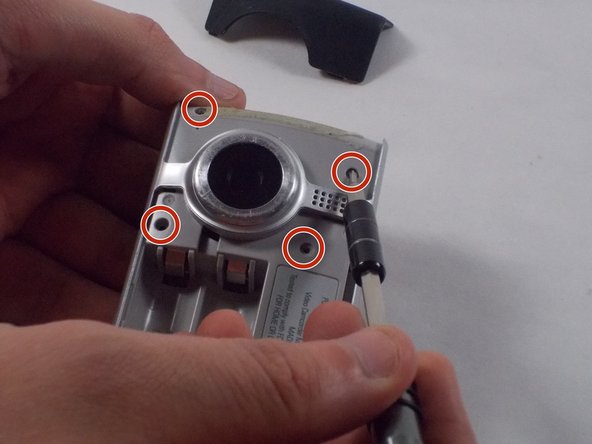
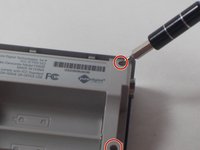
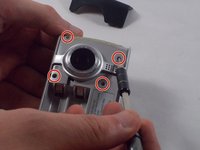
Quita los seis tornillos de 1 mm de la parte trasera y de la carcasa superior con el destornillador Phillips.
-
-
-
-
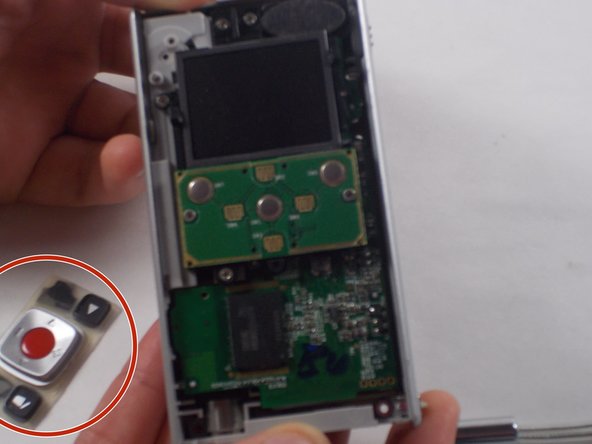
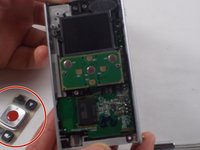
Retira la carcasa superior de la inferior para dejar al descubierto la placa de circuito.
-
-
-
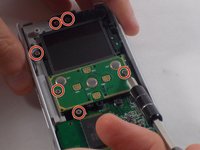
Quita los seis tornillos de 1 mm con el destornillador Phillips del n.º 1.
-
-
-
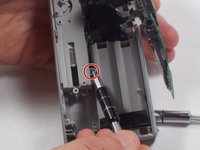
Desatornilla el único tornillo de 1 mm de la unidad de la carcasa USB.
-
-
-
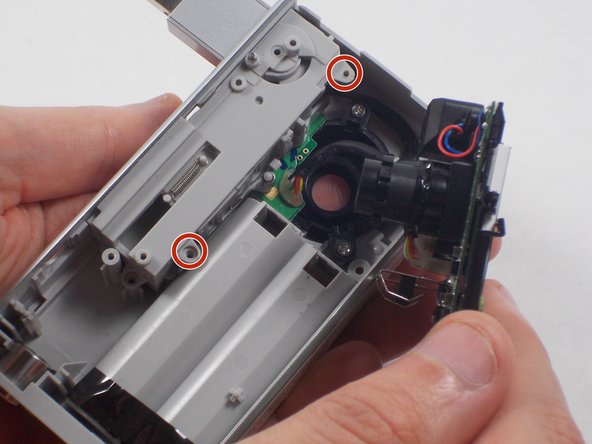
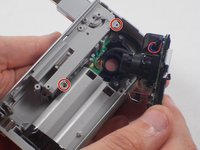
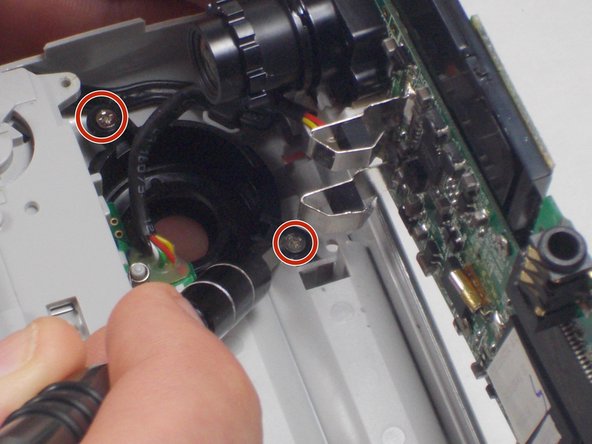
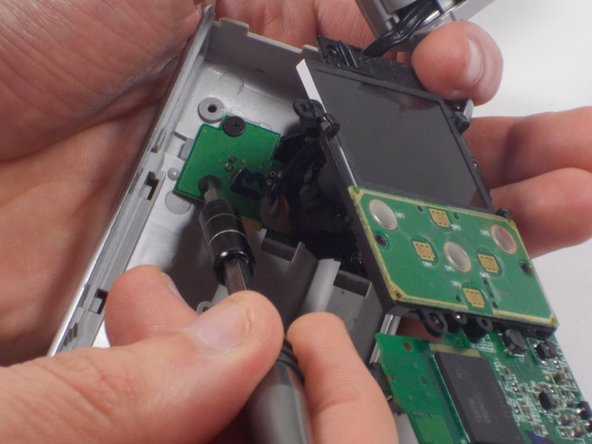
Desatornilla los 2 tornillos de 1 mm y separa con cuidado el cableado de la cámara de la carcasa de plástico.
-
-
-
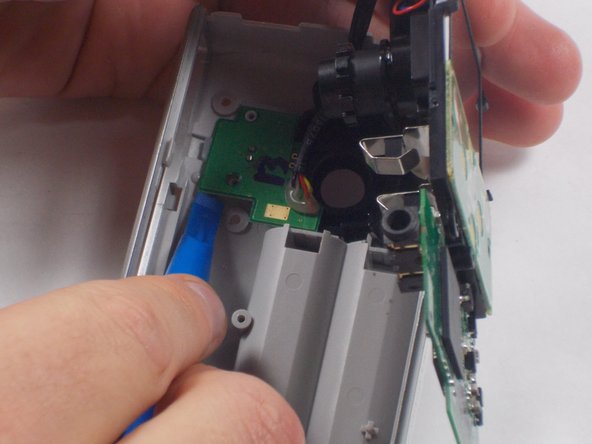
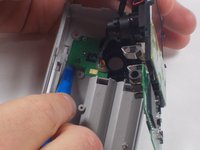
Haz palanca suavemente para sacar la carcasa USB con la herramienta de apertura iFixit.
-
-
-
Quita los dos tornillos de 1 mm y separa la placa de circuito y la cámara de la carcasa de plástico.
-
-
-
Desatornilla la unidad de la carcasa de la cámara del protector de plástico.
-
-










Para volver a montar tu dispositivo, sigue estas instrucciones en orden inverso.

Equipo

UMass Dartmouth, Team 5-7, Martin Fall 2016 Miembro de UMass Dartmouth, Team 5-7, Martin Fall 2016
UMASSD-MARTIN-F16S5G7
Miembros de 3
30 Guías creadas
