Esta traducción la ha hecho un programa y todavía no la ha revisado nadie. ¿Hablas este idioma? Échale un vistazo.
Introducción
Esta guía te mostrará cómo retirar el sensor de activación de la destructora de papel Fellowes T7CM.
Qué necesitas
-
-
-
Comprueba que la destructora no esté conectada a ninguna toma de corriente.
-
Retira la destructora del cesto de residuos y colócala con el lado plateado hacia abajo sobre una superficie plana.
-
Aparta el cesto de residuos, ya que no lo necesitarás durante el resto del desmontaje.
 Pregunta a FixBot
-
-
-
Pon la trituradora con el lado plateado hacia abajo y colócala sobre una superficie plana y nivelada.
-
Retira la etiqueta del fabricante para poder acceder al orificio del tornillo oculto.
-
Localiza los cinco tornillos de la carcasa y retíralos con un destornillador Phillips. Los tornillos se encuentran dentro de los cinco círculos marcados en la foto. Los tornillos tienen una longitud de 18 mm y un diámetro de cabeza de 5 mm.
-
-
-
Una vez que hayas quitado todos los tornillos, separa lentamente la carcasa.
-
Si la carcasa no se separa, mueve suavemente la parte superior de la carcasa para separarla de la parte inferior.
-
-
-
-
Abre la carcasa como se muestra para evitar que el cableado se enrede o se dañe.
-
Presta atención a cómo está sujeto el ensamblaje del gatillo antes de retirarlo.
-
El ensamblaje del gatillo es una sola pieza y debería salir todo junto aplicando poca o ninguna fuerza.
-
Retira el ensamblaje del gatillo.
-
-
-
-
-
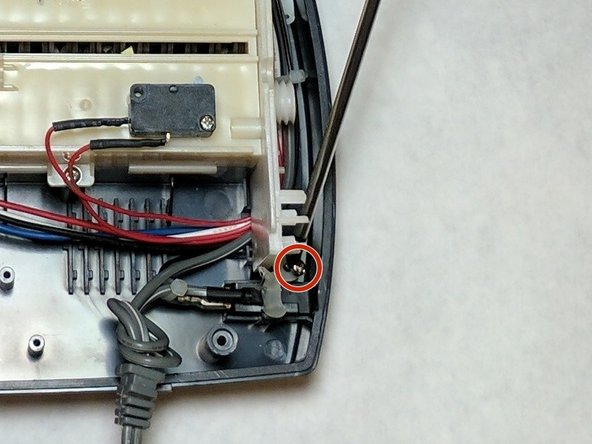
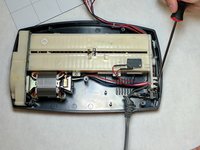
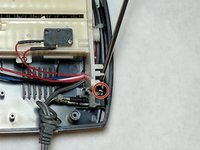
Quita el soporte del cableado. Se trata de una pequeña pieza de plástico atornillada que mantiene el cableado en su lugar. La longitud del tornillo es de 10 mm y el diámetro de la cabeza es de 6 mm.
-
-
-
Retira el soporte de la cuchilla de la carcasa externa.
-
Retira los tres tornillos del soporte de la cuchilla. La longitud de los tornillos es de 18 mm y el diámetro de la cabeza es de 5 mm
-
-
-
Ten cuidado al levantar la carcasa de la cuchilla de la caja.
-
Atención: Hay objetos afilados expuestos.
-
Coloca la carcasa de la cuchilla cerca de la caja para asegurarte de que no se dañe el cableado conectado y que este permanezca sujeto a la carcasa.
-
-
-
Localiza el cable de alimentación principal.
-
Corta el cable y pela el extremo restante. Empalma el cable nuevo con el cable viejo restante retorciéndolos.
-
Usa cinta eléctrica para cubrir el empalme del cable.
-
-
-
-
-
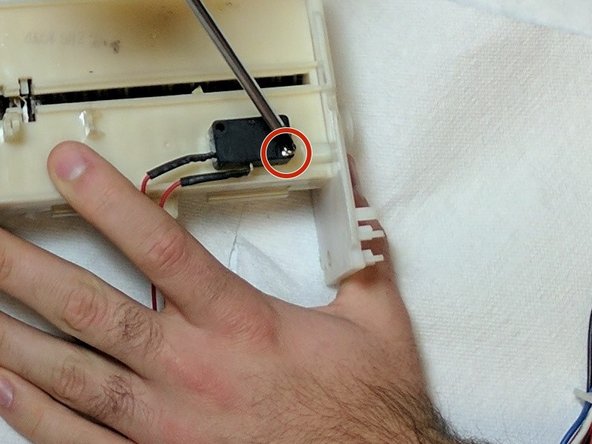
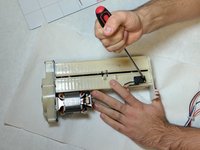
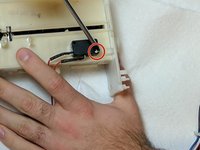
Quita los tornillos que sujetan el sensor de alimentación. La longitud del tornillo es de 10 mm y el diámetro de la cabeza es de 6 mm.
-
Levanta y retira el sensor.
-
Sustituye el sensor defectuoso por un sensor nuevo.
-
-




Para volver a montar tu dispositivo, sigue estas instrucciones en orden inverso.

Equipo

IUPUI, Team 2-2, Baechle Fall 2016 Miembro de IUPUI, Team 2-2, Baechle Fall 2016
IUPUI-BAECHLE-F16S2G2
Miembros de 4
64 Guías creadas
