Saltar al contenido principal

EDCO Disk Grinder 50200-HD Power Cord Replacement

Qué necesitas

  1. EDCO Disk Grinder 50200-HD Power Cord Replacement, Safety precautions: paso 1, imagen 1 de 1
    • Before you begin, ensure the device is powered down and cool to the touch.

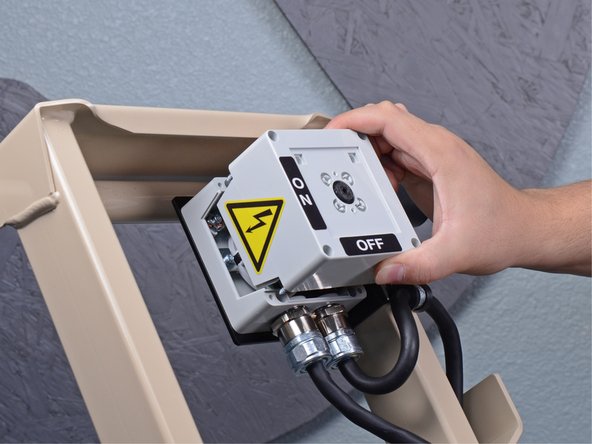
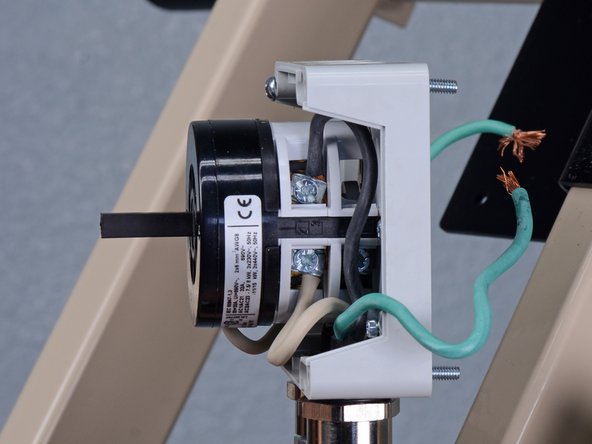
    • Ensure the machine is unplugged.

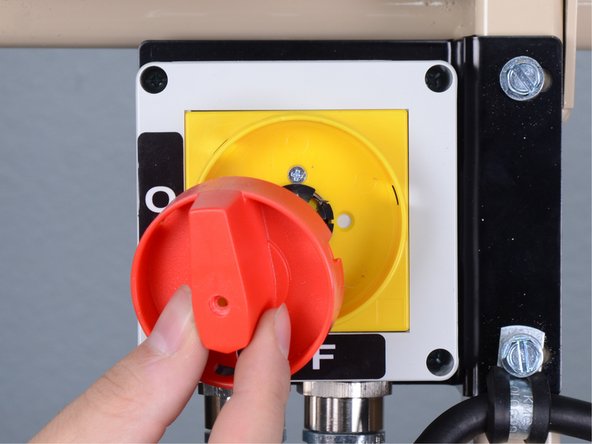
    • Turn the power switch counterclockwise into the OFF position.

  2. EDCO Disk Grinder 50200-HD Power Cord Replacement, Unwrap the power cord: paso 2, imagen 1 de 3 EDCO Disk Grinder 50200-HD Power Cord Replacement, Unwrap the power cord: paso 2, imagen 2 de 3 EDCO Disk Grinder 50200-HD Power Cord Replacement, Unwrap the power cord: paso 2, imagen 3 de 3
    • Unwrap the power cord from the device completely.

  3. EDCO Disk Grinder 50200-HD Power Cord Replacement, Remove the on/off lever screw: paso 3, imagen 1 de 1
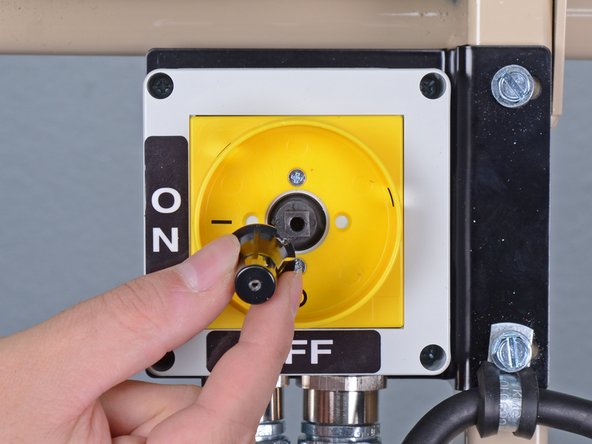
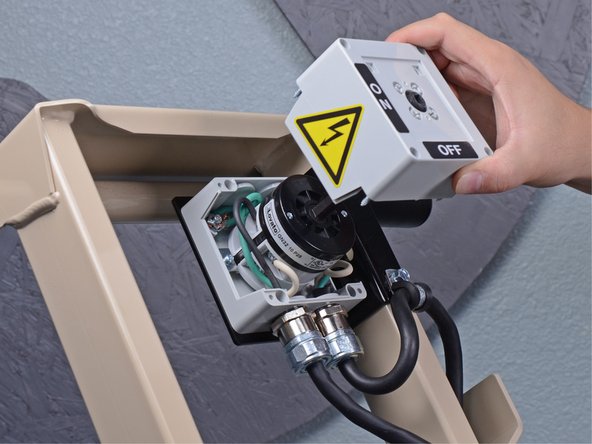
    • Use a Phillips screwdriver to remove the screw securing the red on/off lever.

  4. EDCO Disk Grinder 50200-HD Power Cord Replacement, Remove the lever: paso 4, imagen 1 de 2 EDCO Disk Grinder 50200-HD Power Cord Replacement, Remove the lever: paso 4, imagen 2 de 2
    • Remove the red lever from the on/off switch.

  5. EDCO Disk Grinder 50200-HD Power Cord Replacement: paso 5, imagen 1 de 2 EDCO Disk Grinder 50200-HD Power Cord Replacement: paso 5, imagen 2 de 2
    • Remove the black plastic cap from the center of the switch assembly.

  6. EDCO Disk Grinder 50200-HD Power Cord Replacement: paso 6, imagen 1 de 1
    • Use a Phillips screwdriver to remove the two screws securing the yellow switch guide to the switch assembly.

    • During reassembly, ensure this component is installed in the same orientation, with the circle in the 6 o'clock "OFF" position.

  7. EDCO Disk Grinder 50200-HD Power Cord Replacement: paso 7, imagen 1 de 3 EDCO Disk Grinder 50200-HD Power Cord Replacement: paso 7, imagen 2 de 3 EDCO Disk Grinder 50200-HD Power Cord Replacement: paso 7, imagen 3 de 3
    • Remove the yellow switch guide from the switch assembly.

    • Remove the black plastic spacer from underneath the yellow switch guide.

  8. EDCO Disk Grinder 50200-HD Power Cord Replacement, Remove the on/off switch housing: paso 8, imagen 1 de 1
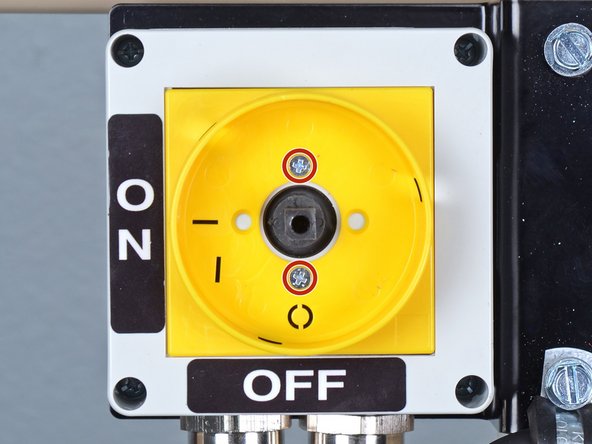
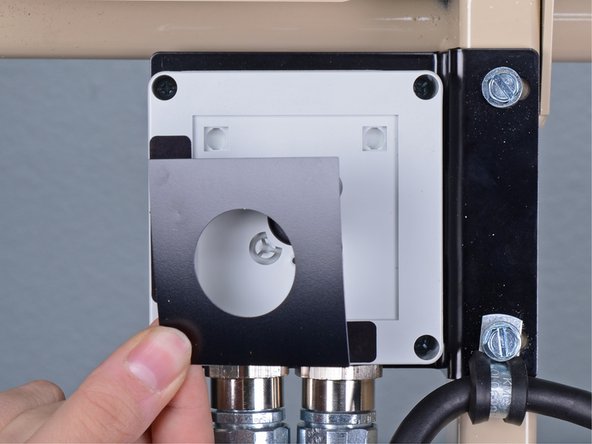
    • Use a Phillips screwdriver to remove the four screws securing the upper half of the switch housing to the lower half.

  9. EDCO Disk Grinder 50200-HD Power Cord Replacement: paso 9, imagen 1 de 3 EDCO Disk Grinder 50200-HD Power Cord Replacement: paso 9, imagen 2 de 3 EDCO Disk Grinder 50200-HD Power Cord Replacement: paso 9, imagen 3 de 3
    • Lift the upper half of the housing straight up off of the lower half.

  10. EDCO Disk Grinder 50200-HD Power Cord Replacement, Remove the power cord: paso 10, imagen 1 de 1
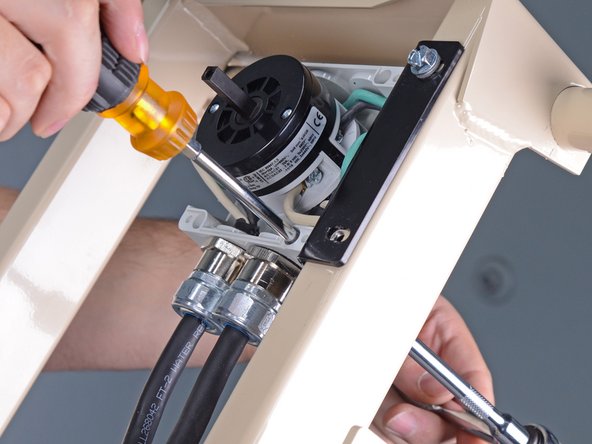
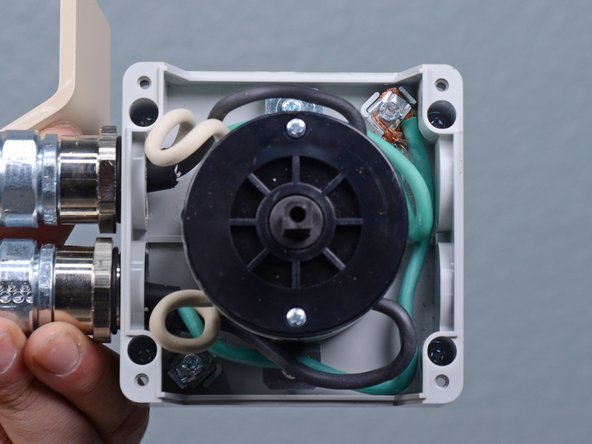
    • Use a 3/8 inch socket to remove the bolt securing the power cord loom clamp to the switch bracket.

  11. EDCO Disk Grinder 50200-HD Power Cord Replacement: paso 11, imagen 1 de 3 EDCO Disk Grinder 50200-HD Power Cord Replacement: paso 11, imagen 2 de 3 EDCO Disk Grinder 50200-HD Power Cord Replacement: paso 11, imagen 3 de 3
    • Remove the loom clamp from the power cord.

  12. EDCO Disk Grinder 50200-HD Power Cord Replacement: paso 12, imagen 1 de 3 EDCO Disk Grinder 50200-HD Power Cord Replacement: paso 12, imagen 2 de 3 EDCO Disk Grinder 50200-HD Power Cord Replacement: paso 12, imagen 3 de 3
    • Use a 11/32 inch socket to remove the four nuts from the on/off switch bracket.

    • During reassembly, use a Phillips screwdriver in combination with the 11/32 inch socket wrench to tighten the bolts securing the switch to the bracket.

  13. EDCO Disk Grinder 50200-HD Power Cord Replacement: paso 13, imagen 1 de 2 EDCO Disk Grinder 50200-HD Power Cord Replacement: paso 13, imagen 2 de 2
    • Lift the switch assembly off the switch bracket.

  14. EDCO Disk Grinder 50200-HD Power Cord Replacement: paso 14, imagen 1 de 2 EDCO Disk Grinder 50200-HD Power Cord Replacement: paso 14, imagen 2 de 2
    • Use a flathead screwdriver to remove the screw securing the two green ground wires to the switch housing.

  15. EDCO Disk Grinder 50200-HD Power Cord Replacement: paso 15, imagen 1 de 3 EDCO Disk Grinder 50200-HD Power Cord Replacement: paso 15, imagen 2 de 3 EDCO Disk Grinder 50200-HD Power Cord Replacement: paso 15, imagen 3 de 3
    • Separate the green wires from each other and move them away from the switch housing.

  16. EDCO Disk Grinder 50200-HD Power Cord Replacement: paso 16, imagen 1 de 2 EDCO Disk Grinder 50200-HD Power Cord Replacement: paso 16, imagen 2 de 2
    • Use a flathead screwdriver to loosen the two screws securing the black and white wires running from the power cord to the switch.

    • During reassembly, ensure each wire in installed in its correct location on the switch.

  17. EDCO Disk Grinder 50200-HD Power Cord Replacement: paso 17, imagen 1 de 3 EDCO Disk Grinder 50200-HD Power Cord Replacement: paso 17, imagen 2 de 3 EDCO Disk Grinder 50200-HD Power Cord Replacement: paso 17, imagen 3 de 3
    • Remove the black wire from the switch.

  18. EDCO Disk Grinder 50200-HD Power Cord Replacement: paso 18, imagen 1 de 3 EDCO Disk Grinder 50200-HD Power Cord Replacement: paso 18, imagen 2 de 3 EDCO Disk Grinder 50200-HD Power Cord Replacement: paso 18, imagen 3 de 3
    • Remove the white wire from the switch.

  19. EDCO Disk Grinder 50200-HD Power Cord Replacement: paso 19, imagen 1 de 3 EDCO Disk Grinder 50200-HD Power Cord Replacement: paso 19, imagen 2 de 3 EDCO Disk Grinder 50200-HD Power Cord Replacement: paso 19, imagen 3 de 3
    • Use a 1-1/16 inch wrench or an adjustable wrench to loosen the power cord's strain relief fitting from the switch housing.

    • Once the fitting is loose enough to turn by hand, twist the power cord and fitting counterclockwise until it is fully unthreaded from the switch housing.

  20. EDCO Disk Grinder 50200-HD Power Cord Replacement: paso 20, imagen 1 de 3 EDCO Disk Grinder 50200-HD Power Cord Replacement: paso 20, imagen 2 de 3 EDCO Disk Grinder 50200-HD Power Cord Replacement: paso 20, imagen 3 de 3
    • Remove the power cord from the switch.

  21. EDCO Disk Grinder 50200-HD Power Cord Replacement, Transfer the strain relief fitting to the new power cord: paso 21, imagen 1 de 2 EDCO Disk Grinder 50200-HD Power Cord Replacement, Transfer the strain relief fitting to the new power cord: paso 21, imagen 2 de 2
    • If the replacement power cord comes with a strain relief fitting pre-installed, skip the remaining steps and begin reassembly.

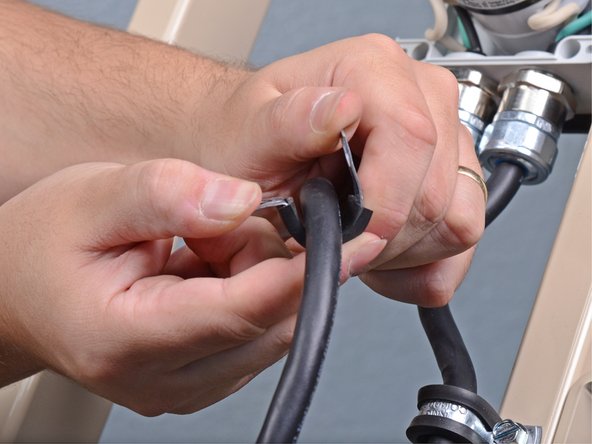
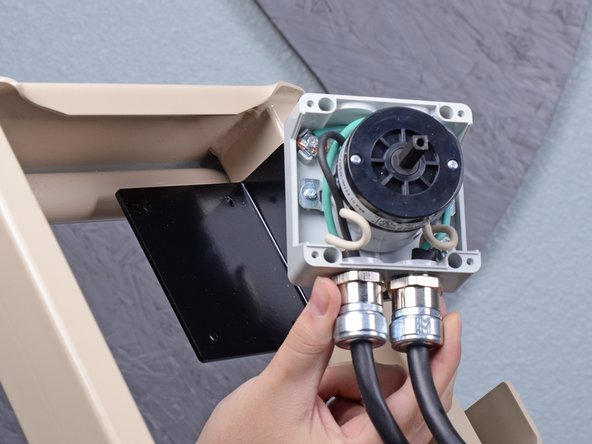
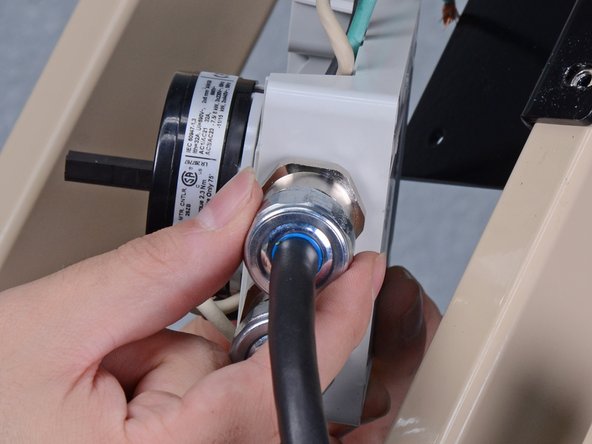
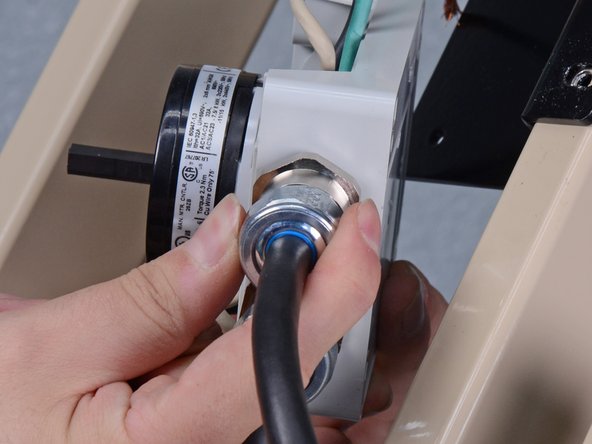
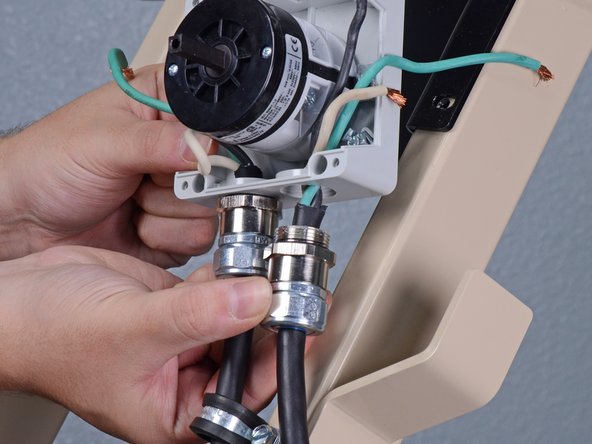
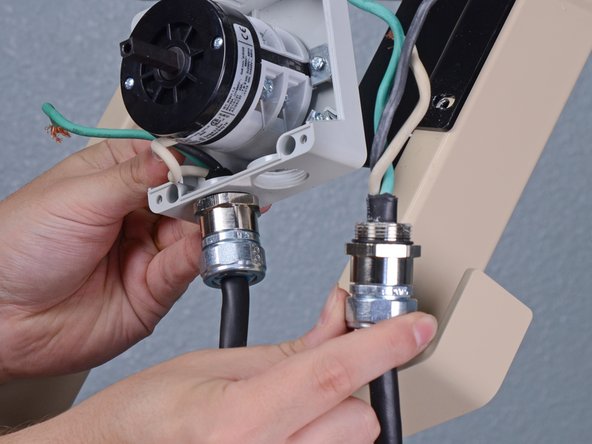
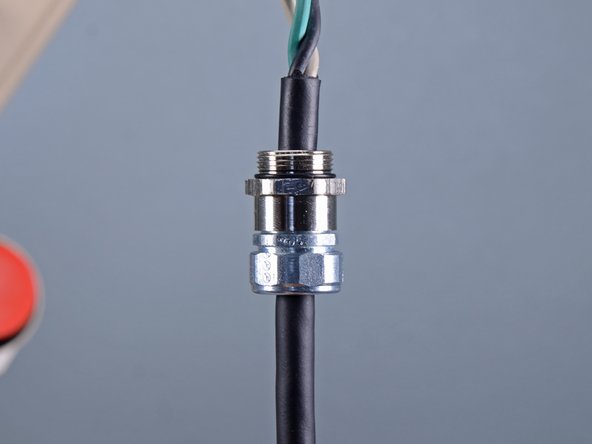
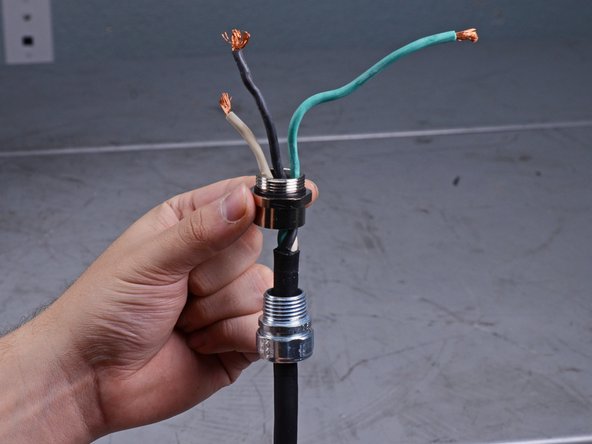
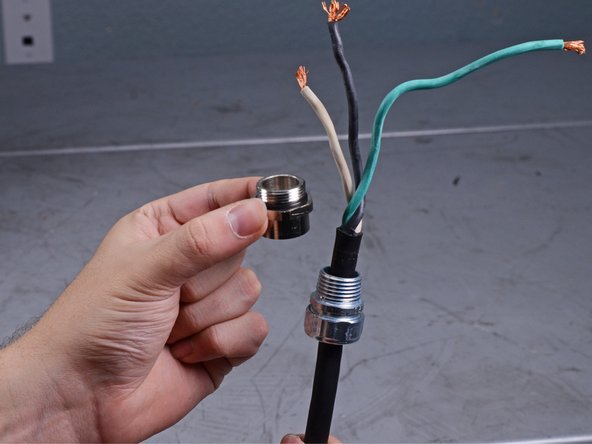
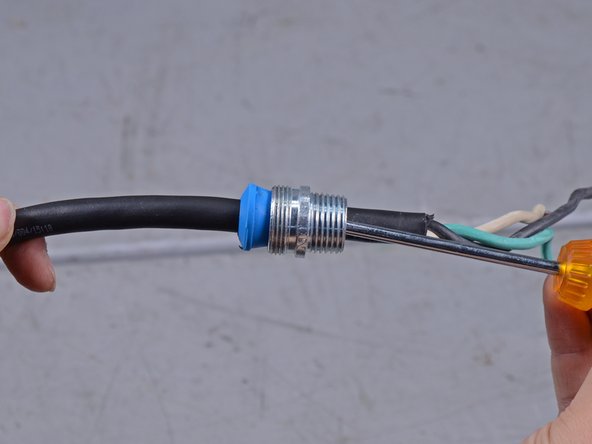
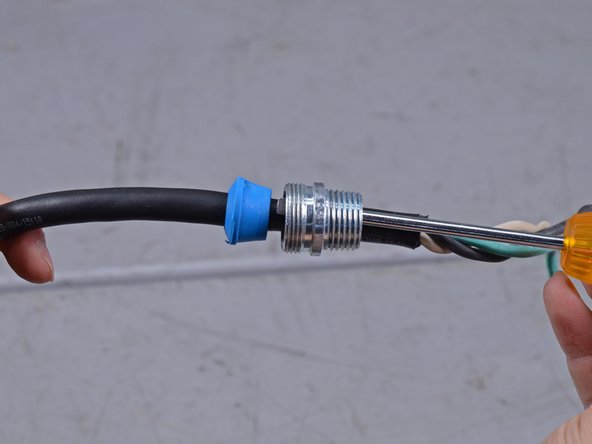
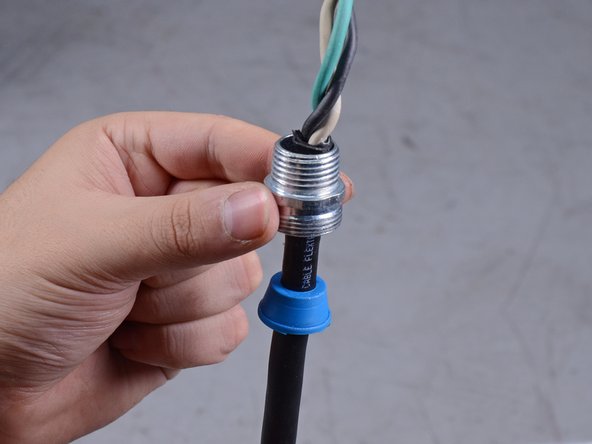
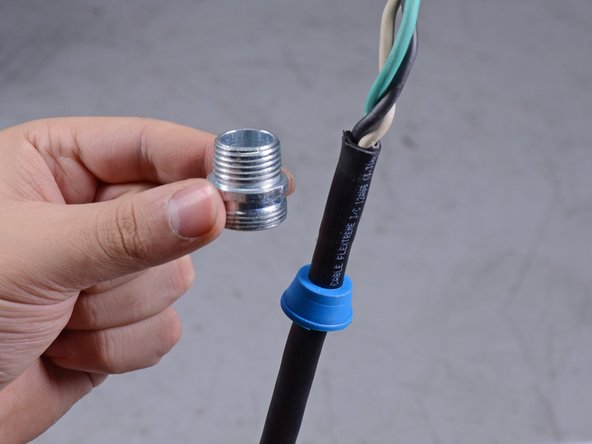
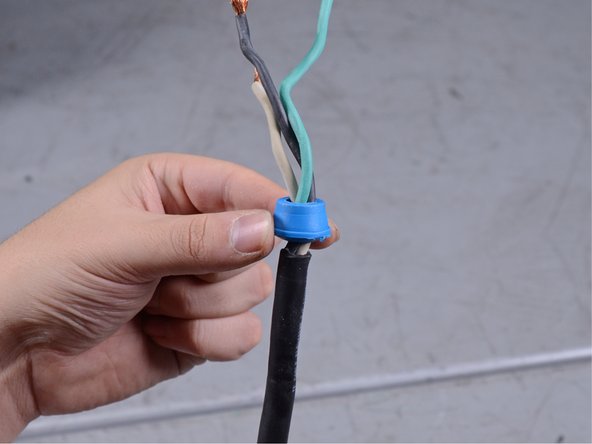
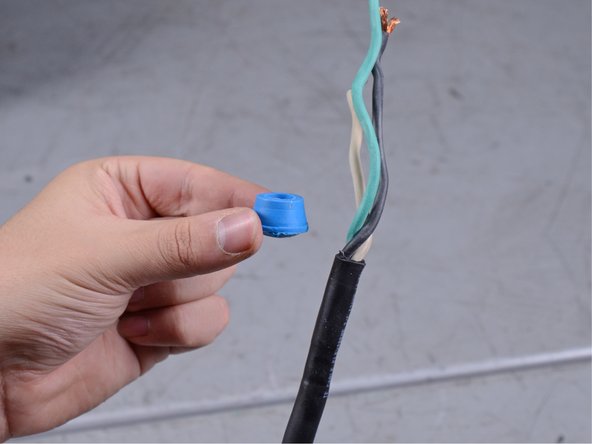
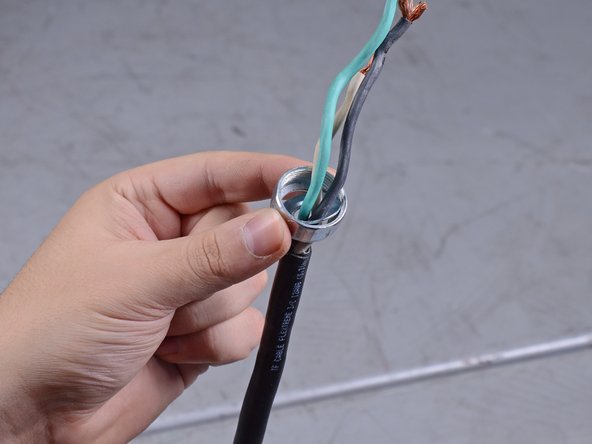
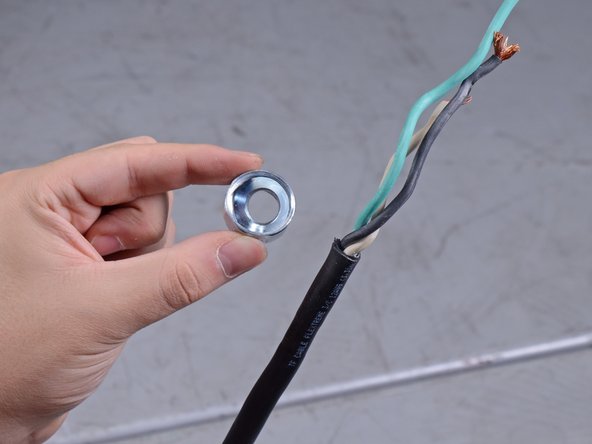
    • Use two adjustable wrenches to unscrew the strain relief fitting by turning the locknut counterclockwise relative to the strain relief fitting.

    • 1-1/16 inch lock nut

    • 15/16 inch strain relief fitting

    • Reassembly tip: note the length from the end of the power cord to the strain relief fitting. Match this length as close as possible when reinstalling the strain relief fitting.

  22. EDCO Disk Grinder 50200-HD Power Cord Replacement: paso 22, imagen 1 de 3 EDCO Disk Grinder 50200-HD Power Cord Replacement: paso 22, imagen 2 de 3 EDCO Disk Grinder 50200-HD Power Cord Replacement: paso 22, imagen 3 de 3
    • Remove the lock nut from the power cord.

  23. EDCO Disk Grinder 50200-HD Power Cord Replacement: paso 23, imagen 1 de 3 EDCO Disk Grinder 50200-HD Power Cord Replacement: paso 23, imagen 2 de 3 EDCO Disk Grinder 50200-HD Power Cord Replacement: paso 23, imagen 3 de 3
    • Insert a flathead screwdriver into the fitting and push the blue grommet out to remove it from the housing.

  24. EDCO Disk Grinder 50200-HD Power Cord Replacement: paso 24, imagen 1 de 3 EDCO Disk Grinder 50200-HD Power Cord Replacement: paso 24, imagen 2 de 3 EDCO Disk Grinder 50200-HD Power Cord Replacement: paso 24, imagen 3 de 3
    • Remove the fitting from the power cord.

  25. EDCO Disk Grinder 50200-HD Power Cord Replacement: paso 25, imagen 1 de 3 EDCO Disk Grinder 50200-HD Power Cord Replacement: paso 25, imagen 2 de 3 EDCO Disk Grinder 50200-HD Power Cord Replacement: paso 25, imagen 3 de 3
    • Remove the grommet from the power cord.

  26. EDCO Disk Grinder 50200-HD Power Cord Replacement: paso 26, imagen 1 de 3 EDCO Disk Grinder 50200-HD Power Cord Replacement: paso 26, imagen 2 de 3 EDCO Disk Grinder 50200-HD Power Cord Replacement: paso 26, imagen 3 de 3
    • Remove the remaining nut and washer from the power cable.

    • These may have slid down the power cable during the previous steps.

  27. EDCO Disk Grinder 50200-HD Power Cord Replacement: paso 27, imagen 1 de 1
    • Only the power cord remains.

Conclusión

To reassemble your device, follow these instructions in reverse order.

Una persona más ha completado esta guía.

Sam Omiotek

Miembro Desde 02/25/19

73,693 Reputación

288 Guías creadas

0 comentarios

Agregar Comentario

Ver Estadísticas:

Ultimas 24 horas: 1

Ultimos 7 días: 3

Ultimos 30 días: 10

Todo El Tiempo: 307