Saltar al contenido principal
Únete a la Comunidad de Reparación - Crear Cuenta

Disassembling IBM WorkPad c3 LCD

Qué necesitas

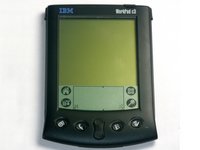
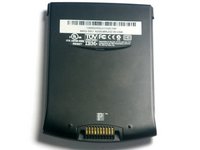
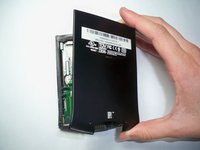
    1. Disassembling IBM WorkPad c3 LCD, Back Case: paso 1, imagen 1 de 2 Disassembling IBM WorkPad c3 LCD, Back Case: paso 1, imagen 2 de 2
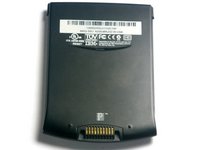
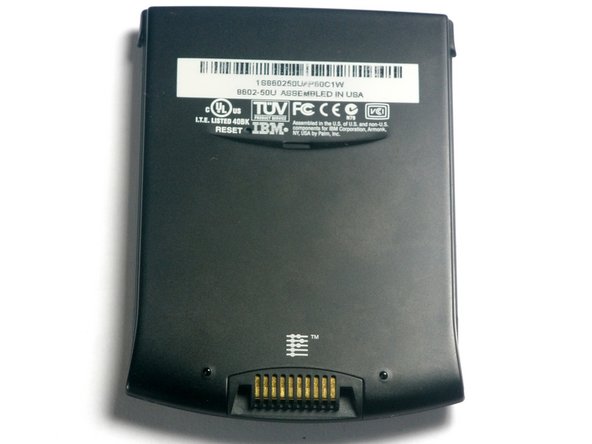
      • Turn the device over so that the screen is facing down.

      • In the next step the device will be heated, so the screen must be turned over to prevent heat damage to the LCD/Digitizer.

      Pregunta a FixBot

      Agregar Comentario

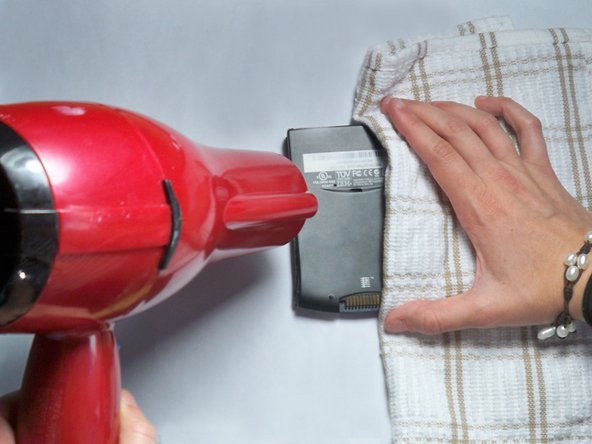
    2. Disassembling IBM WorkPad c3 LCD: paso 2, imagen 1 de 1
      • Using a hair dryer, slowly heat the edges of the WorkPad.

      • Spend at least one minute heating each side of the device. This will melt the glue holding the case together, and allow it to be removed.

      • Be sure not to touch the device directly after heating as it will be extremely hot. Use a towel or oven mitt to grab it.

      Pregunta a FixBot

      Agregar Comentario

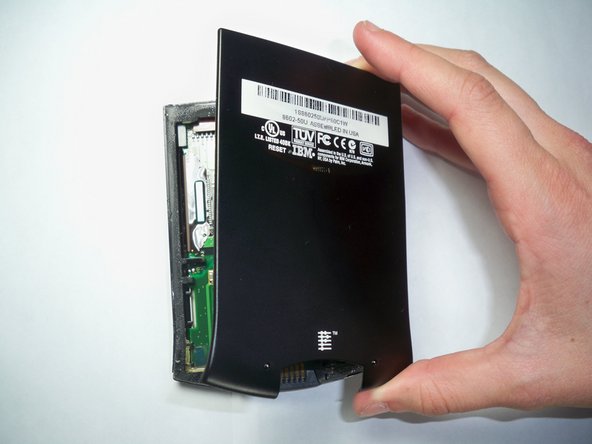
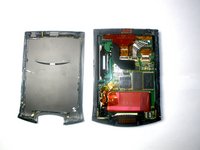
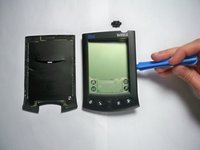
    3. Disassembling IBM WorkPad c3 LCD: paso 3, imagen 1 de 2 Disassembling IBM WorkPad c3 LCD: paso 3, imagen 2 de 2
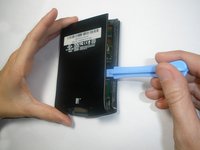
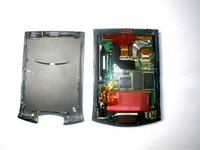
      • Use a plastic opening tool to pry the back case from the WorkPad.

      • If the rear cover is not coming off very easily, you probably need to reheat the case in order to sufficiently melt the glue.

      Pregunta a FixBot

      Agregar Comentario

    1. Disassembling IBM WorkPad c3 LCD, Front Case: paso 4, imagen 1 de 2 Disassembling IBM WorkPad c3 LCD, Front Case: paso 4, imagen 2 de 2
      • Turn the device over, so that the screen is laying on a flat surface.

      Pregunta a FixBot

      Agregar Comentario

    2. Disassembling IBM WorkPad c3 LCD: paso 5, imagen 1 de 3 Disassembling IBM WorkPad c3 LCD: paso 5, imagen 2 de 3 Disassembling IBM WorkPad c3 LCD: paso 5, imagen 3 de 3
      • If the back case has already been removed, carefully place it on the WorkPad to protect the circuitry inside from the heat.

      • Using the hair dryer, slowly heat the edges of the device. Spend at least 1 minute on each side, thoroughly heating the case.

      • The LCD/Digitizer combo is very sensitive to heat, and can easily be ruined if it is directly exposed to the hair dryer. Verify that the screen is face down.

      Pregunta a FixBot

      Agregar Comentario

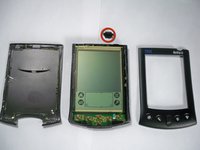
    3. Disassembling IBM WorkPad c3 LCD: paso 6, imagen 1 de 2 Disassembling IBM WorkPad c3 LCD: paso 6, imagen 2 de 2
      • The device will be extremely hot. Use a towel or oven mitt to grab it.

      • Using the Plastic Opening Tools, take the front of the case off.

      • If the case is difficult to remove, try repeating step 2.

      • The power button at the top of the device will be loose once the front part of the case is removed.

      Pregunta a FixBot

      Agregar Comentario

    1. Disassembling IBM WorkPad c3 LCD, Battery: paso 7, imagen 1 de 1
      • Remove the yellow tape that is covering the battery connector

      Pregunta a FixBot

      Agregar Comentario

    2. Disassembling IBM WorkPad c3 LCD: paso 8, imagen 1 de 1
      Herramienta utilizada en este paso:
      Tweezers
      $4.99
      • Using the tweezers, carefully disconnect the battery cable from the port

      Pregunta a FixBot

      Agregar Comentario

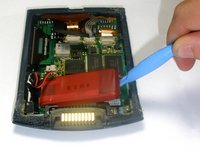
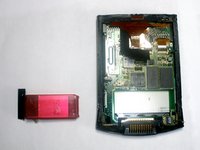
    3. Disassembling IBM WorkPad c3 LCD: paso 9, imagen 1 de 2 Disassembling IBM WorkPad c3 LCD: paso 9, imagen 2 de 2
      • Using the plastic opening tools, lift the battery out of the case

      • The battery is secured with adhesive and it will take some effort to remove

      Pregunta a FixBot

      Agregar Comentario

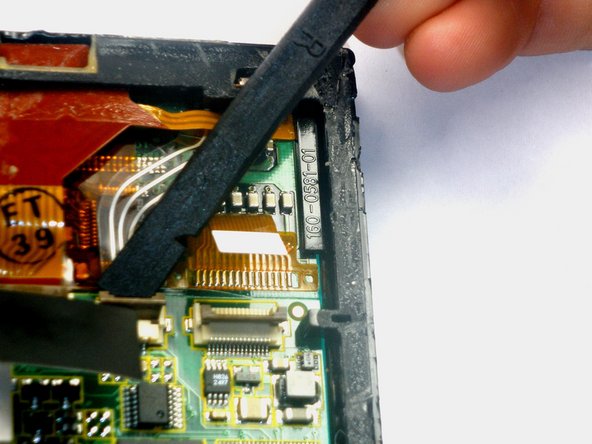
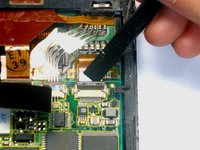
    1. Disassembling IBM WorkPad c3 LCD, LCD: paso 10, imagen 1 de 2 Disassembling IBM WorkPad c3 LCD, LCD: paso 10, imagen 2 de 2
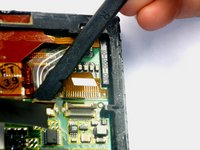
      • Using the spudger lift the tabs holding the LCD/Digitizer combo cables to the WorkPad.

      Pregunta a FixBot

      Agregar Comentario

    2. Disassembling IBM WorkPad c3 LCD: paso 11, imagen 1 de 2 Disassembling IBM WorkPad c3 LCD: paso 11, imagen 2 de 2
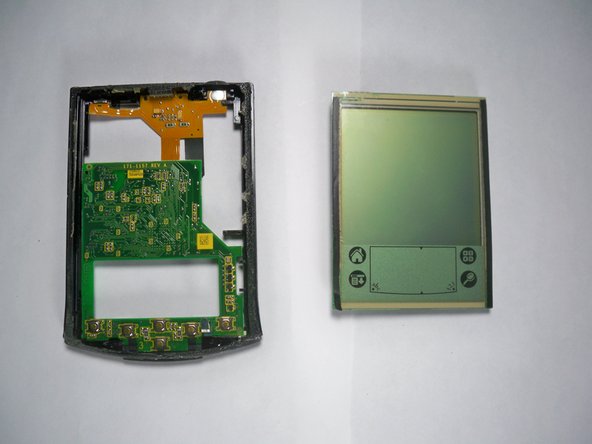
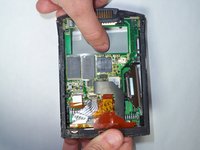
      • Using your thumb, press down gently on the back of the LCD.

      • The LCD will disconnect and fall out of the case, so be sure to have your hand waiting for it.

      Pregunta a FixBot

      Agregar Comentario

Conclusión

To reassemble your device, follow these instructions in reverse order.

Cancelar: No complete esta guía.

Equipo

Cal Poly, Team 21-35, Regan Fall 2010 Miembro de Cal Poly, Team 21-35, Regan Fall 2010

CPSU-REGAN-F10S21G35

Miembros de 3

25 Guías creadas

0Guía Comentarios

Agregar Comentario

Ver Estadísticas:

Ultimas 24 horas: 1

Ultimos 7 días: 8

Ultimos 30 días: 39

Todo El Tiempo: 2,362