Introducción
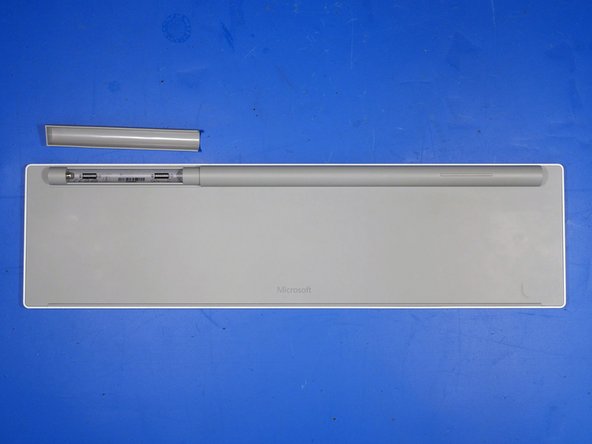
El teclado de superficie es uno de los intentos de Microsoft de llevar un teclado de estilo portátil al espacio del escritorio. Originalmente introducido junto con Surface Studio, este teclado ha sido defendido y odiado por igual por varios críticos de tecnología. Este desmontaje proporcionará información sobre la construcción del teclado y las decisiones de diseño de Microsoft.
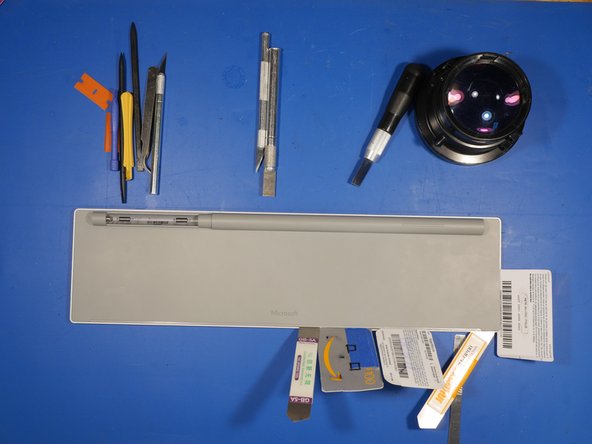
Qué necesitas
-
-
La caja es una representación a escala del producto. Es casi un punto en.
-
Es una caja - no es un teclado - no es una caja ...
-
-
-
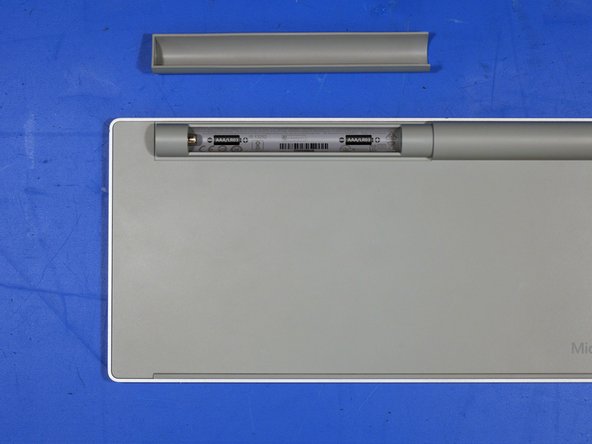
Antes de desarmar un producto, me gusta tomarme el tiempo para analizar la construcción exterior y la construcción general del artículo. Esto me da una mejor idea de cómo el producto fue ensamblado y producido en masa.
-
La mejor manera de hacerlo es buscar costuras o imperfecciones en la construcción del edificio.
-
¿Se dobla o flexiona la parte cuando se aplica una pequeña tensión? ¿Hay grandes lagunas en la construcción? ¿Hay algún adhesivo obvio que cubra los sujetadores?
-
Así es como me imaginé el teclado para ser construido en mi cabeza. Tuve la sensación de que se trataba de un ensamblaje gigantesco pegado y encajado, pero necesitaba verificar eso primero.
-
-
-
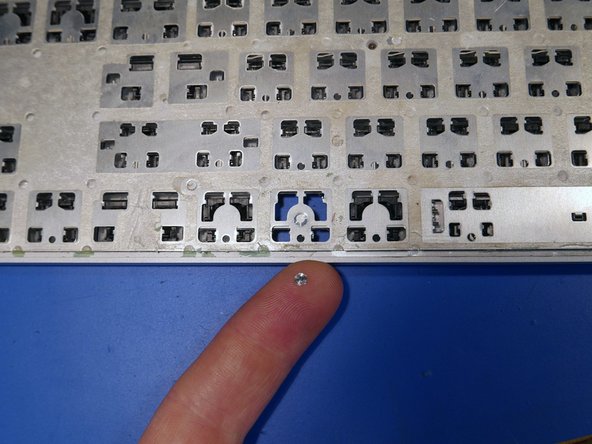
Sería bastante inflexible poner tornillos debajo de las llaves. Por suerte ese no es el caso aquí.
-
Para retirar una llave, coloque un spudger de plástico debajo de la llave desde el borde superior. Aplique un poco de presión hacia abajo sobre el spudger para levantar la llave. La tecla debe hacer estallar sonidos y desbloquear los clips metálicos debajo de la tecla que lo sostienen en el marco del teclado.
Yes. The keys reattach like most laptop keys. Align the key up as best as possible and then put a little downwards force, from bottom to top of the key. The key than latches into place and you will hear a “clicking sound.”
-
-
-
-
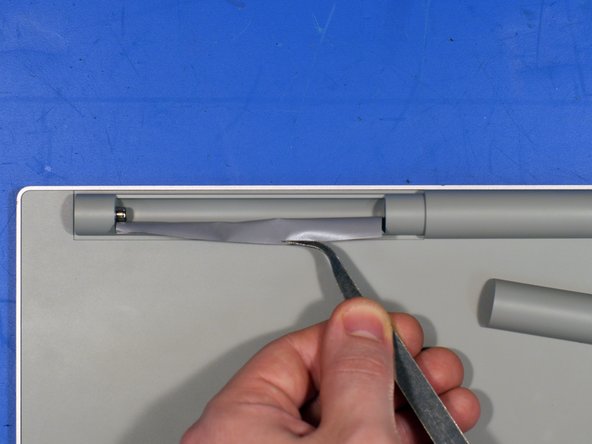
Con la cantidad de cinta adhesiva de doble cara y pegamento dentro de este teclado, sería conveniente utilizar una herramienta iOpener o una pistola de calor antes de comenzar a abrir el teclado.
-
Utilicé una pistola de calor un poco más tarde en el proceso de palanca porque temía derretir y deformar el plástico trasero del teclado. Por suerte, ajustar la pistola de calor a su posición más baja activó el pegamento lo suficiente para volverse flexible.
-
-
-
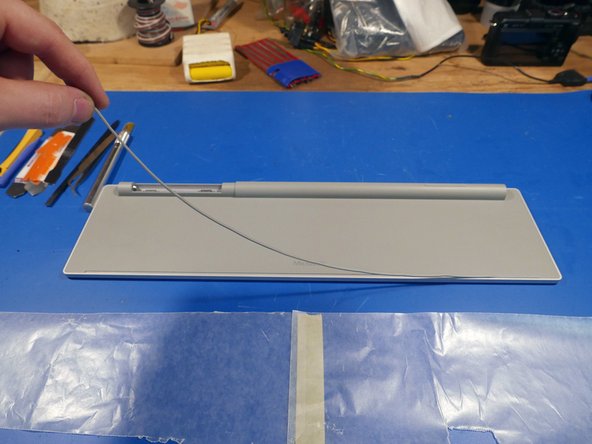
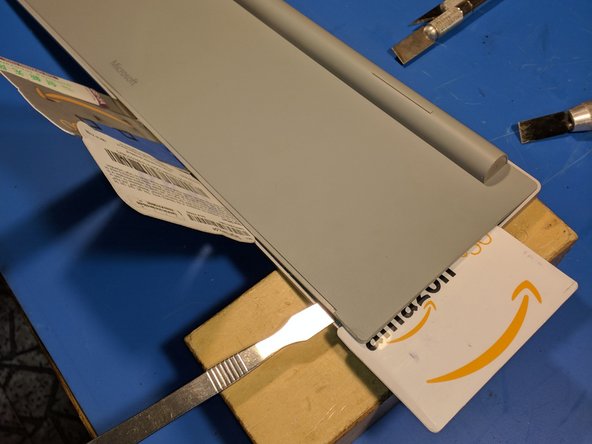
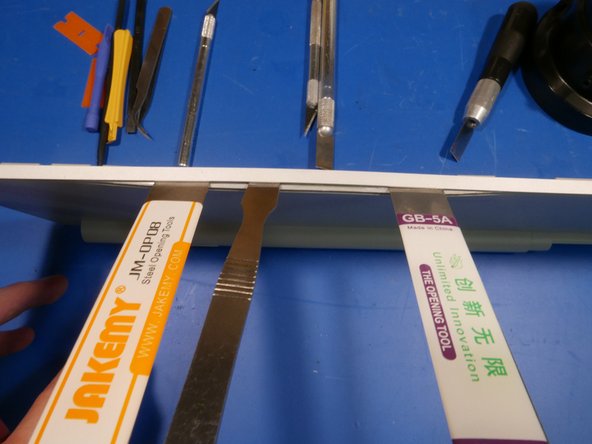
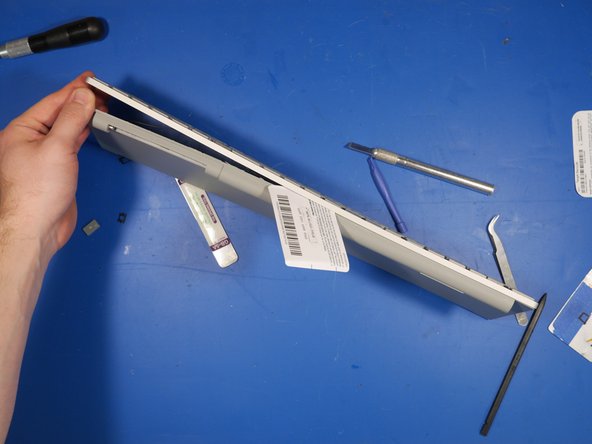
Ahora, por la brecha. ¡Prepara tu aluvión de herramientas de palanca! Usé spudgers de plástico, spudgers de metal, tarjetas de plástico y cuchillos X-ACTO para abrir esto.
-
El espacio entre la cubierta de aluminio y la placa trasera de plástico era tan apretado que tuve que usar una cuchilla X-ACTO con la hoja número 18 de cabeza cuadrada para ampliar el espacio lo suficiente como para deslizar mi spudger de metal.
-
-
-
Con unas cuantas rondas más de calor y haciendo palanca finalmente estaba llegando a algún lugar.
How long did you need to leave the heat on one spot? I'm trying to open the Surface ergonomic keyboard and the glue still seems rock hard
Hi John. While I used a heatgun to open up this keyboard in this teardown, it’s very easy to deform the plastic permanently if you use too much heat. I had a lot better success in later teardowns with using a 115v medical blanket heater. You can find them at your local drug store like riteaid and walgreens. The heaters are designed to wrap around a body part, like an arm. In this case, you literally just wrap the keyboard and it softens up the glue. After an hour or so, take the keyboard out of the blanket heater and torque it a bit either way. You should hear popping sounds, the sounds of the edges yielding. At this point, take a plastic spudger, insert it near the edge and pry a bit. The keyboard should give in and you should be able to disassemble the keyboard in a very clean manner. I did this with the microsoft modern keyboard and it worked great. It even fit right back together. I will be making a guide soon on the process.
-
-
-
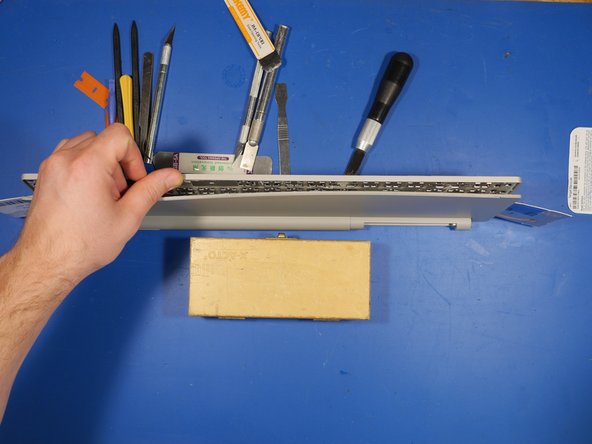
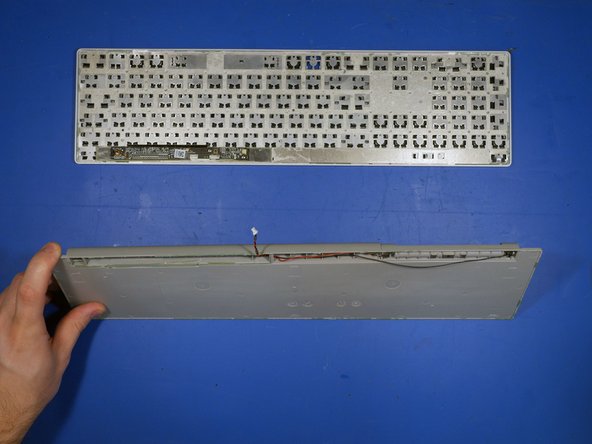
Las dos mitades principales comenzaron a separarse con cierta persuasión.
-
Tarjetas de regalo realmente son útiles. Permiten alguna acción de palanca sin dañar las partes emparedadas. Si usara un spudger de metal para este paso, podría haberme arriesgado a rasgar el único cable de cinta dentro de este teclado. Guarde sus tarjetas de regalo!
-
-
-
Primer plano del compartimiento de la batería.
-
¡Imanes de neodimio en ambos terminales y en la parte superior del compartimiento!
-
Los imanes superiores sujetan las baterías AAA a la parte superior de la sección de la batería de plástico. La única forma de extraer fácilmente las baterías de la carcasa es tocar con fuerza la parte superior del teclado.
-
-
-
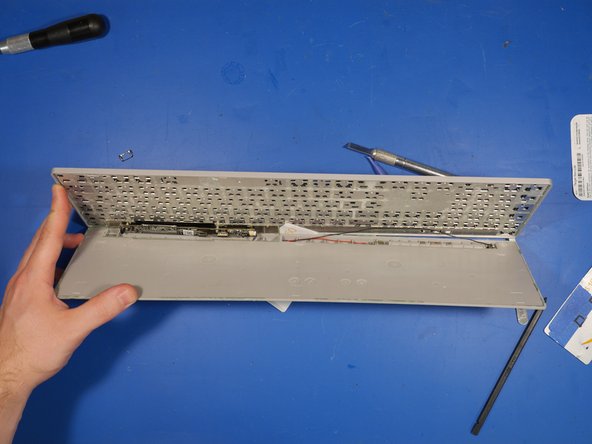
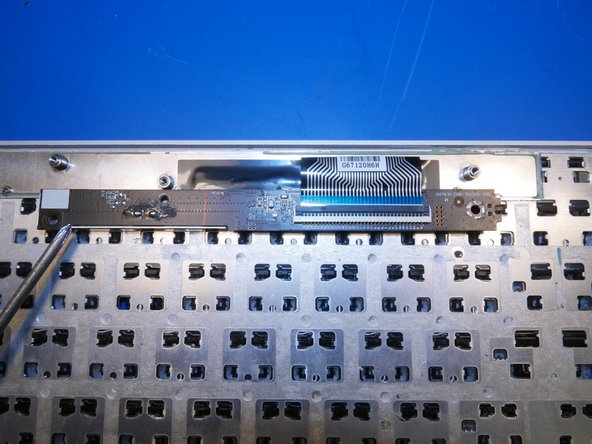
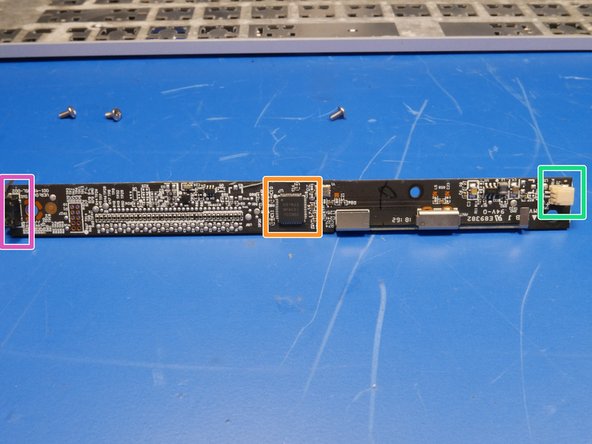
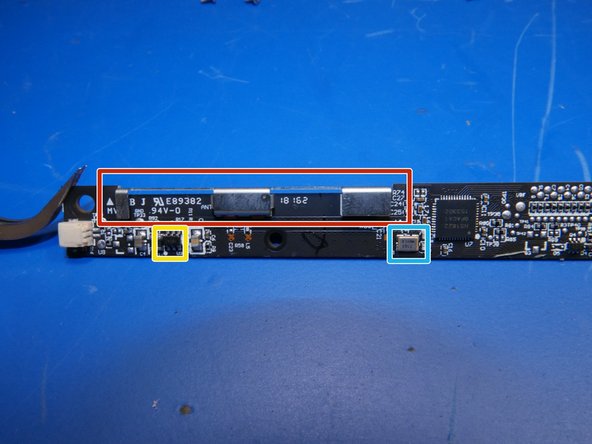
El PCB principal es bastante pequeño y mide 12 mm x 170 mm.
-
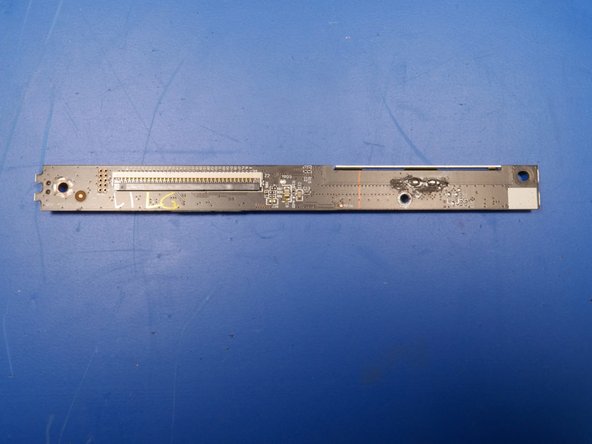
La parte posterior de la PCB es escasa con solo un conector de cable de cinta y algunas juntas de soldadura.
-
La placa de circuito flexible para las llaves del domo de goma termina en un cable de cinta de múltiples cables que se conecta a la PCB principal.
-
-
-
El lado superior de la PCB está más densamente empaquetado que el lado posterior. Hay un chip principal, algunos componentes pasivos, un conector de batería, el interruptor Bluetooth y la antena Bluetooth.
-
Semiconductor nórdico nRF51822.
-
Conector de batería de 2 pines JST.
-
Botón para el emparejamiento de Bluetooth.
-
-
-
Adaptaciones líricas entrantes *
-
¿Por qué escribir era para ser difícil?
-
¿Por qué no eres una fuerza de elección?
-
¿Por qué el mundo entero ama mi voz?
-
¿Por qué trato de decirles que es mi golpe de teclado, hijo?
-
¿Y sabes por qué hicieron la nueva surface?
-
Porque no hay luz de fondo en los viejos, ¡por eso!
-
-
-
Una de las mayores quejas del teclado de superficie es que no tiene retroiluminación.
-
Es bastante triste que Microsoft haya elegido diseñar un teclado teniendo en cuenta varias iteraciones intencionales, en lugar de producir el mejor teclado delgado que pudieron.
-
Un cambio rápido de diseño, como agregar un agujero debajo de cada tecla, una capa de difusión óptica y algunos LEDs habría agregado una retroiluminación simple y funcional.
-
Para una mayor investigación sobre este teclado, echa un vistazo a mi Proyecto de hackeo de teclado de Surface.
-


Cancelar: No complete esta guía.
9 personas más completaron esta guía.
Un agradecimiento especial a estos traductores:
100%


Estos traductores nos están ayudando a reparar el mundo! ¿Quieres contribuir?
Empezar a traducir ›

Equipo

17 comentarios
Man, how rude to use glue for a keyboard! I wanted to open my Surface Ergonomic keyboard in hopes it had JTAG or other diagnostic port that would enable me to twiddle with its brain, since macOS does not believe it is a keyboard but rather just a generic bluetooth HID :(
Thank you for sacrificing your keyboard to spare me the pain of discovering the hard way that my keyboard is glued together
No problem! I’m glad you enjoyed the teardown. I sure wish they used screws instead of adhesive. It would make retrofitting a backlight far easier.
If I discover anything interesting from probing that 10 pin unpopulated header I’ll be sure to provide an update.
hey Anthony, i have the same problem with one of the keys (the big “0” on the numerical part). Did you find a solution for fixing the “key tabs that hold the key” that sheared of of mine as well?
Hi Bas! Unfortunately, I did not attempt to repair the broken aluminum key tabs that hold the key in place. However, I can point you in the right direction if you want to get creative and try a DIY fix. Carefully pop another key off your keyboard with something wood or plastic (like a plastic spudger) and analyze the metal locking tab design Microsoft implemented. Find another piece of aluminum of the same thickness and carefully cut out that tab shape. Try adhering your designed tab to the location where the broken aluminum key tab is situated. Epoxy or titanium putty should bond aluminum to aluminum. I would use a toothpick or sewing pin as an adhesive applicator. I think you will have success if you take your time and be patient. Good luck!
Thanks Anthony… i will do my best. I was thinking along that way as well, but also about replacing the key with a fully or partially silicon alternative (using a printed 3D mold). I dont mind seeing the repair. I really enjoyed your Salvage Circuitry website and the disassembly of the keyboard. 0 out of 10 for opening?
how to connect this keyboard without a button. I have it with a broken button. someone will be grateful.
I almost have the same keyboard. The difference is that it has a Fingerprint sensor. I got the Microsoft Modern Keyboard with Fingerprint ID EKZ-00001. Got it from eBay too. I received it without issues but after my daughter spill my coffee on my keyboard, the keys below became sticky, almost to the point that whenever I press the key it goes back up very slowly. I might just get a USB Fingerprint Reader next time and a premium backlit keyboard next time I purchase.
Hi Stephen!
I have ironically disassembled the modern keyboard version as well. Disassembly went a lot smoother with different methods. I will probably upload a guide in a few weeks, but is boils down to this: Wrap keyboard completely in heated pad/blanket for 45min, torque/twist keyboard longitudinally, use plastic and stainless steel pry tools and then it opens right up with very minimal hassle. It even goes back together seamlessly. You wouldn’t even know it’s been disassembled. The key takeaway is use a heated pad/blanket. You cannot use hot air gun because it will melt keys or warp the keyboard. Heated blanket does not damage the keyboard whatsoever. Good luck!
My keyboard was no longer in use for few months. Now I need to use this keyboard, It's showing it's power on light and it’s blinking. It's also discoverable to connect but no keys are working I am not able to pair because it ask to enter a pin and keys are not working neither numpad nor numeric keys. Also, Caps lock light, Numlock lights are not working. Do you have any idea if I tear down to investigate, what should I clean/check? Please respond I really need to use this keyboard for now.
Thanks in advance.
The ASD row of my surface keyboard isn’t working anymore even after i let it dry out for 2 days. It was pouring hard the other day and the ceiling right above the keyboard started leaking and I didn’t know about it. It was probably soak in water for an hour or more.
Any advise on what should i do? Or its time to say goodbye lol. Also just notice that there’s something loose in it when i shook it.
Hi Anthony, great teardown, thanks! As you mentioned in a post above that you would be uploading the Modern Keyboard tear down as well, is that still something you would/will do? Or maybe amend this one, with possible difference? I was also wondering what temperature you set the heating blanket/pad to? Thanks a lot!
Our company has a few of these exact keyboards with keys that have popped out. Can we mail them to you for repair??
Hi Anthony,
Fascinating procedure.
Now here's a random question...I just bought a keyboard like this, and found out it is missing the battery cap/cover piece. Did you ever put this one back together, or is there a chance the piece from this project would be available to purchase?
thanks,
Reuben Huffman
Hi Reuben, I unfortunately no longer have this keyboard. You might have luck finding a broken one on ebay to grab parts from. Good luck.
How do you get it to stay together after cleaning?