Saltar al contenido principal

Dell Latitude 7410 Heatsink Replacement

Qué necesitas

  1. Dell Latitude 7410 Heatsink Replacement, Prepare your laptop for disassembly: paso 1, imagen 1 de 1
    • Allow your laptop's battery to drain below 25% before starting this repair—a charged battery may catch fire if damaged.

    • Unplug all cables, fully shut down your laptop, and close the lid.

  2. Dell Latitude 7410 Heatsink Replacement, Unfasten the back cover: paso 2, imagen 1 de 1
    • Use a Phillips screwdriver to loosen the eight captive screws securing the back cover.

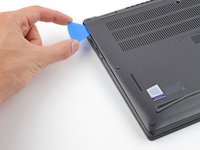
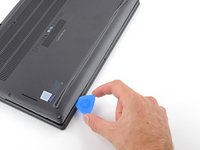
  3. Dell Latitude 7410 Heatsink Replacement, Insert an opening pick: paso 3, imagen 1 de 2 Dell Latitude 7410 Heatsink Replacement, Insert an opening pick: paso 3, imagen 2 de 2
    • Insert an opening pick between the right edge of the back cover and the frame, just below the middle right screw.

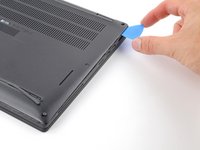
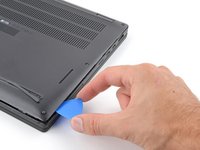
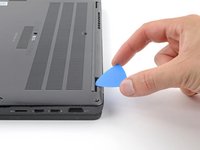
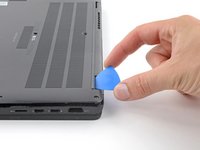
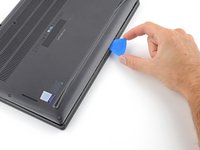
  4. Dell Latitude 7410 Heatsink Replacement, Unclip the right edge: paso 4, imagen 1 de 2 Dell Latitude 7410 Heatsink Replacement, Unclip the right edge: paso 4, imagen 2 de 2
    • Slide your pick along the right edge to release the clips securing the back cover.

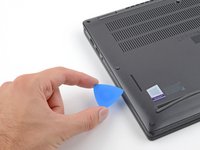
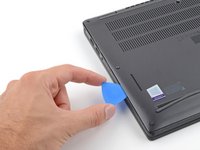
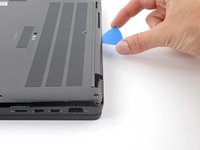
  5. Dell Latitude 7410 Heatsink Replacement, Unclip the left edge: paso 5, imagen 1 de 3 Dell Latitude 7410 Heatsink Replacement, Unclip the left edge: paso 5, imagen 2 de 3 Dell Latitude 7410 Heatsink Replacement, Unclip the left edge: paso 5, imagen 3 de 3
    • Insert your pick between the left edge of the back cover and the frame, next to the speaker cutout.

    • Slide your pick along the left edge to release the clips.

  6. Dell Latitude 7410 Heatsink Replacement, Unclip the back edge: paso 6, imagen 1 de 3 Dell Latitude 7410 Heatsink Replacement, Unclip the back edge: paso 6, imagen 2 de 3 Dell Latitude 7410 Heatsink Replacement, Unclip the back edge: paso 6, imagen 3 de 3
    • Insert your pick between the back cover and the right display-hinge to release the first clip along the back edge.

    • Slide your pick toward the left hinge until the second clip releases.

  7. Dell Latitude 7410 Heatsink Replacement, Unclip the front edge: paso 7, imagen 1 de 2 Dell Latitude 7410 Heatsink Replacement, Unclip the front edge: paso 7, imagen 2 de 2
    • Insert your pick between the front edge of the back cover and the frame, just to the right of the bottom left screw.

    • Slide your pick toward the right edge until the front edge releases from the frame.

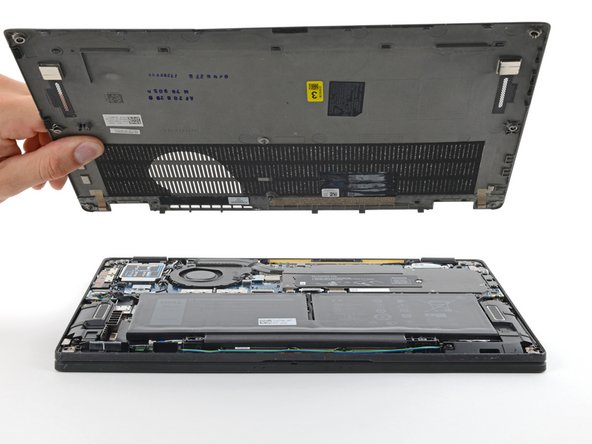
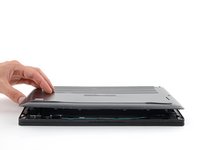
  8. Dell Latitude 7410 Heatsink Replacement, Remove the back cover: paso 8, imagen 1 de 2 Dell Latitude 7410 Heatsink Replacement, Remove the back cover: paso 8, imagen 2 de 2
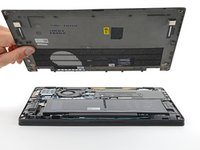
    • Remove the back cover.

  9. Dell Latitude 7410 Heatsink Replacement, Disconnect the battery: paso 9, imagen 1 de 2 Dell Latitude 7410 Heatsink Replacement, Disconnect the battery: paso 9, imagen 2 de 2
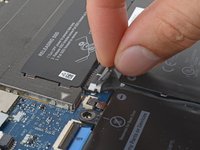
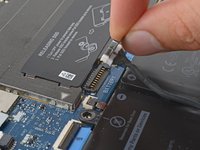
    • Grab the black pull tab on the head of the battery connector and pull straight up to disconnect it.

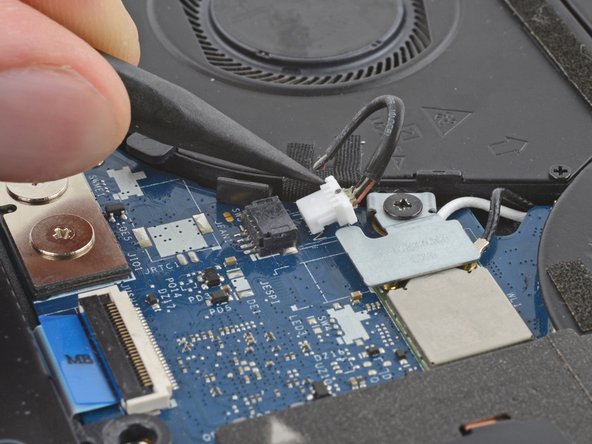
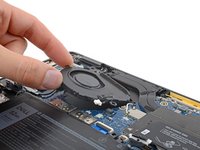
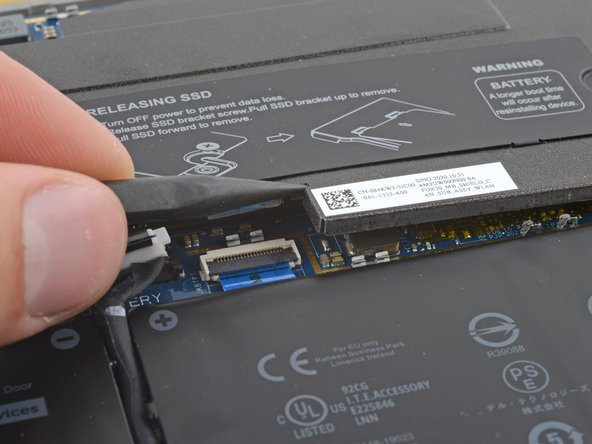
  10. Dell Latitude 7410 Heatsink Replacement, Disconnect the fan: paso 10, imagen 1 de 3 Dell Latitude 7410 Heatsink Replacement, Disconnect the fan: paso 10, imagen 2 de 3 Dell Latitude 7410 Heatsink Replacement, Disconnect the fan: paso 10, imagen 3 de 3
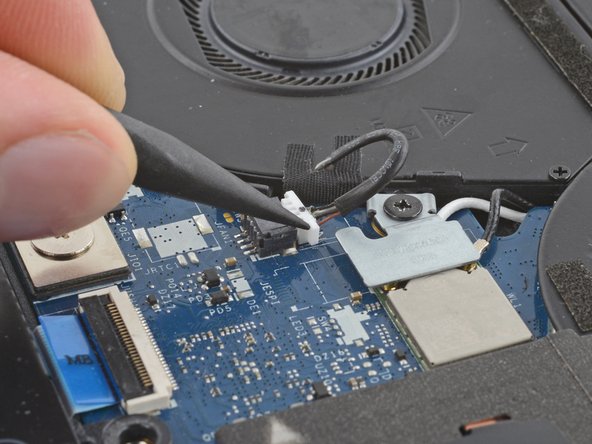
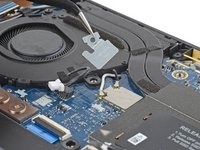
    • Use a spudger to press on alternating sides of the fan connector to "walk" it out of its socket.

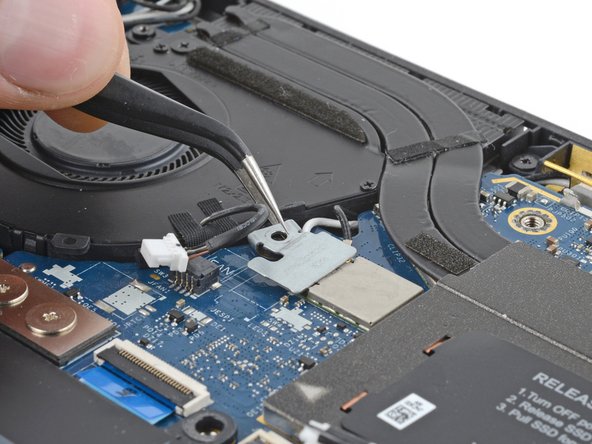
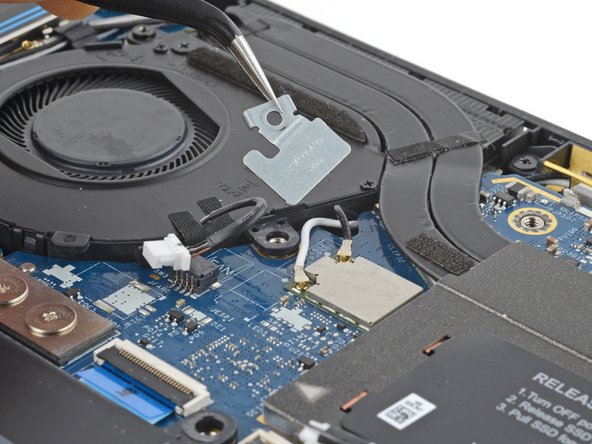
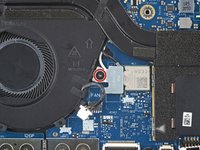
  11. Dell Latitude 7410 Heatsink Replacement, Remove the WLAN cable bracket: paso 11, imagen 1 de 3 Dell Latitude 7410 Heatsink Replacement, Remove the WLAN cable bracket: paso 11, imagen 2 de 3 Dell Latitude 7410 Heatsink Replacement, Remove the WLAN cable bracket: paso 11, imagen 3 de 3
    • Use your Phillips screwdriver to remove the 3 mm screw securing the WLAN connector cover.

    • Remove the cover.

  12. Dell Latitude 7410 Heatsink Replacement, Unfasten the fan: paso 12, imagen 1 de 1
    • Use your Phillips screwdriver to remove the two 3 mm screws securing the fan.

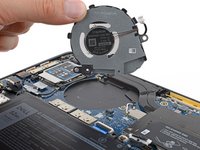
  13. Dell Latitude 7410 Heatsink Replacement, Remove the fan: paso 13, imagen 1 de 3 Dell Latitude 7410 Heatsink Replacement, Remove the fan: paso 13, imagen 2 de 3 Dell Latitude 7410 Heatsink Replacement, Remove the fan: paso 13, imagen 3 de 3
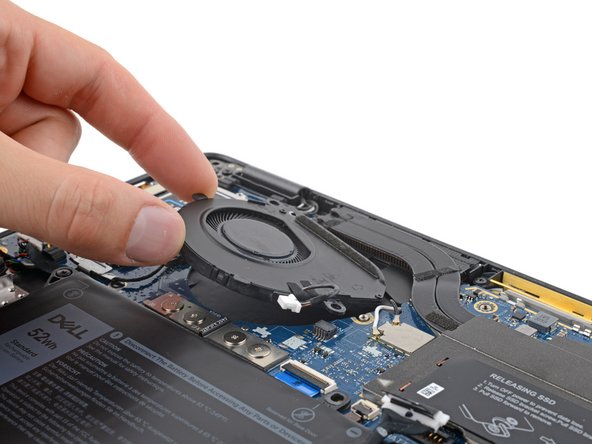
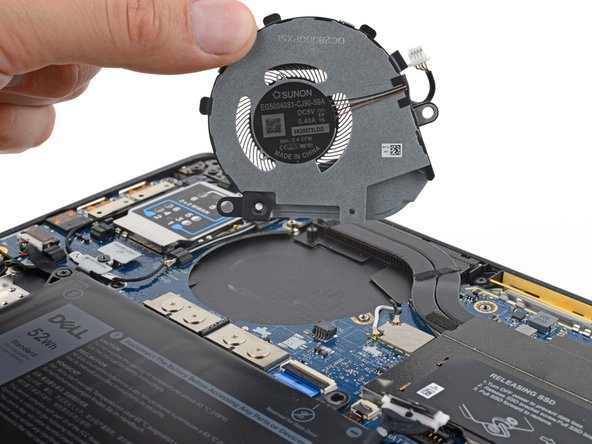
    • Slide the fan out from the heatsink and remove it.

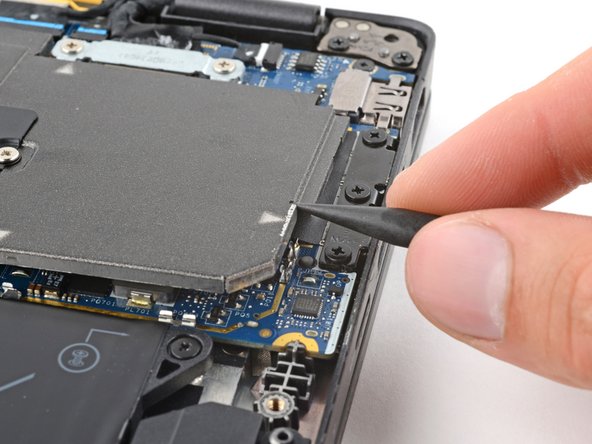
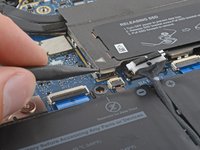
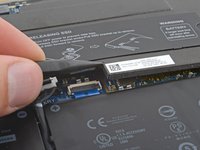
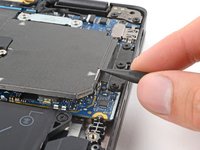
  14. Dell Latitude 7410 Heatsink Replacement, Unclip the heatsink shield: paso 14, imagen 1 de 3 Dell Latitude 7410 Heatsink Replacement, Unclip the heatsink shield: paso 14, imagen 2 de 3 Dell Latitude 7410 Heatsink Replacement, Unclip the heatsink shield: paso 14, imagen 3 de 3
    • Use the point of your spudger to pry up the heatsink shield from its clips on the motherboard at these spots:

    • The bottom left corner, just below the white arrow

    • The bottom middle, just to the left of the QR code

    • The bottom right, just above the white arrow

    • The white arrows indicate preferred prying locations. However, prying between the shield and the motherboard at these spots risks damaging small components.

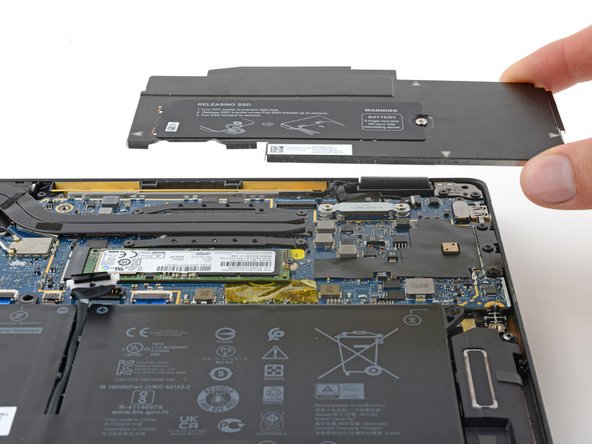
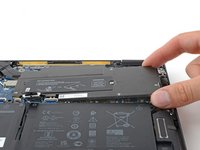
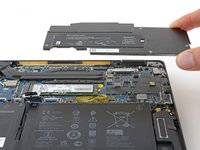
  15. Dell Latitude 7410 Heatsink Replacement, Remove the heatsink shield: paso 15, imagen 1 de 2 Dell Latitude 7410 Heatsink Replacement, Remove the heatsink shield: paso 15, imagen 2 de 2
    • Remove the heatsink shield.

  16. Dell Latitude 7410 Heatsink Replacement, Unfasten the heatsink: paso 16, imagen 1 de 1
    • Use your Phillips screwdriver to remove the four 3 mm screws securing the heatsink.

    • During reassembly, tighten these screws in an X-pattern. For example, begin with the top right, then bottom left, top left, and finally bottom right to evenly compress the thermal paste.

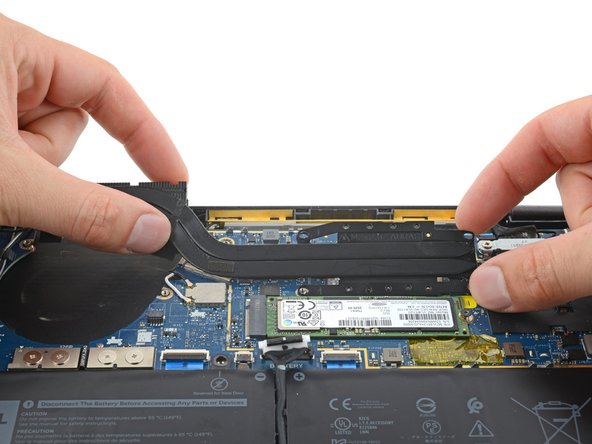
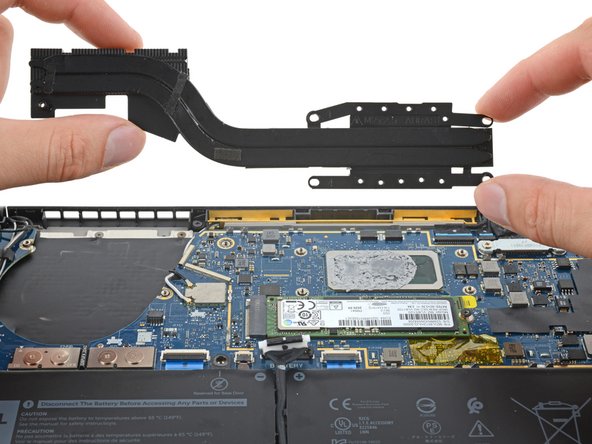
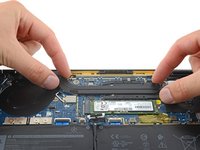
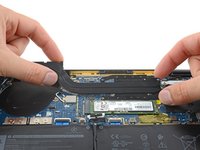
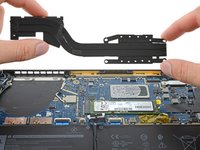
  17. Dell Latitude 7410 Heatsink Replacement, Remove the heatsink: paso 17, imagen 1 de 3 Dell Latitude 7410 Heatsink Replacement, Remove the heatsink: paso 17, imagen 2 de 3 Dell Latitude 7410 Heatsink Replacement, Remove the heatsink: paso 17, imagen 3 de 3
    • Pry the heatsink from the thermal paste bonding it to the CPU.

    • Depending on the age of your laptop, this might require some force. If it feels stuck, gently rotate it back and forth.

    • Remove the heatsink.

    • During reassembly, clean the old thermal paste from the CPU and the heatsink (if you're reusing it) and apply new thermal paste before installing your heatsink.

Conclusión

To reassemble your device, follow these instructions in reverse order.

Take your e-waste to an R2 or e-Stewards certified recycler.

Repair didn’t go as planned? Try some basic troubleshooting, or ask our Answers community for help.

Clay Eickemeyer

Miembro Desde 09/19/22

66,766 Reputación

453 Guías creadas

Equipo

iFixit Miembro de iFixit

Staff

135 Miembros

17,181 Guías creadas

0 comentarios

Agregar Comentario

Ver Estadísticas:

Ultimas 24 horas: 2

Ultimos 7 días: 8

Ultimos 30 días: 27

Todo El Tiempo: 122