Saltar al contenido principal
Únete a la Comunidad de Reparación - Crear Cuenta

Creative Zen Vision M Screen Replacement

Qué necesitas

    1. Creative Zen Vision M Screen Replacement, Opening the top: paso 1, imagen 1 de 2 Creative Zen Vision M Screen Replacement, Opening the top: paso 1, imagen 2 de 2
      • Pop off the top plastic on the device with a flat tool like a flathead screwdriver.

      • Unscrew and remove the two exposed Phillips head screws.

      Pregunta a FixBot

      Agregar Comentario

    2. Creative Zen Vision M Screen Replacement, Opening the device: paso 2, imagen 1 de 2 Creative Zen Vision M Screen Replacement, Opening the device: paso 2, imagen 2 de 2
      • Work your way around the recess of the device with a flat tool like a flathead screwdriver.

      • Don't try attempt to open it from the recess between the buttons and the device.

      Pregunta a FixBot

      Agregar Comentario

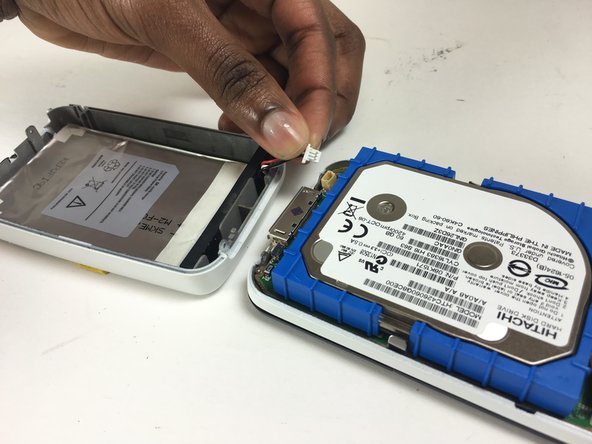
    3. Creative Zen Vision M Screen Replacement, Disconnecting the battery: paso 3, imagen 1 de 3 Creative Zen Vision M Screen Replacement, Disconnecting the battery: paso 3, imagen 2 de 3 Creative Zen Vision M Screen Replacement, Disconnecting the battery: paso 3, imagen 3 de 3
      • Disconnect the wire from the bottom device.

      • Handle with care as the wires tend to disconnect easily.

      Pregunta a FixBot

      Agregar Comentario

    4. Creative Zen Vision M Screen Replacement, Disconnecting the hard drive: paso 4, imagen 1 de 1
      • In the top right corner, pull the black foam square off to separate the hard drive from the screen.

      • Handle with care as the hard drive also comes off easily.

      Pregunta a FixBot

      Agregar Comentario

    5. Creative Zen Vision M Screen Replacement, Unscrewing from the mother board: paso 5, imagen 1 de 1
      • Unscrew the seven screws placed around the mother board.

      • You will need a one millimeter Phillips head screwdriver.

      • The screws are small, so keep them safely.

      Pregunta a FixBot

      Agregar Comentario

    6. Creative Zen Vision M Screen Replacement, Disconnecting the screen from the motherboard: paso 6, imagen 1 de 3 Creative Zen Vision M Screen Replacement, Disconnecting the screen from the motherboard: paso 6, imagen 2 de 3 Creative Zen Vision M Screen Replacement, Disconnecting the screen from the motherboard: paso 6, imagen 3 de 3
      • Flip your device upside down so that the motherboard will loosen.

      • Detach the connector from the motherboard.

      Pregunta a FixBot

      Agregar Comentario

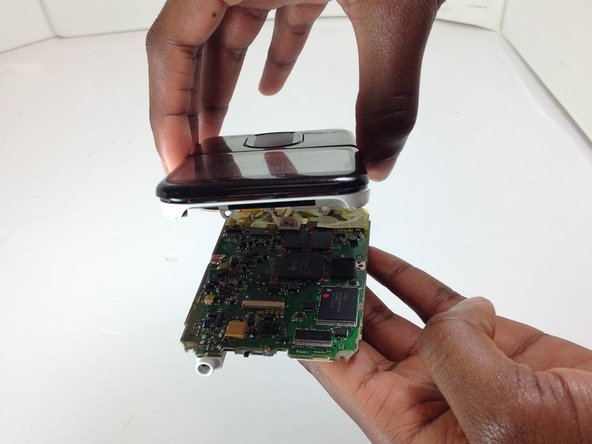
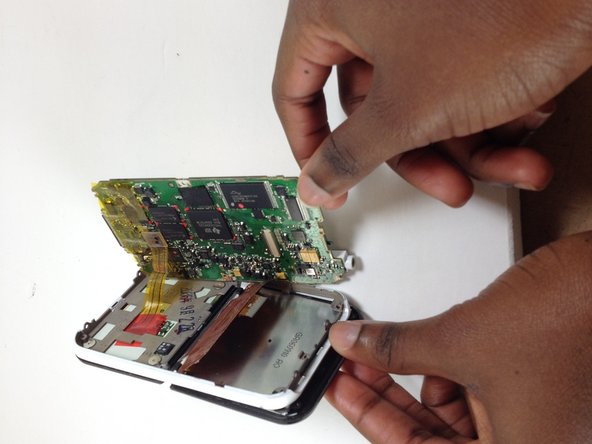
    7. Creative Zen Vision M Screen Replacement, Removing the screen: paso 7, imagen 1 de 2 Creative Zen Vision M Screen Replacement, Removing the screen: paso 7, imagen 2 de 2
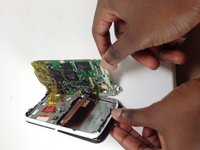
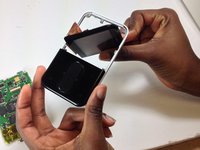
      • Tilt the screen diagonally. Separate the screen and motherboard from the device frame.

      • Lift the light gray flap to detach the screen from the motherboard.

      Pregunta a FixBot

      Agregar Comentario

    8. Creative Zen Vision M Screen Replacement, Seperating the digital display: paso 8, imagen 1 de 2 Creative Zen Vision M Screen Replacement, Seperating the digital display: paso 8, imagen 2 de 2
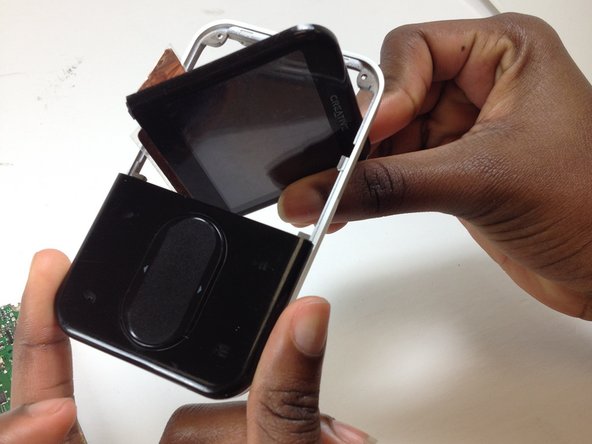
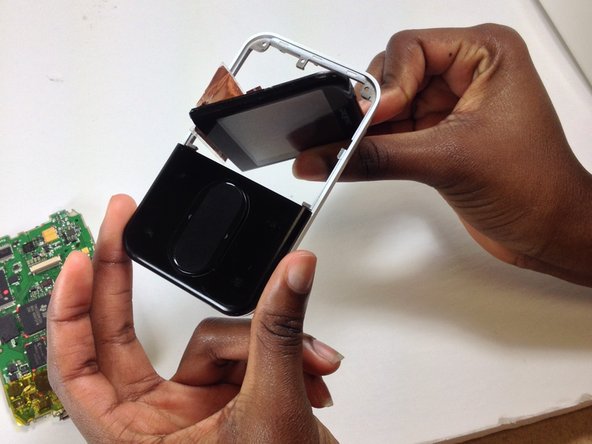
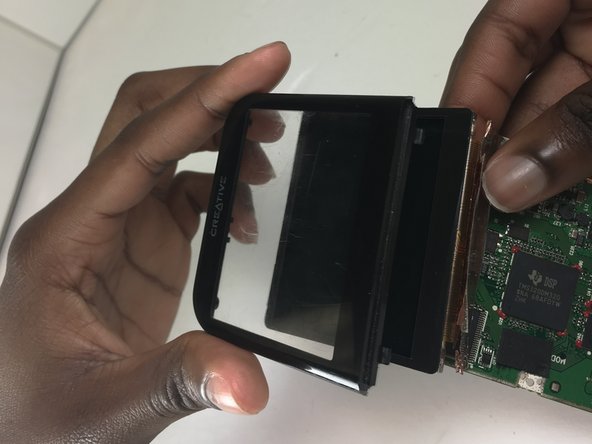
      • Separate the clear screen frame from the digital display.

      Pregunta a FixBot

      Agregar Comentario

Conclusión

To reassemble your device, follow these instructions in reverse order.

Cancelar: No complete esta guía.

Una persona más ha completado esta guía.

Kirstie G

Miembro Desde 10/12/16

491 Reputación

4 Guías creadas

Equipo

Texas Tech, Team 12-1, Bennett Fall 2016 Miembro de Texas Tech, Team 12-1, Bennett Fall 2016

TTU-BENNETT-F16S12G1

Miembros de 4

13 Guías creadas

0Guía Comentarios

Agregar Comentario

Ver Estadísticas:

Ultimas 24 horas: 1

Ultimos 7 días: 12

Ultimos 30 días: 45

Todo El Tiempo: 2,001