Introducción
If you crack the lens of your camera or if it is not functioning properly, this guide may be for you. This guide will help you remove and replace the lens.
Qué necesitas
-
-
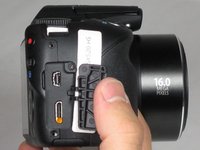
Using your fingers, slide the battery compartment door to the right until it unlocks.
-
-
-
Remove 2-3.4 mm screws that secure the back panel using a Phillips #000 screwdriver.
-
Remove 4-4 mm screws on the left and right sides of the camera using a Phillips #000 screwdriver.
-
-
-
-
Remove 3-4.4 mm screws that secure the small metal plate using a Phillips #000 screwdriver.
-
-
-
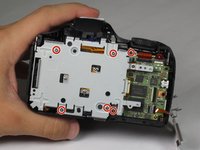
Remove 6-4.4 mm screws that secure the metal cover using a Phillips #000 screwdriver.
-
Remove 2-2.5 mm screws that secure the back panel using a Phillips #000 screwdriver.
-
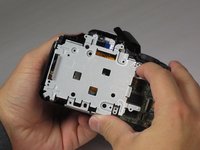
After all 8 screws are removed, pull the metal plate out with your fingers.
-
-
-
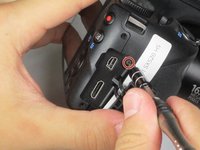
Unlcip the large cable by pulling up on the metal part with your finger.
-
Slide out the 2 smaller cables with your fingers.
-
-
-
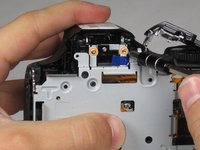
Lift up the lens by grabbing the sides with your fingers.
Como consigo más sesiones completas estoy en limpieza de mi cámara canon powershot sx 520 hs que se me cayó en una posa sucia y necesito desarmarla por completa para limpiarla y me gustaría conseguir un manual completo para desarmarla y armarla de nuevo gracias / la cámara estaba apagada al lograrla sacar le quite la batería para que no sufriera ningún daño
-


To reassemble your device, follow these instructions in reverse order.
To reassemble your device, follow these instructions in reverse order.
Cancelar: No complete esta guía.
6 personas más completaron esta guía.
Equipo

Baylor, Team 4-4, Williams Fall 2015 Miembro de Baylor, Team 4-4, Williams Fall 2015
BU-WILLIAMS-F15S4G4
4 Miembros
6 Guías creadas
Un comentario
guide is unfinished; dropping to the point of lens group extraction without going on further. I found it, useless.