Saltar al contenido principal
Únete a la Comunidad de Reparación - Crear Cuenta

CASIO CDP-230R Button Panel Replacement

Qué necesitas

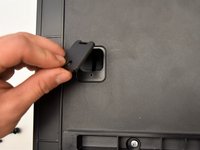
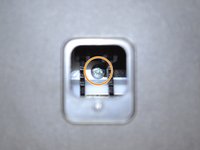
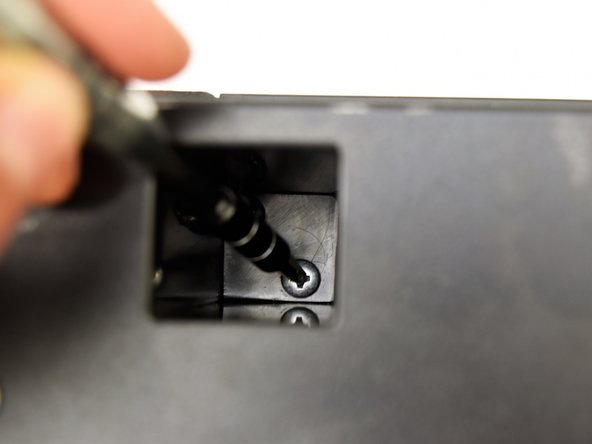
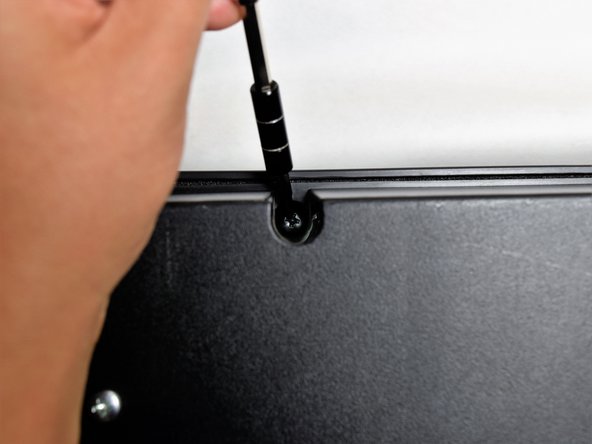
    1. CASIO CDP-230R Button Panel Replacement, Panels: paso 1, imagen 1 de 3 CASIO CDP-230R Button Panel Replacement, Panels: paso 1, imagen 2 de 3 CASIO CDP-230R Button Panel Replacement, Panels: paso 1, imagen 3 de 3
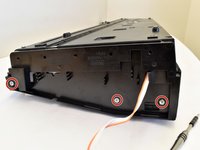
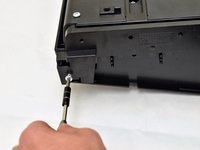
      • Flip the keyboard upside down, with the keys on a flat surface.

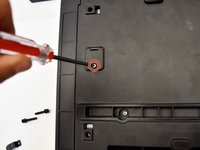
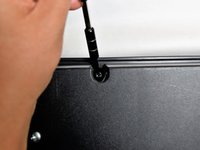
      • Remove the three black 14mm Japanese Industrial Standard (J) head screws using a J1 screwdriver on the top half of the outermost side panel.

      Pregunta a FixBot

      Agregar Comentario

    2. CASIO CDP-230R Button Panel Replacement: paso 2, imagen 1 de 3 CASIO CDP-230R Button Panel Replacement: paso 2, imagen 2 de 3 CASIO CDP-230R Button Panel Replacement: paso 2, imagen 3 de 3
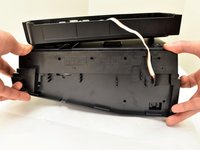
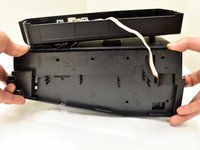
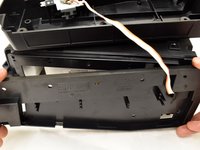
      • Use two hands to grab the side panel from both sides.

      • Pull the panel apart from the device one side at a time.

      • There will be popping sounds when you remove this panel.

      • One side panel will not have an orange & white cable connected to it.

      Pregunta a FixBot

      Agregar Comentario

    3. CASIO CDP-230R Button Panel Replacement: paso 3, imagen 1 de 3 CASIO CDP-230R Button Panel Replacement: paso 3, imagen 2 de 3 CASIO CDP-230R Button Panel Replacement: paso 3, imagen 3 de 3
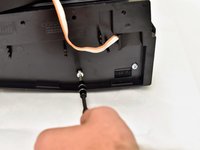
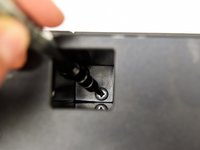
      • Remove the three silver 10mm screws with a J1 screwdriver on the bottom half of the innermost side panel of the device.

      • One side panel will not have an orange & white cable running through.

      Pregunta a FixBot

      Agregar Comentario

    4. CASIO CDP-230R Button Panel Replacement: paso 4, imagen 1 de 3 CASIO CDP-230R Button Panel Replacement: paso 4, imagen 2 de 3 CASIO CDP-230R Button Panel Replacement: paso 4, imagen 3 de 3
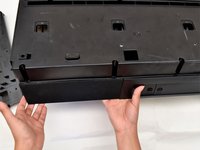
      • Remove the innermost side panel by pinching the top and bottom of the panel and pulling the panel off with both hands.

      • There will be popping sounds when you remove this panel.

      • Repeat steps one through four to remove the other side panel of the keyboard.

      Pregunta a FixBot

      Agregar Comentario

    5. CASIO CDP-230R Button Panel Replacement: paso 5, imagen 1 de 3 CASIO CDP-230R Button Panel Replacement: paso 5, imagen 2 de 3 CASIO CDP-230R Button Panel Replacement: paso 5, imagen 3 de 3
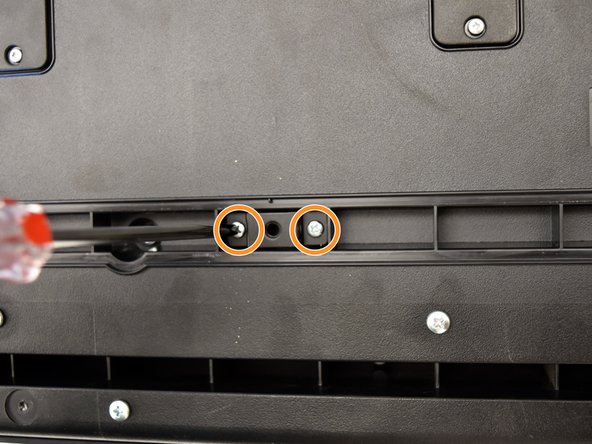
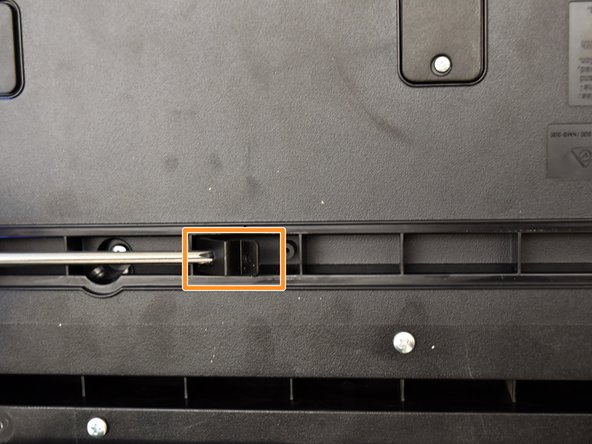
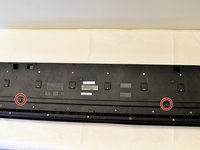
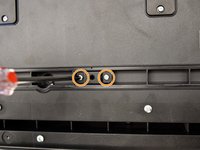
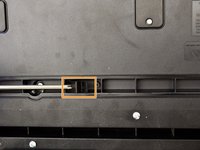
      • Remove the two black 30 mm J head screws with a J1 screwdriver to remove the long black bar.

      • Remove the four silver 8mm x 2mm J head screws with a J1 screwdriver and the two brackets from the back panel.

      • There will be two screws per bracket.

      Pregunta a FixBot

      Agregar Comentario

    6. CASIO CDP-230R Button Panel Replacement: paso 6, imagen 1 de 3 CASIO CDP-230R Button Panel Replacement: paso 6, imagen 2 de 3 CASIO CDP-230R Button Panel Replacement: paso 6, imagen 3 de 3
      • Remove the eight silver 10mm x 1.5mm J head screws with a J1 screwdriver and the square tabs from the back panel.

      • Remove the eight silver 10mm J head screws with a J1 screwdriver underneath the square tabs.

      Pregunta a FixBot

      Agregar Comentario

    7. CASIO CDP-230R Button Panel Replacement: paso 7, imagen 1 de 3 CASIO CDP-230R Button Panel Replacement: paso 7, imagen 2 de 3 CASIO CDP-230R Button Panel Replacement: paso 7, imagen 3 de 3
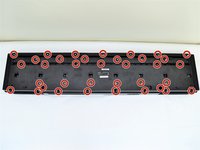
      • Remove the 36 silver 10mm J head screws with a J1 screwdriver from the back panel.

      Pregunta a FixBot

      Agregar Comentario

    8. CASIO CDP-230R Button Panel Replacement: paso 8, imagen 1 de 3 CASIO CDP-230R Button Panel Replacement: paso 8, imagen 2 de 3 CASIO CDP-230R Button Panel Replacement: paso 8, imagen 3 de 3
      • Place a hand on the front panel and speakers and carefully flip the keyboard over with the keys facing up.

      • Having a extra pair of hands will be useful.

      • Grab the center of the front panel with two hands and lift to remove panel.

      • Grab the speakers from the sides and lift to remove. Once you have done this for the first speaker, repeat with the second speaker.

      Pregunta a FixBot

      Agregar Comentario

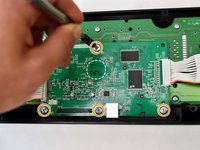
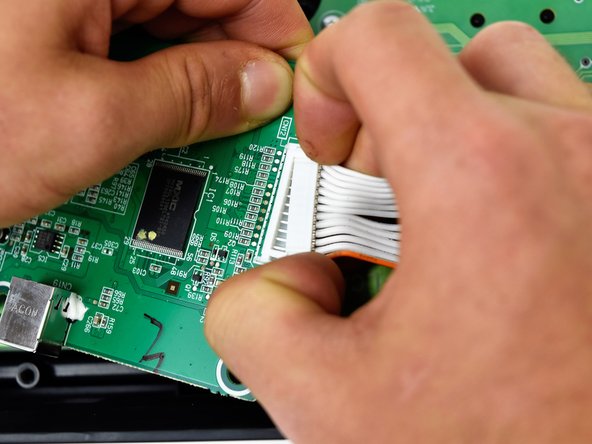
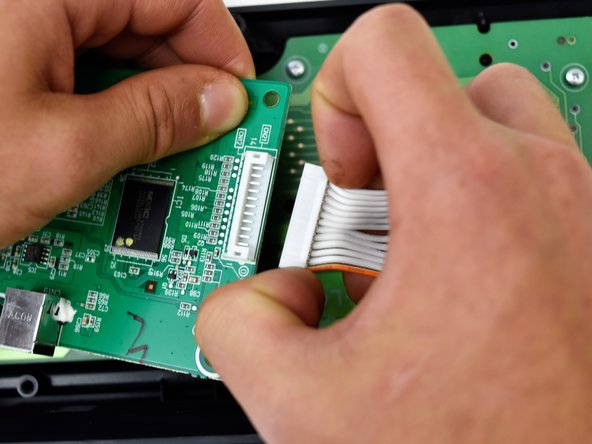
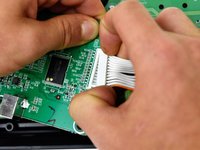
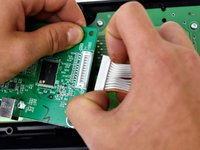
    1. CASIO CDP-230R Button Panel Replacement, Main Circuit Board: paso 9, imagen 1 de 2 CASIO CDP-230R Button Panel Replacement, Main Circuit Board: paso 9, imagen 2 de 2
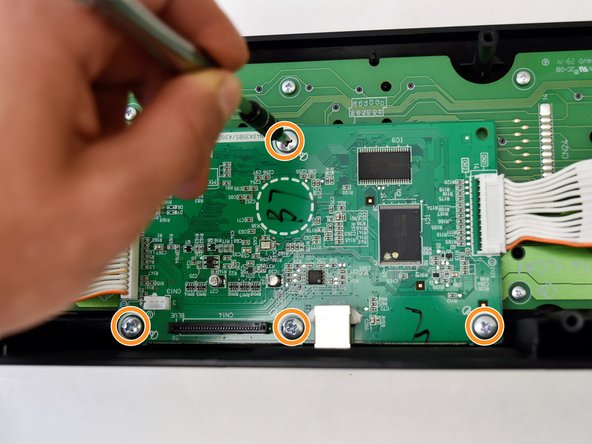
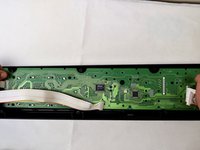
      • The main circuit board is located on the green side of the button panel. The main circuit board is the smaller green board.

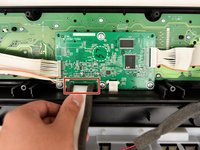
      • Grasp the white ribbon lined with foam and pull up to remove from the main circuit board.

      • Remove the four silver 8mm x 2mm J head screws with a J1 screwdriver.

      Pregunta a FixBot

      Agregar Comentario

    2. CASIO CDP-230R Button Panel Replacement: paso 10, imagen 1 de 1
      • Lift the main circuit board from the button panel.

      Pregunta a FixBot

      Agregar Comentario

    3. CASIO CDP-230R Button Panel Replacement: paso 11, imagen 1 de 3 CASIO CDP-230R Button Panel Replacement: paso 11, imagen 2 de 3 CASIO CDP-230R Button Panel Replacement: paso 11, imagen 3 de 3
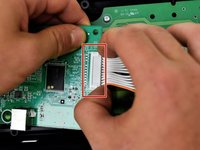
      • Grip the white plastic end of the orange and white cables that is attached to the right side of the main circuit board and pull to the right.

      • Repeat for the orange and white cables attached to the left side of the main circuit board and pull up.

      Pregunta a FixBot

      Agregar Comentario

    1. CASIO CDP-230R Button Panel Replacement, Button Panel: paso 12, imagen 1 de 2 CASIO CDP-230R Button Panel Replacement, Button Panel: paso 12, imagen 2 de 2
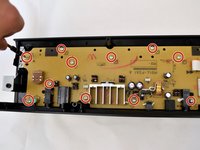
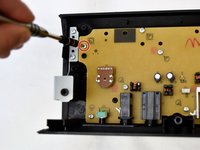
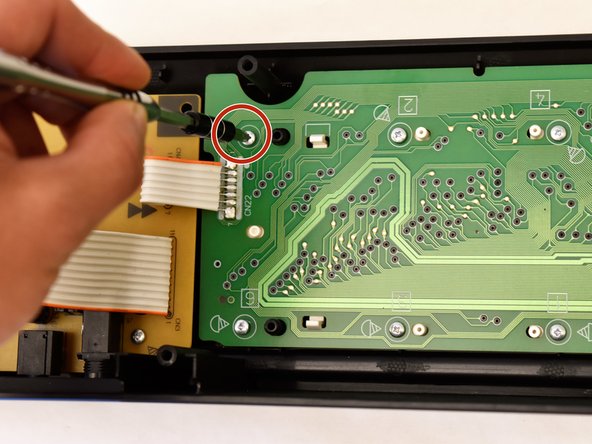
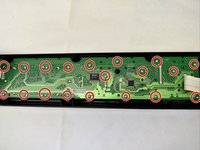
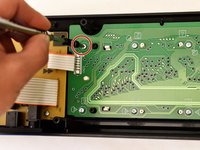
      • Remove the 11 7.5mm J head screws from the yellow button panel by using a J1 screwdriver.

      Pregunta a FixBot

      Agregar Comentario

    2. CASIO CDP-230R Button Panel Replacement: paso 13, imagen 1 de 2 CASIO CDP-230R Button Panel Replacement: paso 13, imagen 2 de 2
      • Remove the 19 9mm J head screws from the green button panel by using a J1 screwdriver.

      Pregunta a FixBot

      Agregar Comentario

    3. CASIO CDP-230R Button Panel Replacement: paso 14, imagen 1 de 2 CASIO CDP-230R Button Panel Replacement: paso 14, imagen 2 de 2
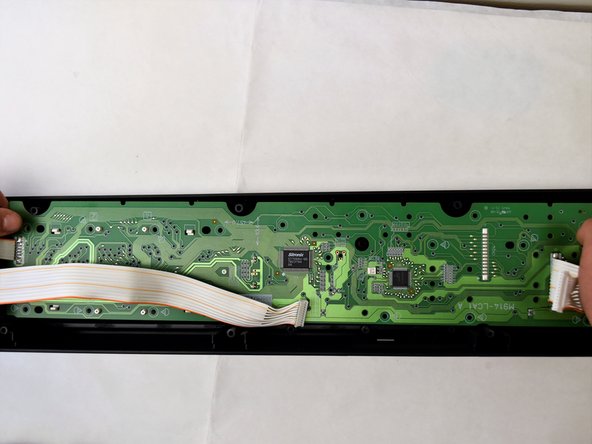
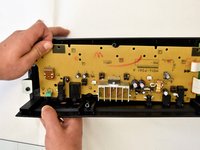
      • Lift the yellow side of the button panel first, then lift green side to remove the entire button panel together.

      • The yellow button panel will make a pop sound when removing it.

      • The volume knob will come off with the yellow circuit board. To place the knob back, snap it back into the socket on the outside of the front panel.

      Pregunta a FixBot

      Agregar Comentario

Conclusión

To reassemble your device, follow these instructions in reverse order.

Cancelar: No complete esta guía.

Una persona más ha completado esta guía.

Areli Reyes

Miembro Desde 10/01/17

545 Reputación

4 Guías creadas

Equipo

Cal Poly, Team S4-G2, Livingston Fall 2017 Miembro de Cal Poly, Team S4-G2, Livingston Fall 2017

CPSU-LIVINGSTON-F17S4G2

Miembros de 4

6 Guías creadas

0Guía Comentarios

Agregar Comentario

Ver Estadísticas:

Ultimas 24 horas: 7

Ultimos 7 días: 16

Ultimos 30 días: 40

Todo El Tiempo: 2,296