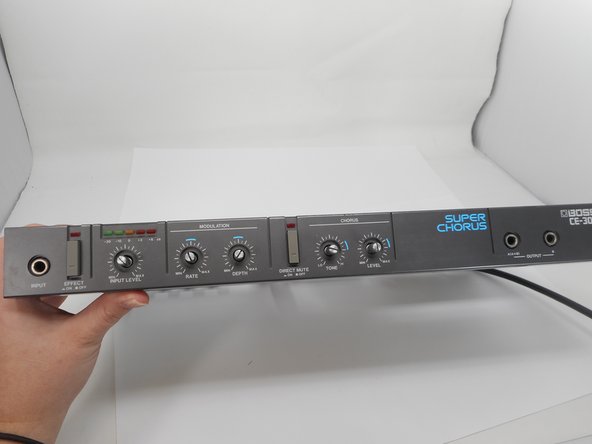
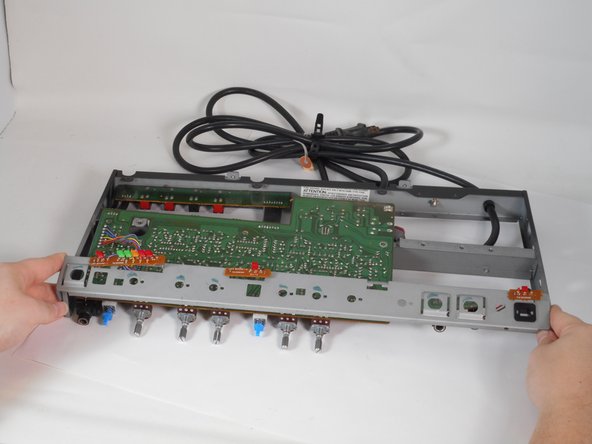
Saltar al contenido principal

Boss CE-300 Super Chorus Face Plate and Bracket Replacement

Qué necesitas

  1. Boss CE-300 Super Chorus Face Plate and Bracket Replacement, Top Panel: paso 1, imagen 1 de 1
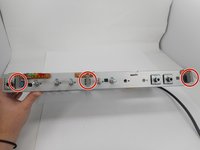
    • Use a Phillips #2 screwdriver to remove the 3 14.8 mm screws located on the left side of the CE-300.

    • Repeat the previous bullet on the right side.

  2. Boss CE-300 Super Chorus Face Plate and Bracket Replacement: paso 2, imagen 1 de 1
    • Remove the two 10 mm bolts using a Phillips #2 screwdriver.

  3. Boss CE-300 Super Chorus Face Plate and Bracket Replacement: paso 3, imagen 1 de 1
    • On the back of the CE-300, remove the two 7.5 mm screws with a Phillips #2 screwdriver.

  4. Boss CE-300 Super Chorus Face Plate and Bracket Replacement: paso 4, imagen 1 de 1
    • On the left side, remove the one 10 mm screws with a Phillips #2 screwdriver.

    • Repeat the previous bullet on the right side.

  5. Boss CE-300 Super Chorus Face Plate and Bracket Replacement: paso 5, imagen 1 de 2 Boss CE-300 Super Chorus Face Plate and Bracket Replacement: paso 5, imagen 2 de 2
    • Slide the top panel away from the front.

    • Lift the panel up and off.

  6. Boss CE-300 Super Chorus Face Plate and Bracket Replacement, Bottom Panel: paso 6, imagen 1 de 1
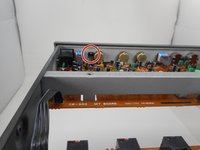
    • Remove the following screws with a Phillips #2 screwdriver:​

    • Two 7.5 mm

    • Two 10 mm

  7. Boss CE-300 Super Chorus Face Plate and Bracket Replacement: paso 7, imagen 1 de 2 Boss CE-300 Super Chorus Face Plate and Bracket Replacement: paso 7, imagen 2 de 2
    • Lift the bottom panel up and off.

  8. Boss CE-300 Super Chorus Face Plate and Bracket Replacement, Face plate: paso 8, imagen 1 de 1
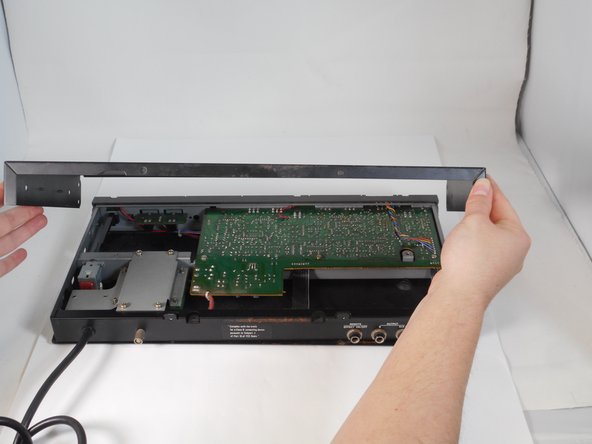
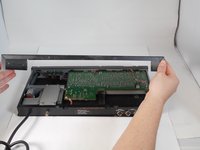
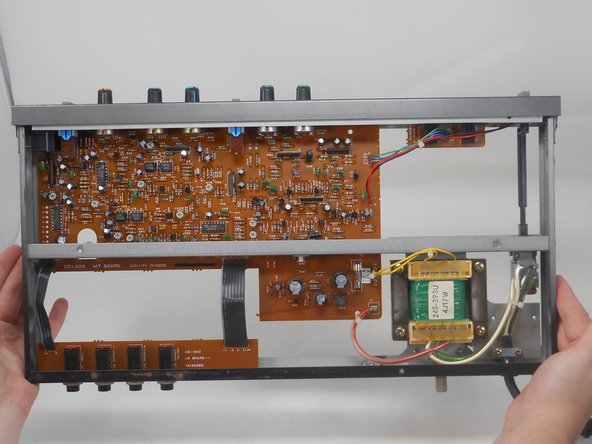
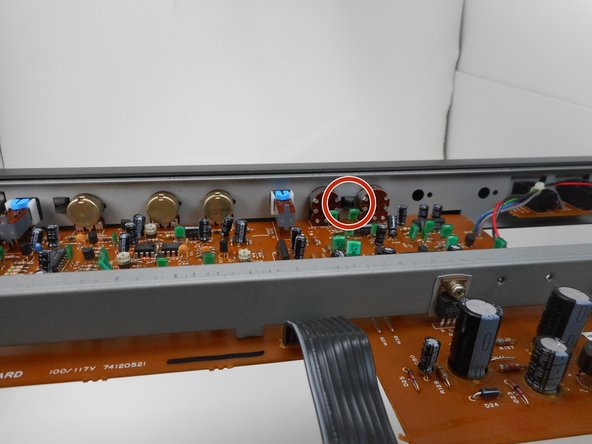
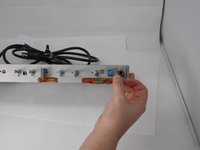
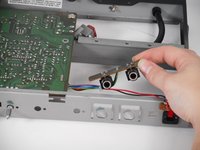
    • Remove the single 5.7 mm screw on the left side of the face plate.

    • Repeat the previous step on the right side of the face plate.

  9. Boss CE-300 Super Chorus Face Plate and Bracket Replacement: paso 9, imagen 1 de 2 Boss CE-300 Super Chorus Face Plate and Bracket Replacement: paso 9, imagen 2 de 2
    • Remove all dial covers.

  10. Boss CE-300 Super Chorus Face Plate and Bracket Replacement: paso 10, imagen 1 de 3 Boss CE-300 Super Chorus Face Plate and Bracket Replacement: paso 10, imagen 2 de 3 Boss CE-300 Super Chorus Face Plate and Bracket Replacement: paso 10, imagen 3 de 3
    • From the inside of the unit, pinch the 3 clips holding the faceplate in

    • Do not use any metal tool to pinch the clips. If metal damages the board, it may be unrepairable.

    • Push the clips in and the face plate will slide off.

  11. Boss CE-300 Super Chorus Face Plate and Bracket Replacement: paso 11, imagen 1 de 1
    • With a 11 mm wrench or socket, remove the five nuts around the dials.

  12. Boss CE-300 Super Chorus Face Plate and Bracket Replacement: paso 12, imagen 1 de 1
    • With a 14 mm wrench or socket, remove the three nuts around the jacks.

  13. Boss CE-300 Super Chorus Face Plate and Bracket Replacement: paso 13, imagen 1 de 2 Boss CE-300 Super Chorus Face Plate and Bracket Replacement: paso 13, imagen 2 de 2
    • Remove the three switch covers.

  14. Boss CE-300 Super Chorus Face Plate and Bracket Replacement: paso 14, imagen 1 de 1
    • Use a Phillips #2 screwdriver to remove the single 7.8 mm screw on the left side of the bracket.

    • Repeat the previous bullet on the right side of the bracket.

  15. Boss CE-300 Super Chorus Face Plate and Bracket Replacement: paso 15, imagen 1 de 2 Boss CE-300 Super Chorus Face Plate and Bracket Replacement: paso 15, imagen 2 de 2
    • Remove the two audio jacks that are to the side.

    • Do not pull the face bracket fully off and away. Some cables will remain attached to the face bracket and to the board.

    • Carefully remove the face bracket by sliding it forward until it clears all dials, then lift up.

Conclusión

To reassemble your device, follow the above steps in reverse order.
Repair didn’t go as planned? Try some basic troubleshooting or ask our Answers community for help.

Haley Lansdon

Miembro Desde 09/25/24

619 Reputación

5 Guías creadas

Equipo

0Guía Comentarios

Agregar Comentario

Ver Estadísticas:

Ultimas 24 horas: 0

Ultimos 7 días: 1

Ultimos 30 días: 3

Todo El Tiempo: 36