Saltar al contenido principal
Únete a la Comunidad de Reparación - Crear Cuenta

Azpen A720 Touch Screen Replacement

Qué necesitas

    1. Azpen A720 Touch Screen Replacement, Back Cover: paso 1, imagen 1 de 2 Azpen A720 Touch Screen Replacement, Back Cover: paso 1, imagen 2 de 2
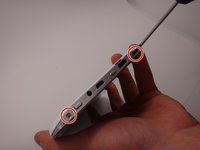
      • Use a Phillips #00 screwdriver to remove the two 4mm screws found on the top edge of the tablet near the power button.

      Pregunta a FixBot

      Agregar Comentario

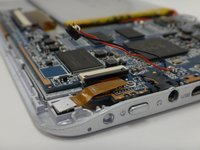
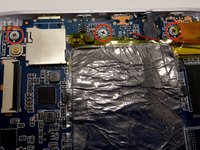
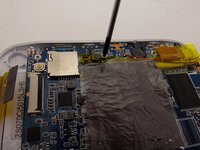
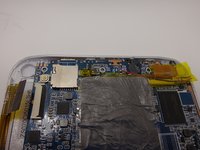
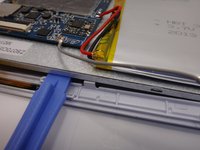
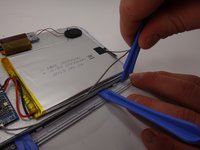
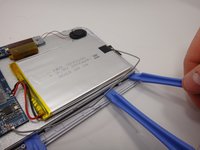
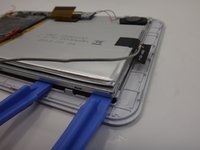
    2. Azpen A720 Touch Screen Replacement: paso 2, imagen 1 de 3 Azpen A720 Touch Screen Replacement: paso 2, imagen 2 de 3 Azpen A720 Touch Screen Replacement: paso 2, imagen 3 de 3
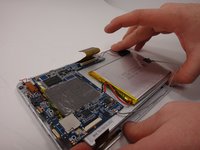
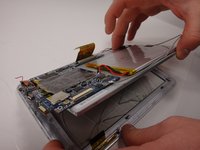
      • Use the plastic opening tool to pry the white back from the silver frame. Start near the micro SD slot.

      • Slide the plastic opening tool around the perimeter of the casing until the back is disconnected.

      Pregunta a FixBot

      Agregar Comentario

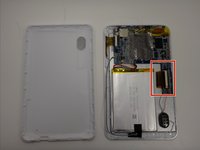
    3. Azpen A720 Touch Screen Replacement: paso 3, imagen 1 de 1
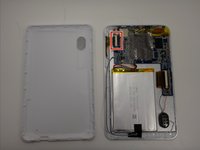
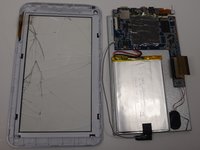
      • Remove the rear casing.

      Pregunta a FixBot

      Agregar Comentario

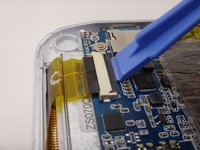
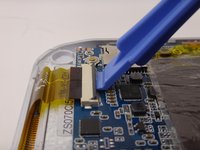
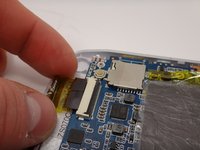
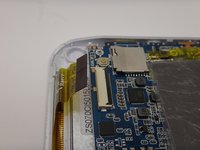
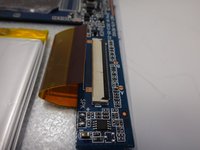
    1. Azpen A720 Touch Screen Replacement, Touch Screen: paso 4, imagen 1 de 3 Azpen A720 Touch Screen Replacement, Touch Screen: paso 4, imagen 2 de 3 Azpen A720 Touch Screen Replacement, Touch Screen: paso 4, imagen 3 de 3
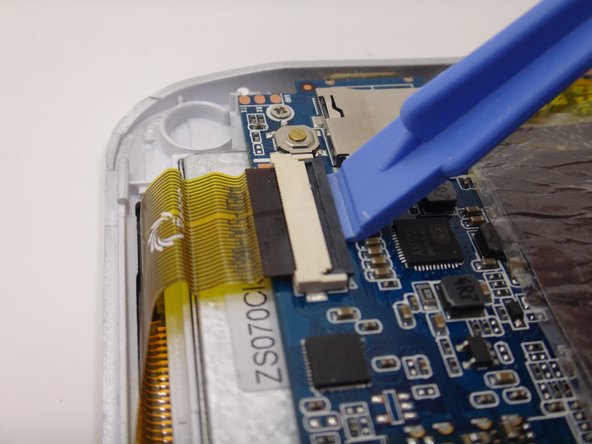
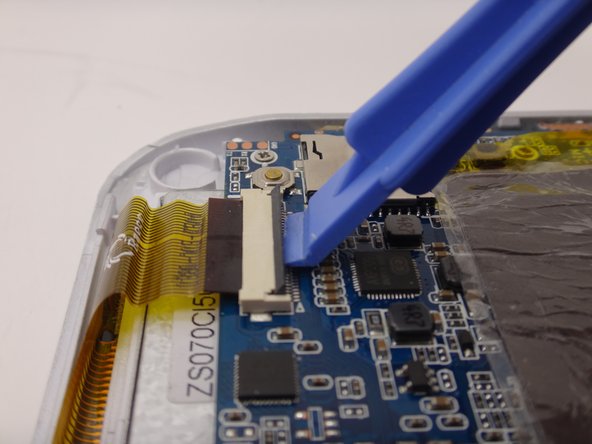
      • Use the plastic opening tool to gently lift the release lever for the ZIF cable.

      • The ZIF connector is delicate. Be careful not to damage the tab!

      Pregunta a FixBot

      Agregar Comentario

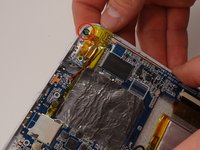
    2. Azpen A720 Touch Screen Replacement: paso 5, imagen 1 de 2 Azpen A720 Touch Screen Replacement: paso 5, imagen 2 de 2
      • Gently remove the ZIF cable from the connector.

      Pregunta a FixBot

      Agregar Comentario

    3. Azpen A720 Touch Screen Replacement: paso 6, imagen 1 de 2 Azpen A720 Touch Screen Replacement: paso 6, imagen 2 de 2
      • Disconnect the second ZIF connector using the same method detailed earlier.

      Pregunta a FixBot

      Agregar Comentario

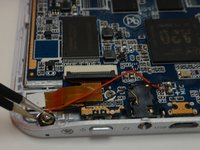
    4. Azpen A720 Touch Screen Replacement: paso 7, imagen 1 de 3 Azpen A720 Touch Screen Replacement: paso 7, imagen 2 de 3 Azpen A720 Touch Screen Replacement: paso 7, imagen 3 de 3
      Herramienta utilizada en este paso:
      Tweezers
      $4.99
      • Locate the microphone. It is at the top of the device and next to the audio jack.

      • Using tweezers, gently remove the microphone.

      • Remember to reinsert the microphone when reassembling!

      Pregunta a FixBot

      Agregar Comentario

    5. Azpen A720 Touch Screen Replacement: paso 8, imagen 1 de 3 Azpen A720 Touch Screen Replacement: paso 8, imagen 2 de 3 Azpen A720 Touch Screen Replacement: paso 8, imagen 3 de 3
      • Remove the three 4mm Phillips #00 screws securing the motherboard in place.

      Pregunta a FixBot

      Agregar Comentario

    6. Azpen A720 Touch Screen Replacement: paso 9, imagen 1 de 3 Azpen A720 Touch Screen Replacement: paso 9, imagen 2 de 3 Azpen A720 Touch Screen Replacement: paso 9, imagen 3 de 3
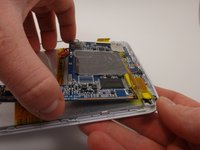
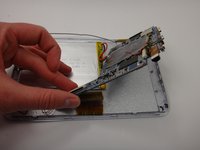
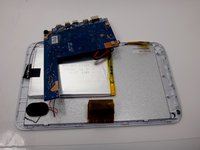
      • Remove the motherboard from the casing, being careful not to damage the remaining wires.

      • It's okay if the buttons fall out of the case.

      • Flip the motherboard so it rests upside down and out of the way of the metal backing.

      Pregunta a FixBot

      Agregar Comentario

    7. Azpen A720 Touch Screen Replacement: paso 10, imagen 1 de 2 Azpen A720 Touch Screen Replacement: paso 10, imagen 2 de 2
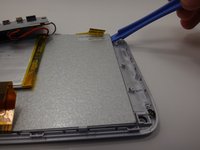
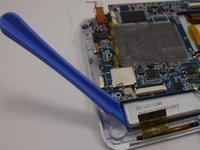
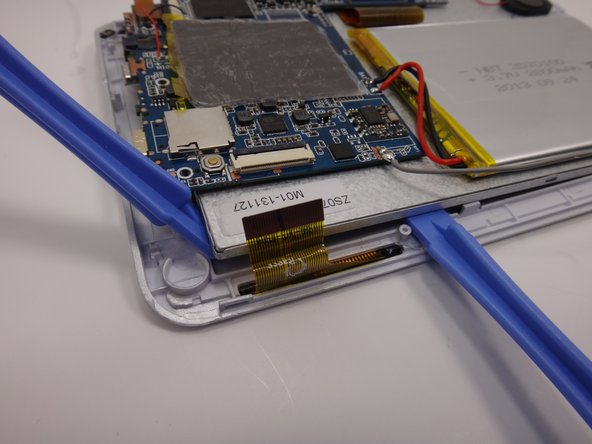
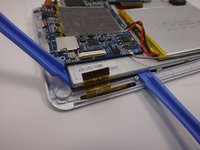
      • Starting at the edge, use a plastic opening tool to carefully pry the front casing off of the metal backing.

      • Leave the plastic opening tool in place underneath the metal backing to prop it up.

      • Move the motherboard out of the way as needed.

      Pregunta a FixBot

      Agregar Comentario

    8. Azpen A720 Touch Screen Replacement: paso 11, imagen 1 de 2 Azpen A720 Touch Screen Replacement: paso 11, imagen 2 de 2
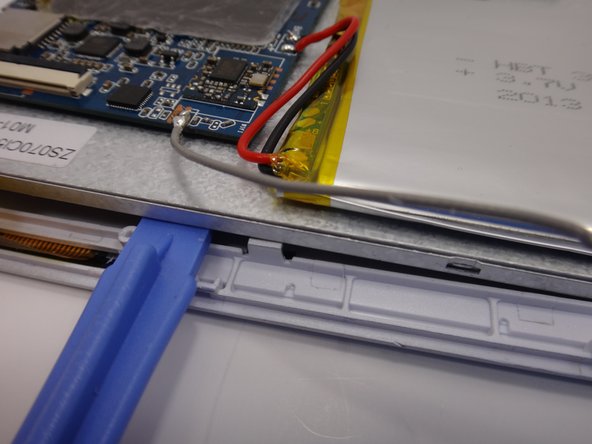
      • Using a second plastic opening tool, pry the adjacent side of the metal backing from the front casing/touch screen.

      • Pry close to the plastic tabs so you do not break them.

      • Leave the plastic opening tool in place underneath the metal backing to prop it up.

      Pregunta a FixBot

      Agregar Comentario

    9. Azpen A720 Touch Screen Replacement: paso 12, imagen 1 de 1
      • Remove the first plastic opening tool and use it to pry along the second edge.

      • Slide the tool along the edge until it is close the next tab, and gently pry the metal up.

      Pregunta a FixBot

      Agregar Comentario

    10. Azpen A720 Touch Screen Replacement: paso 13, imagen 1 de 3 Azpen A720 Touch Screen Replacement: paso 13, imagen 2 de 3 Azpen A720 Touch Screen Replacement: paso 13, imagen 3 de 3
      • Use a third plastic opening tool to pry at the corner of the tablet and pop off the metal backing.

      Pregunta a FixBot

      Agregar Comentario

    11. Azpen A720 Touch Screen Replacement: paso 14, imagen 1 de 3 Azpen A720 Touch Screen Replacement: paso 14, imagen 2 de 3 Azpen A720 Touch Screen Replacement: paso 14, imagen 3 de 3
      • Lift the metal backing from the propped edge to remove it from the front casing.

      • Replace the broken front touch screen and casing with a new one.

      Pregunta a FixBot

      Agregar Comentario

Conclusión

To reassemble your device, follow these instructions in reverse order.

Cancelar: No complete esta guía.

Una persona más ha completado esta guía.

Anna

Miembro Desde 03/17/15

353 Reputación

3 Guías creadas

Equipo

Michigan Tech, Team 1-3, Lauer Spring 2015 Miembro de Michigan Tech, Team 1-3, Lauer Spring 2015

MTU-LAUER-S15S1G3

Miembros de 2

5 Guías creadas

0Guía Comentarios

Agregar Comentario

Ver Estadísticas:

Ultimas 24 horas: 0

Ultimos 7 días: 1

Ultimos 30 días: 24

Todo El Tiempo: 3,085