Esta versión puede contener ediciones incorrectas. Cambie a la última instantánea verificada.
Qué necesitas
-
Este paso está sin traducir. Ayuda a traducirlo
-
Ensure that the device is turned off.
-
Holding the device firmly, wedge a plastic opening tool between the speaker cover and the device. Then pry up to separate it from the device.
-
Then begin to firmly pry up the plastic cover with the plastic opening tool.
-
Once you can fit your finger under the plastic cover, begin to slide your finger down the cover while simultaneously prying up.
-
-
Este paso está sin traducir. Ayuda a traducirlo
-
Once you reach the end of the plastic cover you should be able to completely remove it from the device.
-
-
Este paso está sin traducir. Ayuda a traducirlo
-
Use a T5 screwdriver to remove the four 3.5 mm T5 screws at the top of the device, where the black plastic trim was located.
-
-
Este paso está sin traducir. Ayuda a traducirlo
-
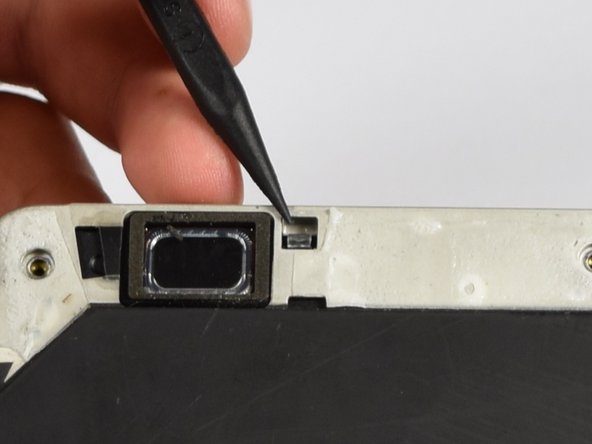
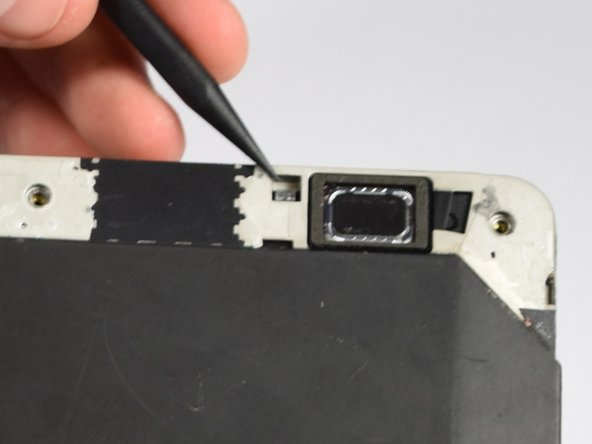
Release the two clear plastic clips at the top of the device near the speaker using the spudger.
-
Simply push down the clip with the tip of the spudger.
-
-
-
Este paso está sin traducir. Ayuda a traducirlo
-
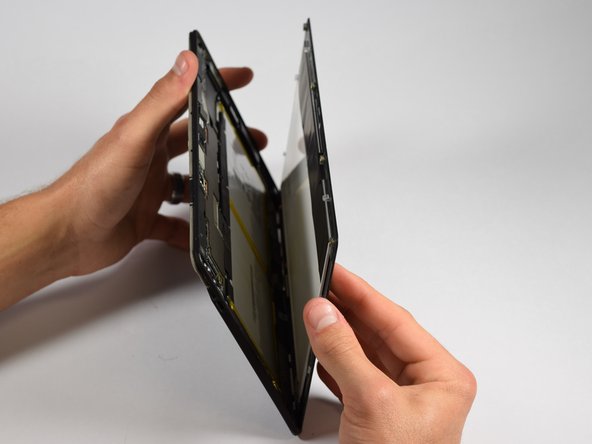
Use a plastic opening tool to wedge between the screen and the device, while simultaneously holding the clip open from step 4.
-
Start to remove the screen from where the black plastic trim was removed and work the tool around the sides of the device. You will here small pops from the clips on the sides being released.
-
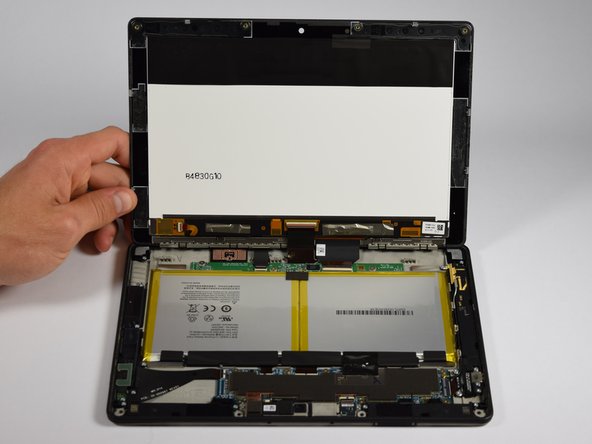
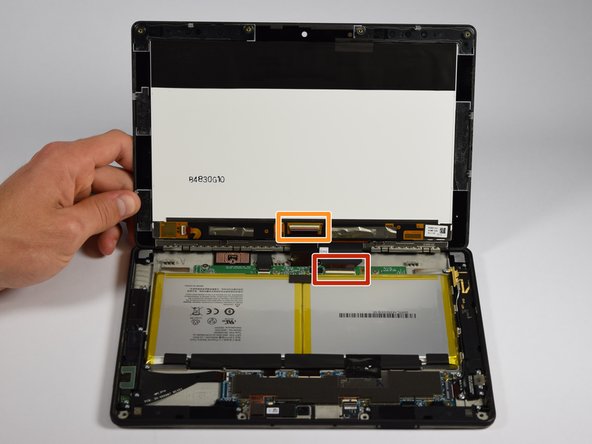
The Amazon Fire can now be opened with the two flex cables at the base still connected
-
-
Este paso está sin traducir. Ayuda a traducirlo
-
Now we have to remove the two flex cables attached to both the screen assembly and body of the device.
-
-
Este paso está sin traducir. Ayuda a traducirlo
-
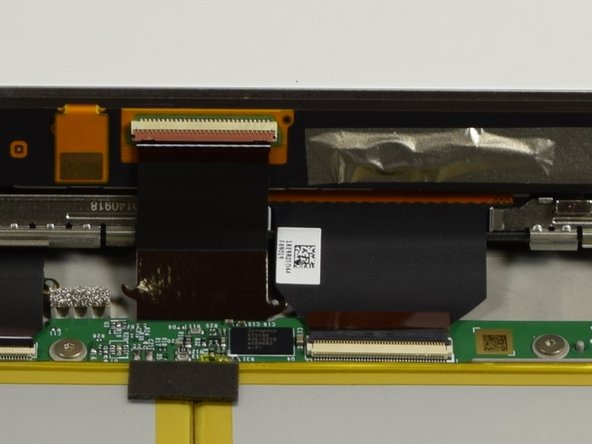
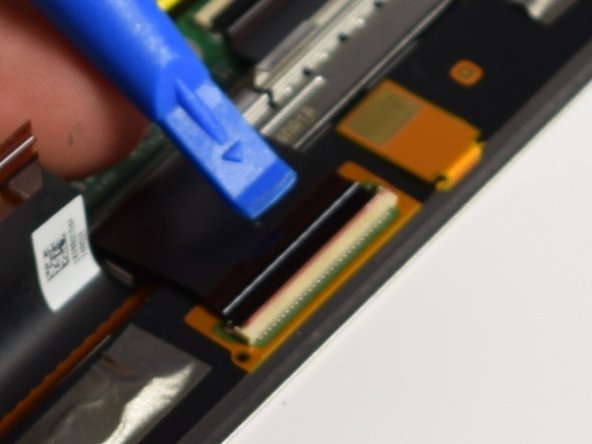
First turn the device 90 degrees counterclockwise.
-
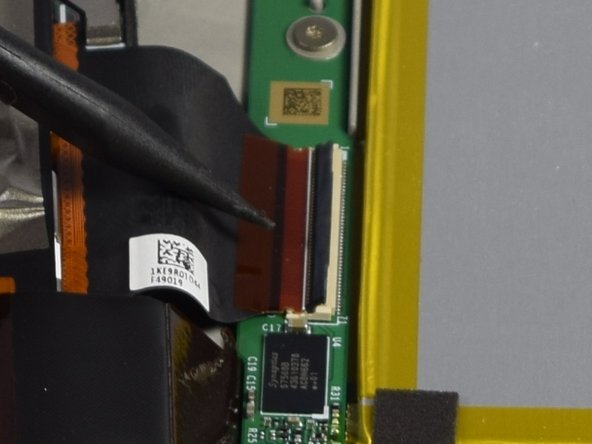
Wedge a spudger or plastic opening tool under the black flap of the larger connector and lift up.
-
Pull the belt out of the connector and lift it up.
-
-
Este paso está sin traducir. Ayuda a traducirlo
-
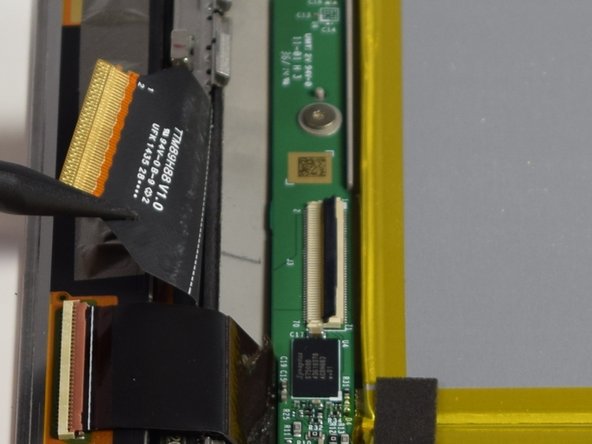
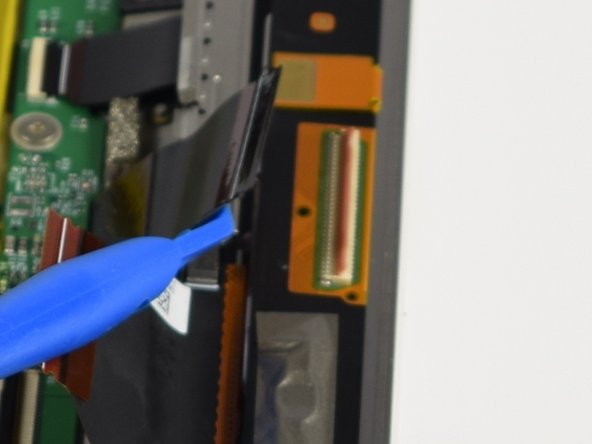
Turn the device 180 degrees.
-
Repeat step 7 for the smaller flex cable connection.
-
-
Este paso está sin traducir. Ayuda a traducirlo
-
Your screen assembly has now been removed and can be replaced.
-
-
Este paso está sin traducir. Ayuda a traducirlo
-
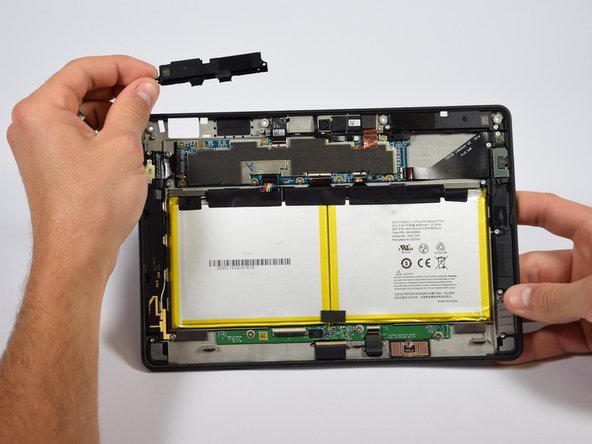
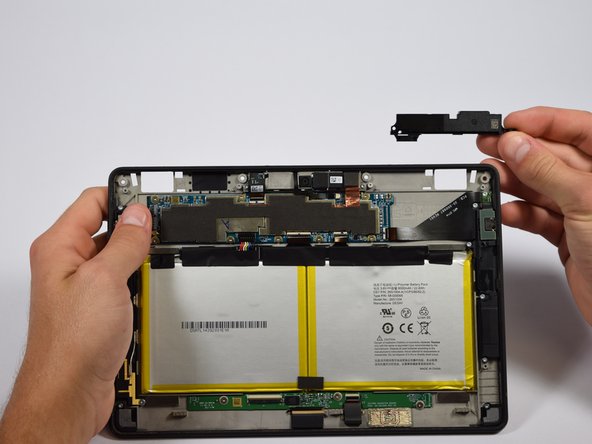
Using a T5 screwdriver remove the two 3 mm T5 screws for the speaker you are replacing, or if you need to replace both speakers remove all four screws.
-
The speakers have now been removed and can be replaced.
-


Equipo

Cal Poly, Team 1-8, Maness Spring 2016 Miembro de Cal Poly, Team 1-8, Maness Spring 2016
CPSU-MANESS-S16S1G8
5 Miembros
6 Guías creadas