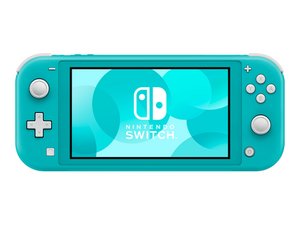
@kylekissinger Just to add to the excellent answer given by my colleague @tech_ni Yup, starting to look a little crusty there. I would treat it the same way as any other water immersed device. for now you want to stop continuing to try to charge, turning it on or otherwise use your Switch.This potentially can make a bad situation worse. This may further damage your device.
The next thing to do is to clean it. Disassemble your console using [these guides] . You must remove all EMI shields of the motherboard. If you do not remove those, you might as well not do anything. After you removed those, clean the whole board, connectors and all with +90% isopropyl alcohol. Follow this guide , and even so it was written for an Apple iPhone 3G all the points are still pertinent to your device as well. While you clean your board, check for any obvious damage, like burned or missing components etc. When it is properly cleaned, replace the battery. All these steps are to avoid delayed failure caused by corrosion (creeping up on your board already). Best thing to do would be to clean it with an ultrasonic cleaner, but if you do not have access to one, this will at least help. In your case it is the perfect opportunity to either resolder the connector or replace it with a new one.
Once all this is done, reassemble your device and reevaluate. Until it is cleaned, everything will only be a guess. Let's see what the traces look like where the connector solder to. You may need to run some jumpers etc. but let's get a closer look.


 1
1 
 23
23  44
44 