Saltar al contenido principal

Asus ROG Strix GL702VM-BHI7N09 Screen Replacement

Inglés
Español
Paso 6
Asus ROG Strix GL702VM-BHI7N09 Screen Replacement: paso 0, imagen 1 de 3 Asus ROG Strix GL702VM-BHI7N09 Screen Replacement: paso 0, imagen 2 de 3 Asus ROG Strix GL702VM-BHI7N09 Screen Replacement: paso 0, imagen 3 de 3
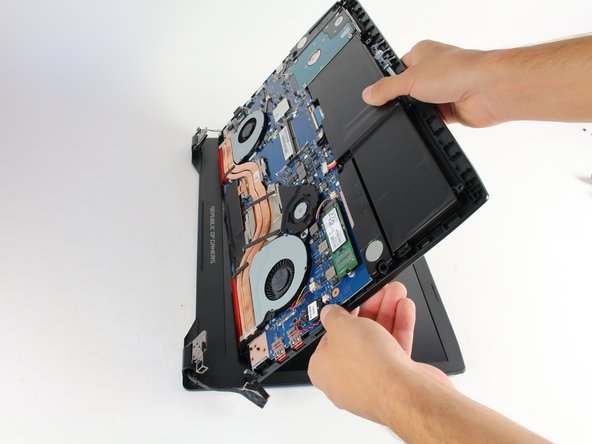
  • While holding down the screen, lift the base of the laptop to an angle between 45 and 90 degrees.

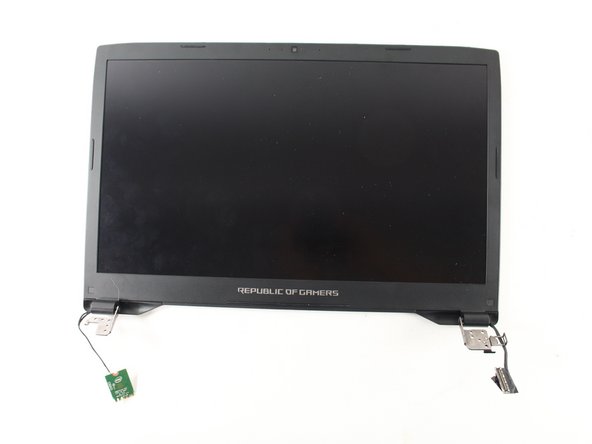
  • Remove the screen from the base by gently pulling the base in the direction of the screen, parallel to the ground.

Insertar traducción aquí

Insertar traducción aquí

Tus contribuciones son autorizadas bajo la licencia de código abierto de Creative Commons.