Traduciendo paso 4
Paso 4


-
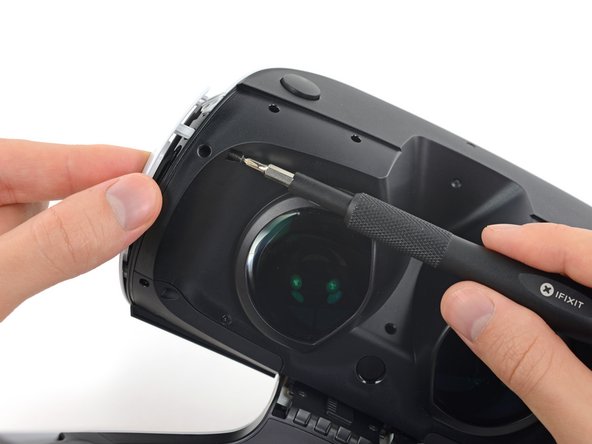
The scope relies on a rubber mask, rather than goggle foam and a tight fit, to block light. As a bonus, it's probably more washable than foam.
-
With the user-replaceable rubber shield peeled away, we're treated to simple JIS screws (Phillips' pointed-headed cousins) holding the scope together.
-
We gleefully pry the futuristic plastic trim (and LED diffusers) away with our trusty opening pick.
-
And peeking out just behind, we've found the first of the 9 position-tracking LEDs. Soon.
Tus contribuciones son autorizadas bajo la licencia de código abierto de Creative Commons.