Saltar al contenido principal

Smontaggio PlayStation VR

Inglés
Italiano
Paso 4
PlayStation VR Teardown: paso 0, imagen 1 de 3 PlayStation VR Teardown: paso 0, imagen 2 de 3 PlayStation VR Teardown: paso 0, imagen 3 de 3
  • The scope relies on a rubber mask, rather than goggle foam and a tight fit, to block light. As a bonus, it's probably more washable than foam.

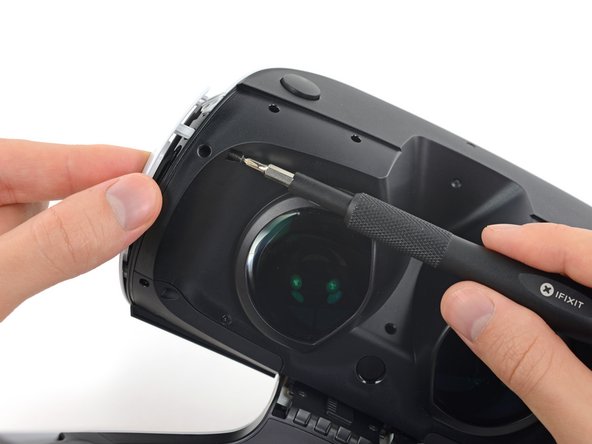
  • With the user-replaceable rubber shield peeled away, we're treated to simple JIS screws (Phillips' pointed-headed cousins) holding the scope together.

  • We gleefully pry the futuristic plastic trim (and LED diffusers) away with our trusty opening pick.

  • And peeking out just behind, we've found the first of the 9 position-tracking LEDs. Soon.

L'obiettivo si appoggia su una maschera di gomma, piuttosto che su una schiuma per occhiali e una vestibilità aderente, per bloccare la luce. Come bonus, è probabilmente più lavabile della schiuma.

Dopo aver rimosso lo scudo in gomma sostituibile dall'utente, ci vengono offerte delle semplici viti JIS (le cugine dalla testa aguzza delle Phillips) che tengono insieme il mirino.

Facciamo leva allegramente sul futuristico rivestimento in plastica (e sui diffusori LED) con il nostro fidato plettro di apertura.

E facendo capolino appena dietro, abbiamo trovato il primo dei 9 LED di rilevamento della posizione. Presto.

Tus contribuciones son autorizadas bajo la licencia de código abierto de Creative Commons.