Saltar al contenido principal

Sostituzione disco rigido Airport Time Capsule A1470

Aviso: Estás editando una guía de requisitos previos. Cualquier cambio que realices afectará la guía que incluye este paso.

Inglés
Italiano
Paso 7
Airport Time Capsule A1470 Hard Drive Replacement, Insert new drive: paso 0, imagen 1 de 3 Airport Time Capsule A1470 Hard Drive Replacement, Insert new drive: paso 0, imagen 2 de 3 Airport Time Capsule A1470 Hard Drive Replacement, Insert new drive: paso 0, imagen 3 de 3
Insert new drive
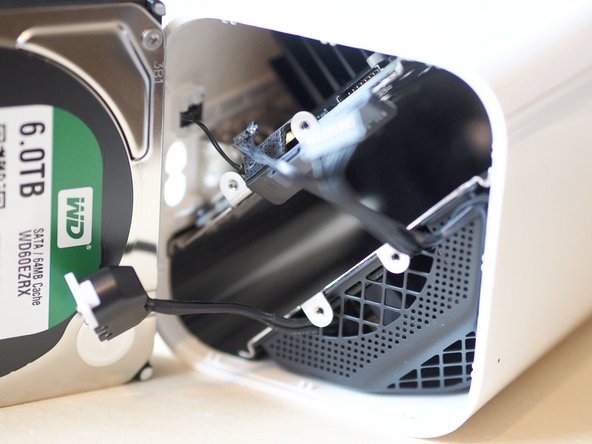
  • Slide the new drive into place, making sure no cables get caught up on the way in. Ensure the drive is seated properly in the newly trimmed rubber segments, and not sitting proud of the enclosure.

  • Reattach the drive SATA/Power connector.

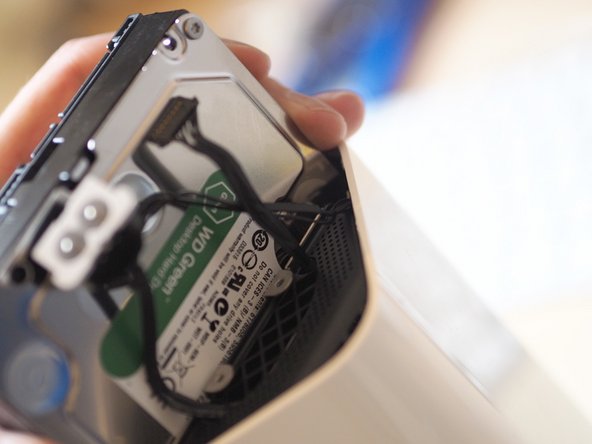
  • The top rubber pad also requires trimming bits off to accommodate the 6TB replacement drive.

  • Replace rubber pad.

Fai scivolare il nuovo disco in posizione, assicurandoti che nessun cavo rimanga impigliato durante l'ingresso. Assicurati che l'unità sia posizionata correttamente nei segmenti di gomma appena rifilati e che non stia appoggiata appena all'interno dell'involucro.

Riattacca il connettore SATA/alimentazione.

Il rivestimento superiore in gomma richiede anch'esso di esser modellato per accogliere l'unità sostitutiva da 6 TB.

Sostituisci il pad in gomma.

Tus contribuciones son autorizadas bajo la licencia de código abierto de Creative Commons.