Traduciendo paso 9
Paso 9


-
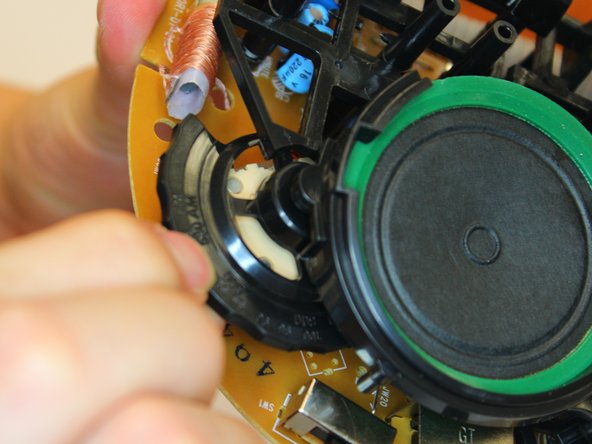
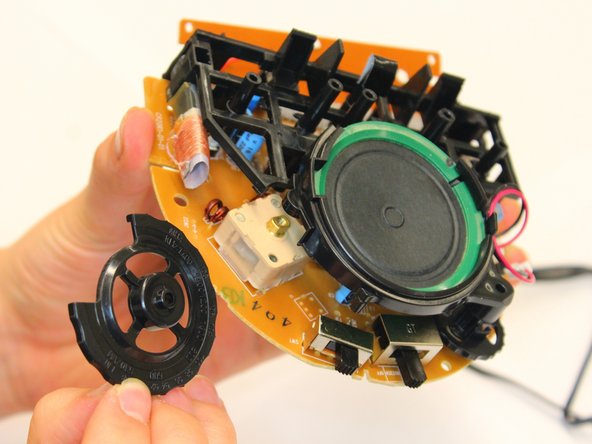
There is a plastic dial between the chassis and the PCB that controls the frequency of the radio.
-
To remove the dial, lift the chassis up slightly and simply push up to remove the dial from its fitting.
Tus contribuciones son autorizadas bajo la licencia de código abierto de Creative Commons.