Traduciendo paso 3
Paso 3


-
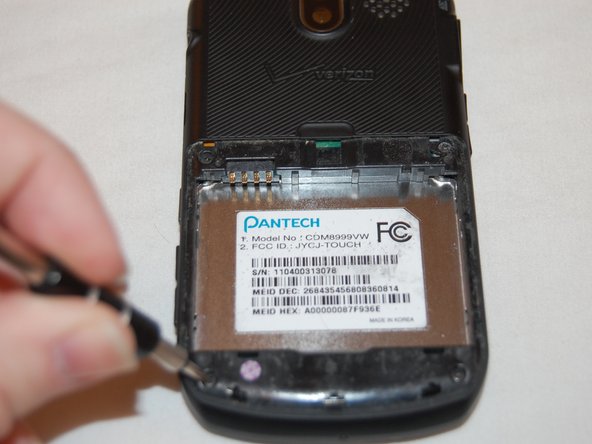
Grab something with a Phillips #000 Screwdriver head.
-
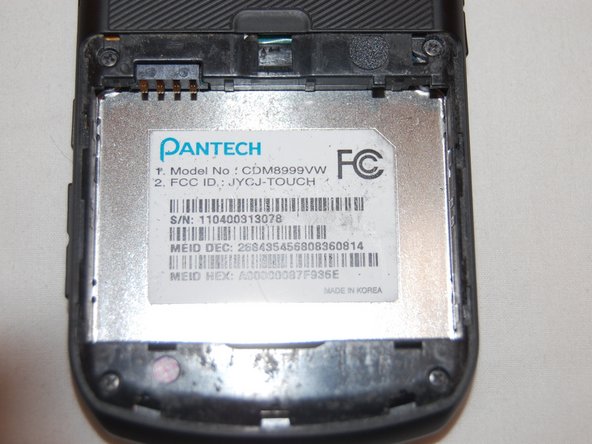
Locate the four screws on the corners of where the back cover was.
-
Use the Phillips #000 Screwdriver to remove these screws.
Tus contribuciones son autorizadas bajo la licencia de código abierto de Creative Commons.