Aviso: Estás editando un prerrequisito para la guía que estabas viendo. Cualquier cambio que realices afectará a la guía que incluye este paso.
Traduciendo paso 2
Paso 2


-
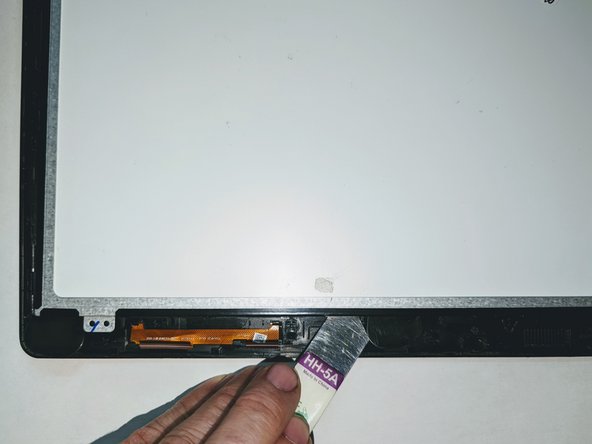
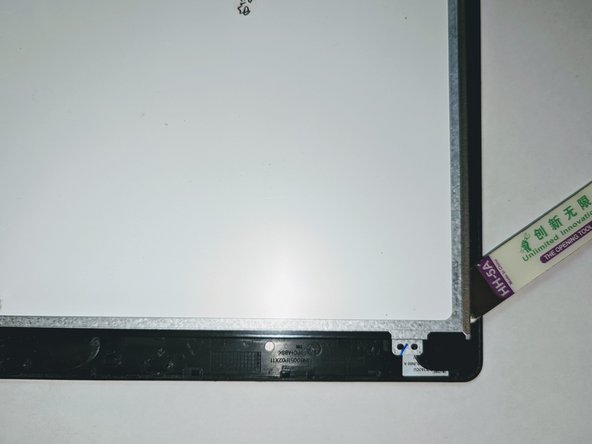
Using a flat metal opening tool, carefully pry up the LCD, inserting opening picks as you go to prevent the display from re-adhering to the digitizer.
-
Start with the top edge of the display.
Tus contribuciones son autorizadas bajo la licencia de código abierto de Creative Commons.